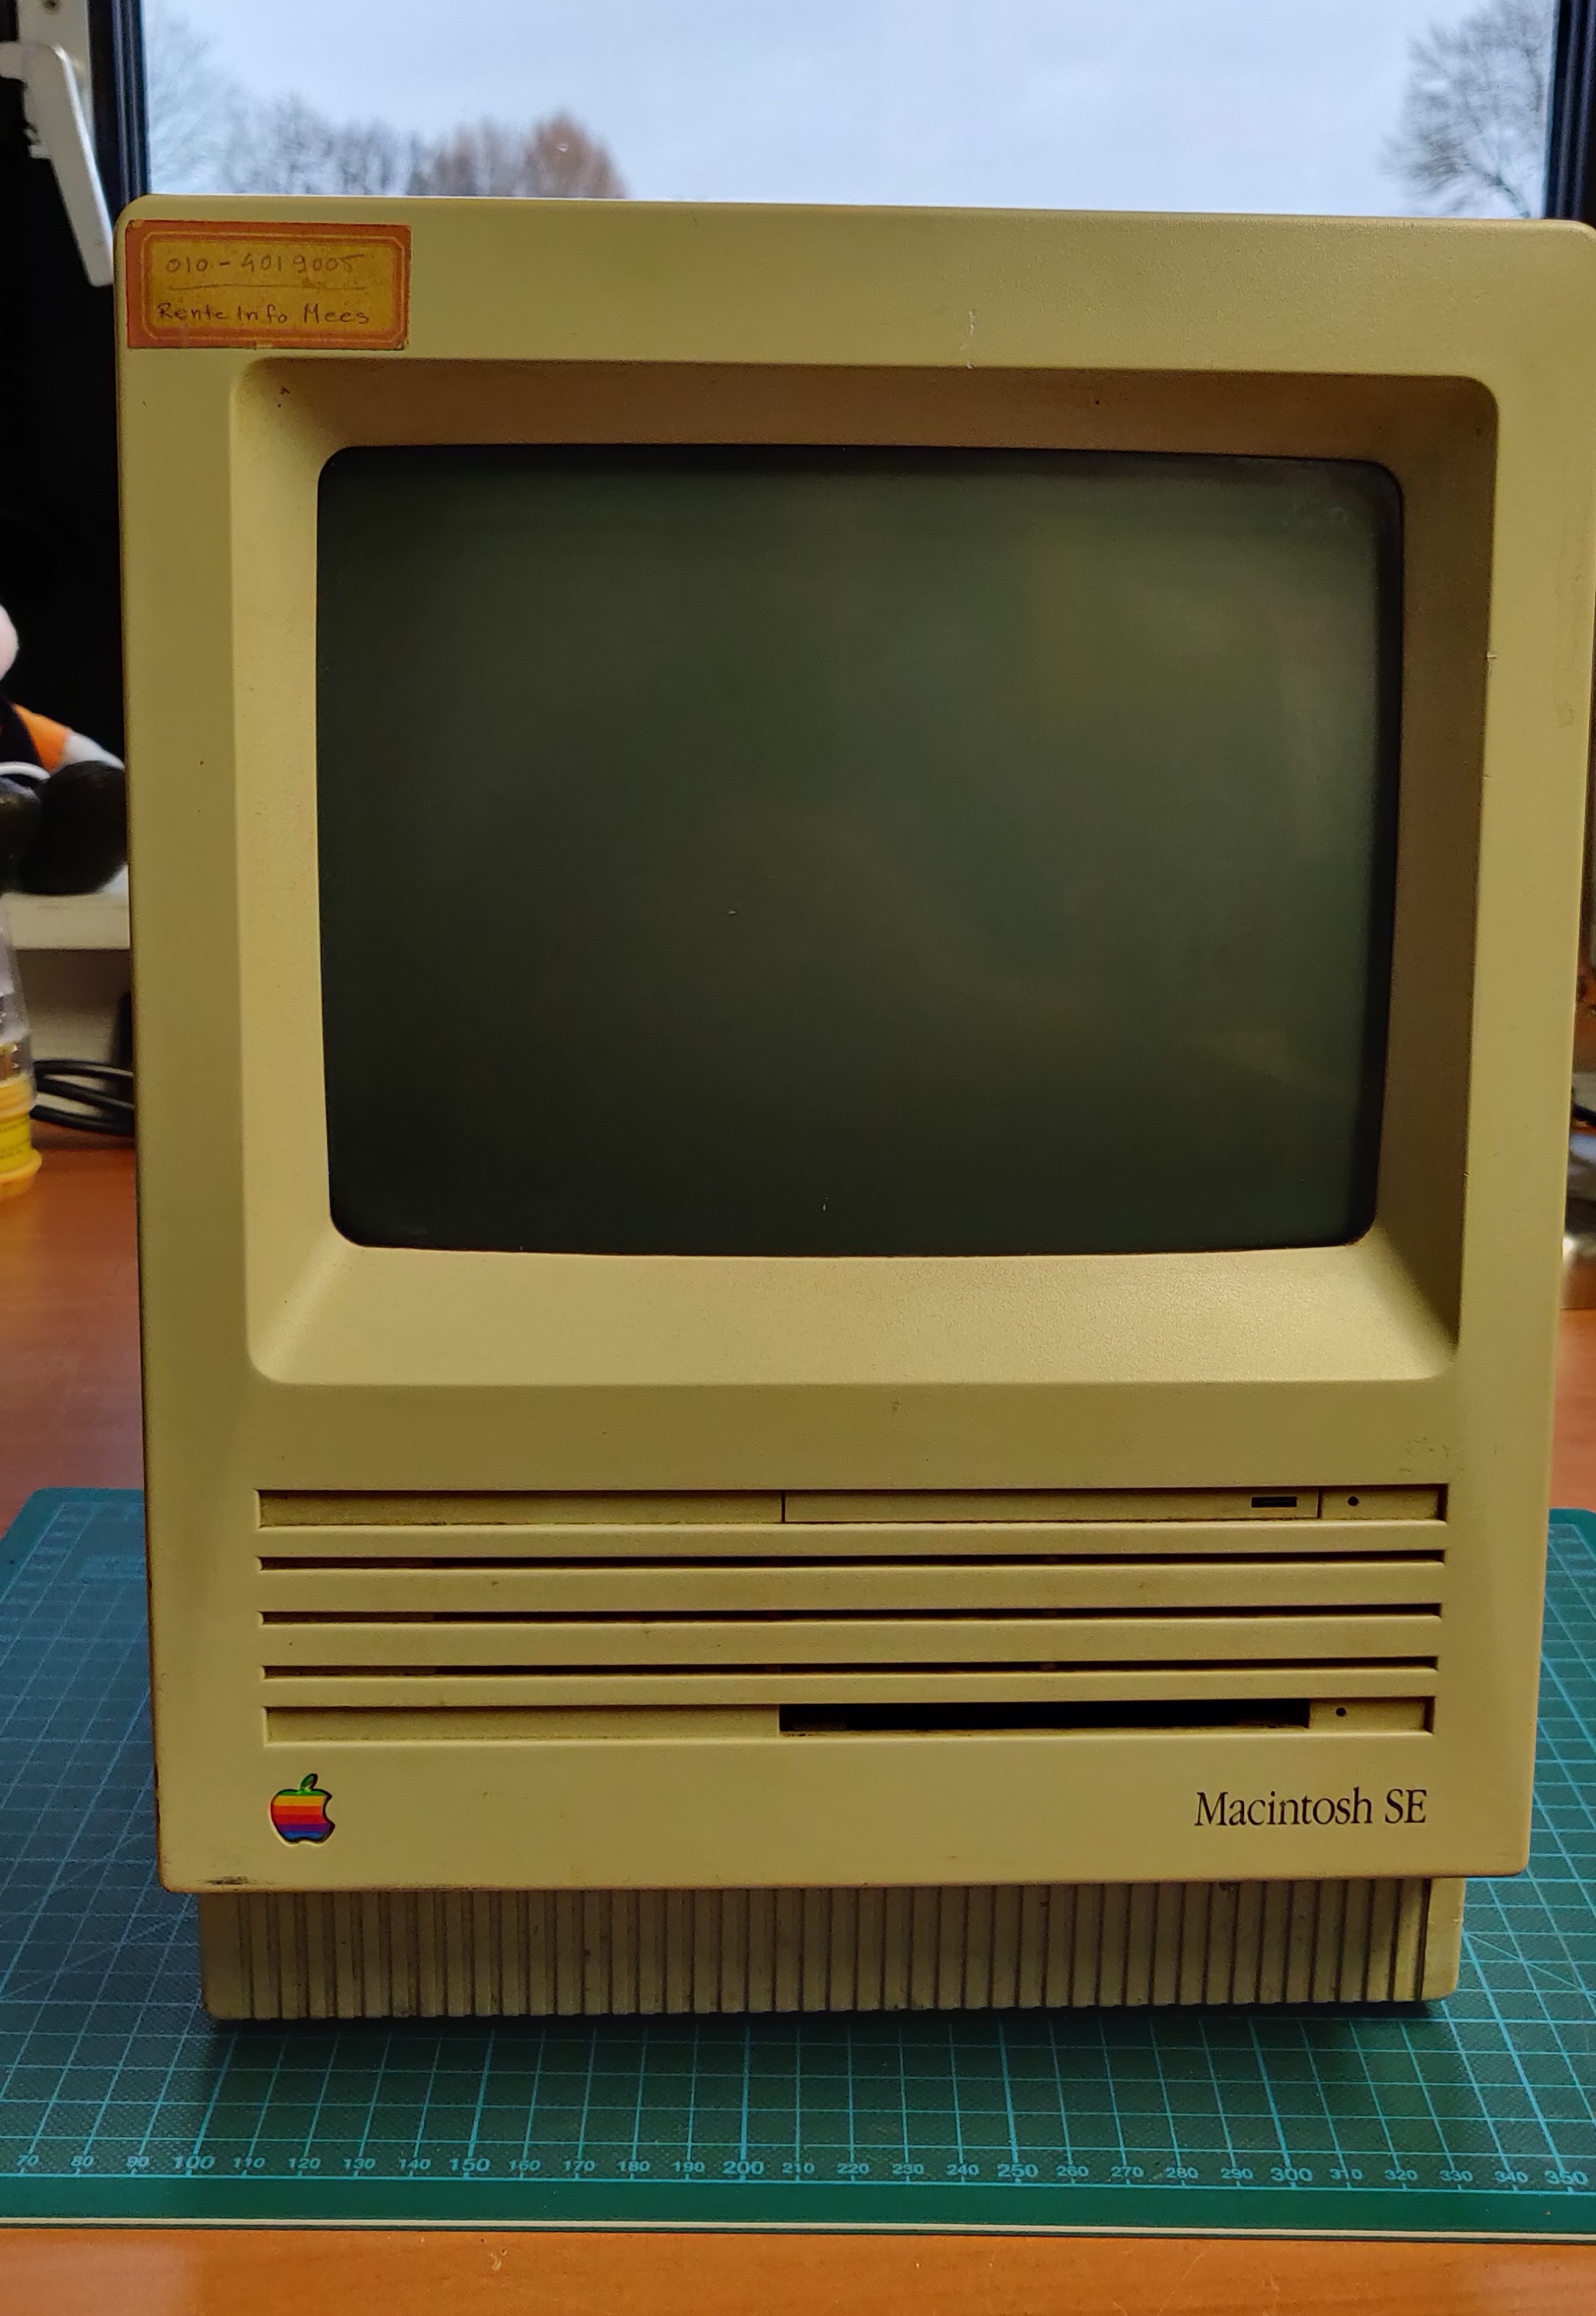
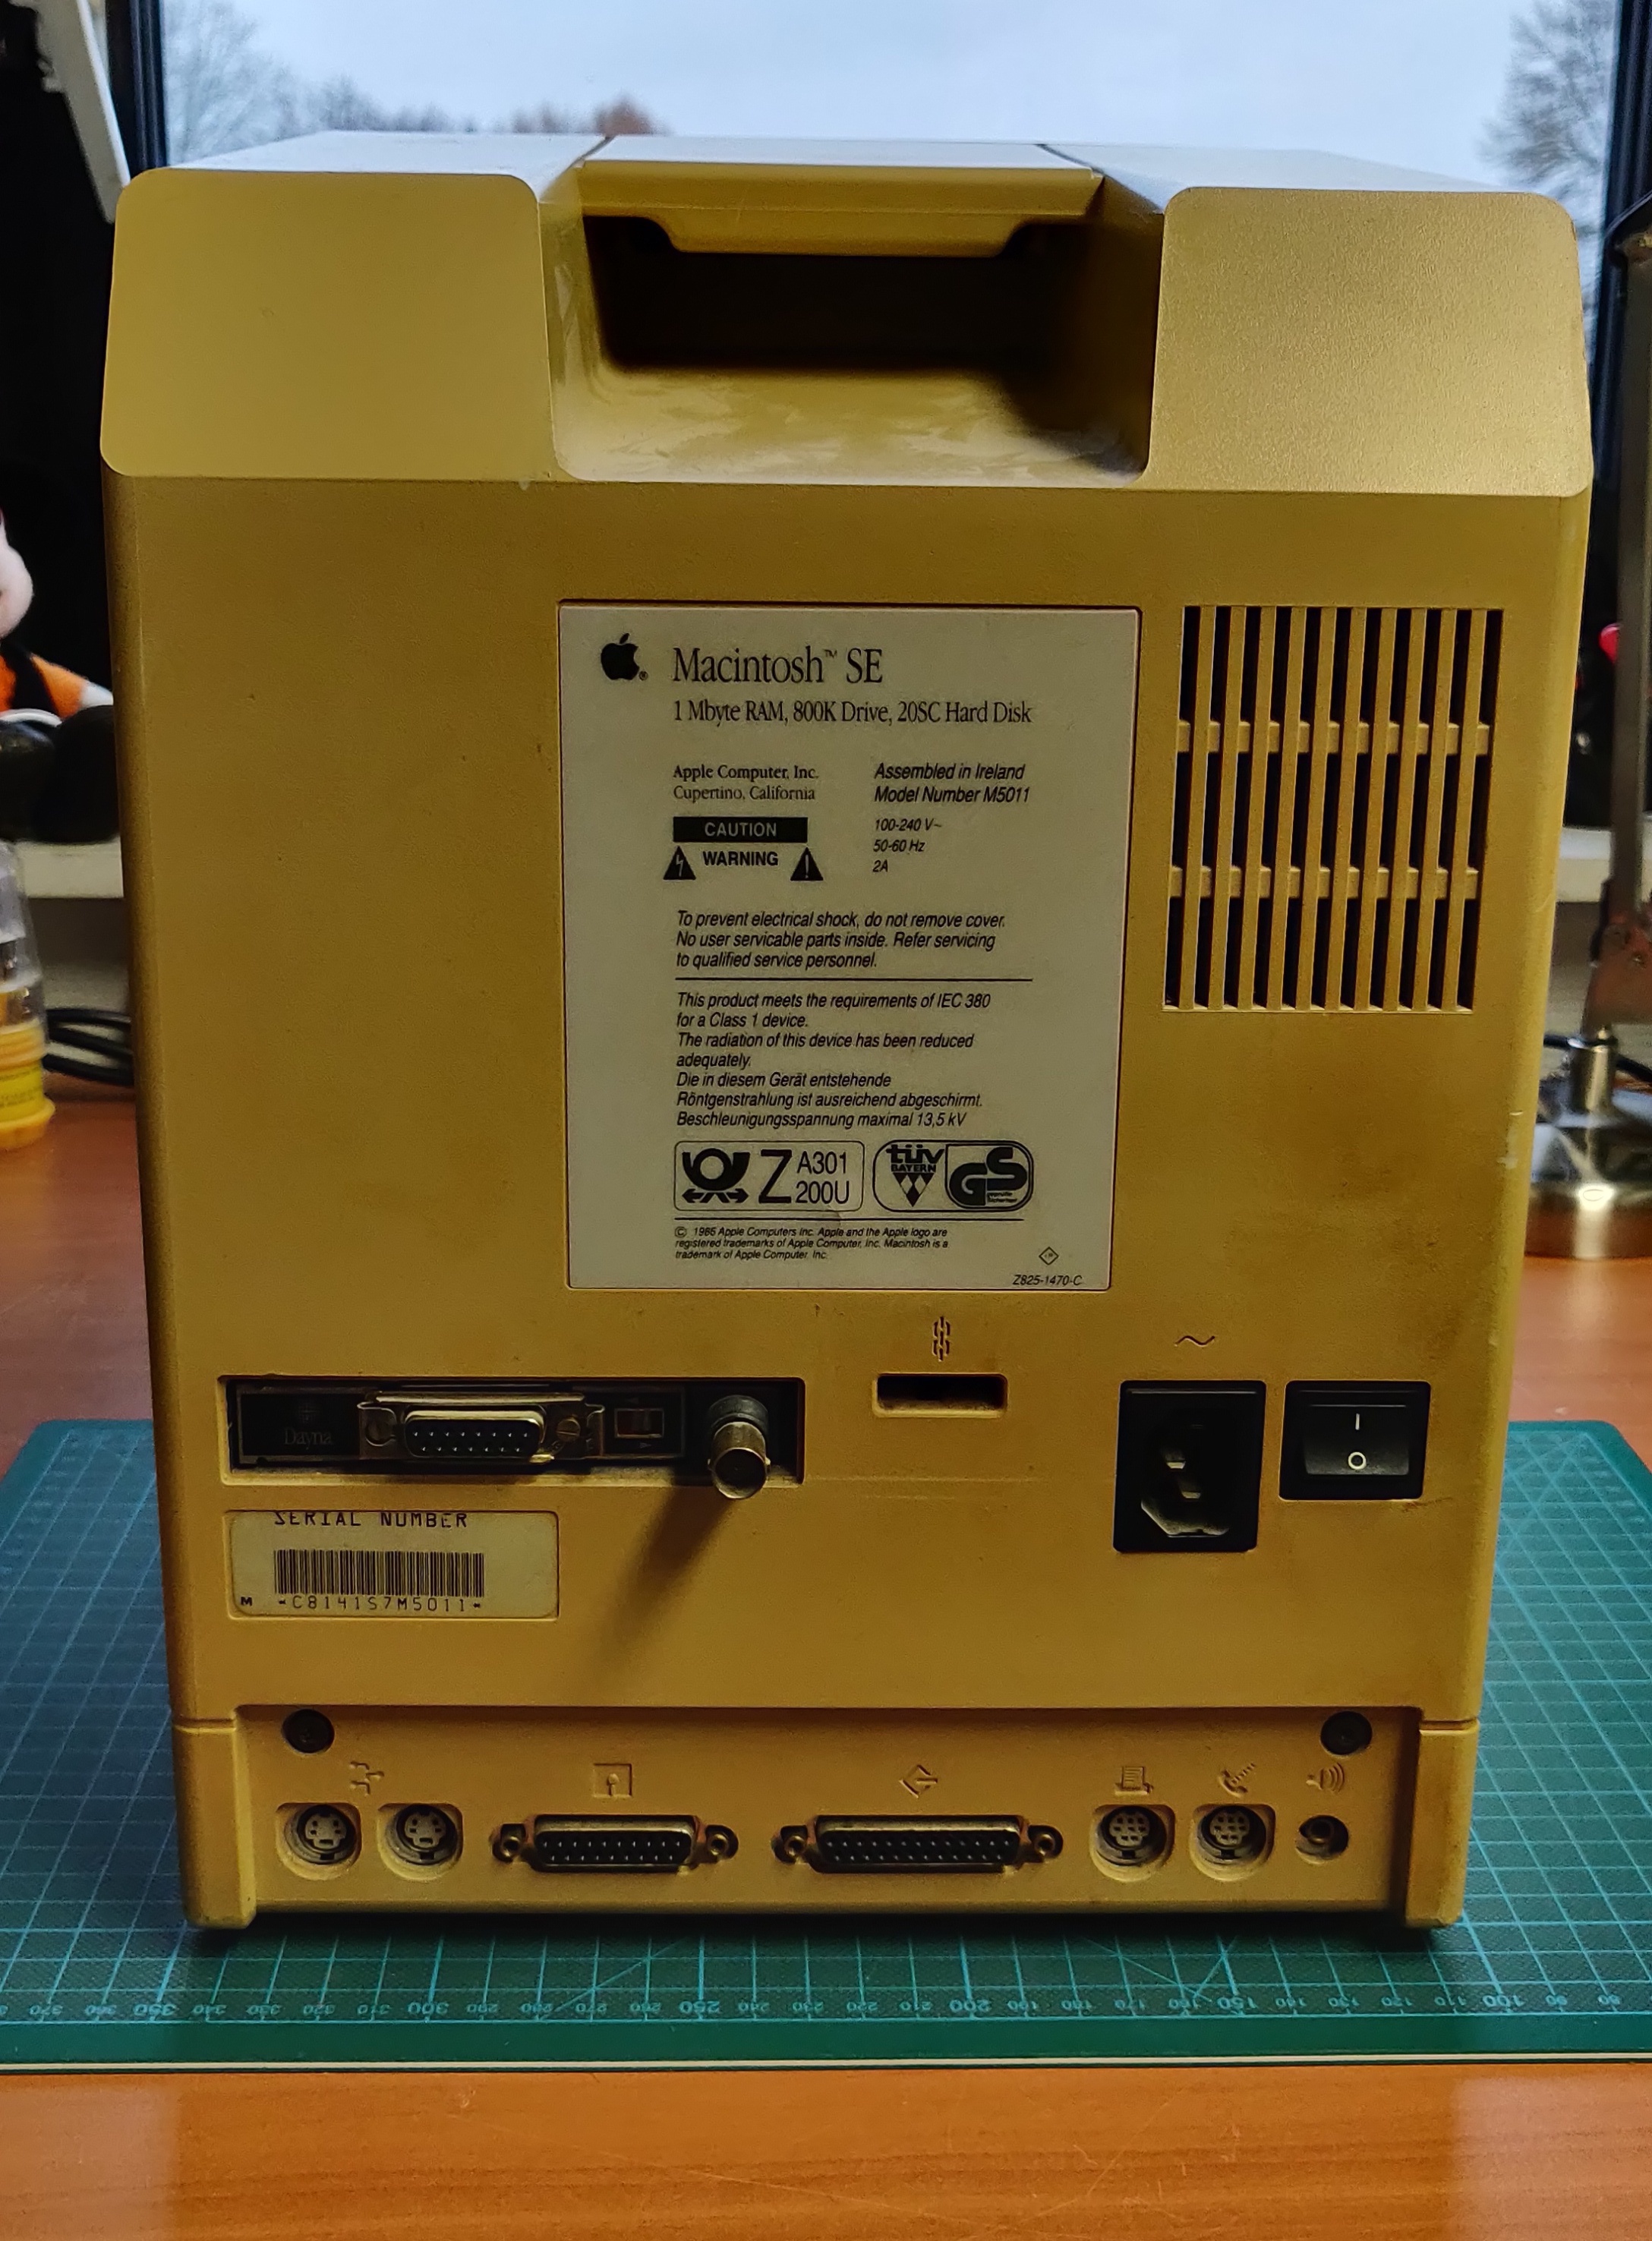
Macintosh SE
I purchased this computer in a lot together with a Macintosh II Classic. It was sold as working, but after I turned it on for the first time I found that the hard disk was faulty.
Overall the condition was decent, the machine was very dirty and yellowed, but technically in very good condition. All the capacitors checked out and aside from the hard disk and the battery no repairs were needed.
Work done:
- Full inspection and testing
- Deep cleaning inside and out
- Hard disk replacement
- Hard disk indicator LED replacement
- Floppy drive cleaning and lubrication
- Purposely no re-capping as the capacitors in this model are not prone to failure. Capacitors were inspected and tested instead.
- Colour restoration of all external plastics
- Fully reversible external battery modification
- Re-installation of the OS and software
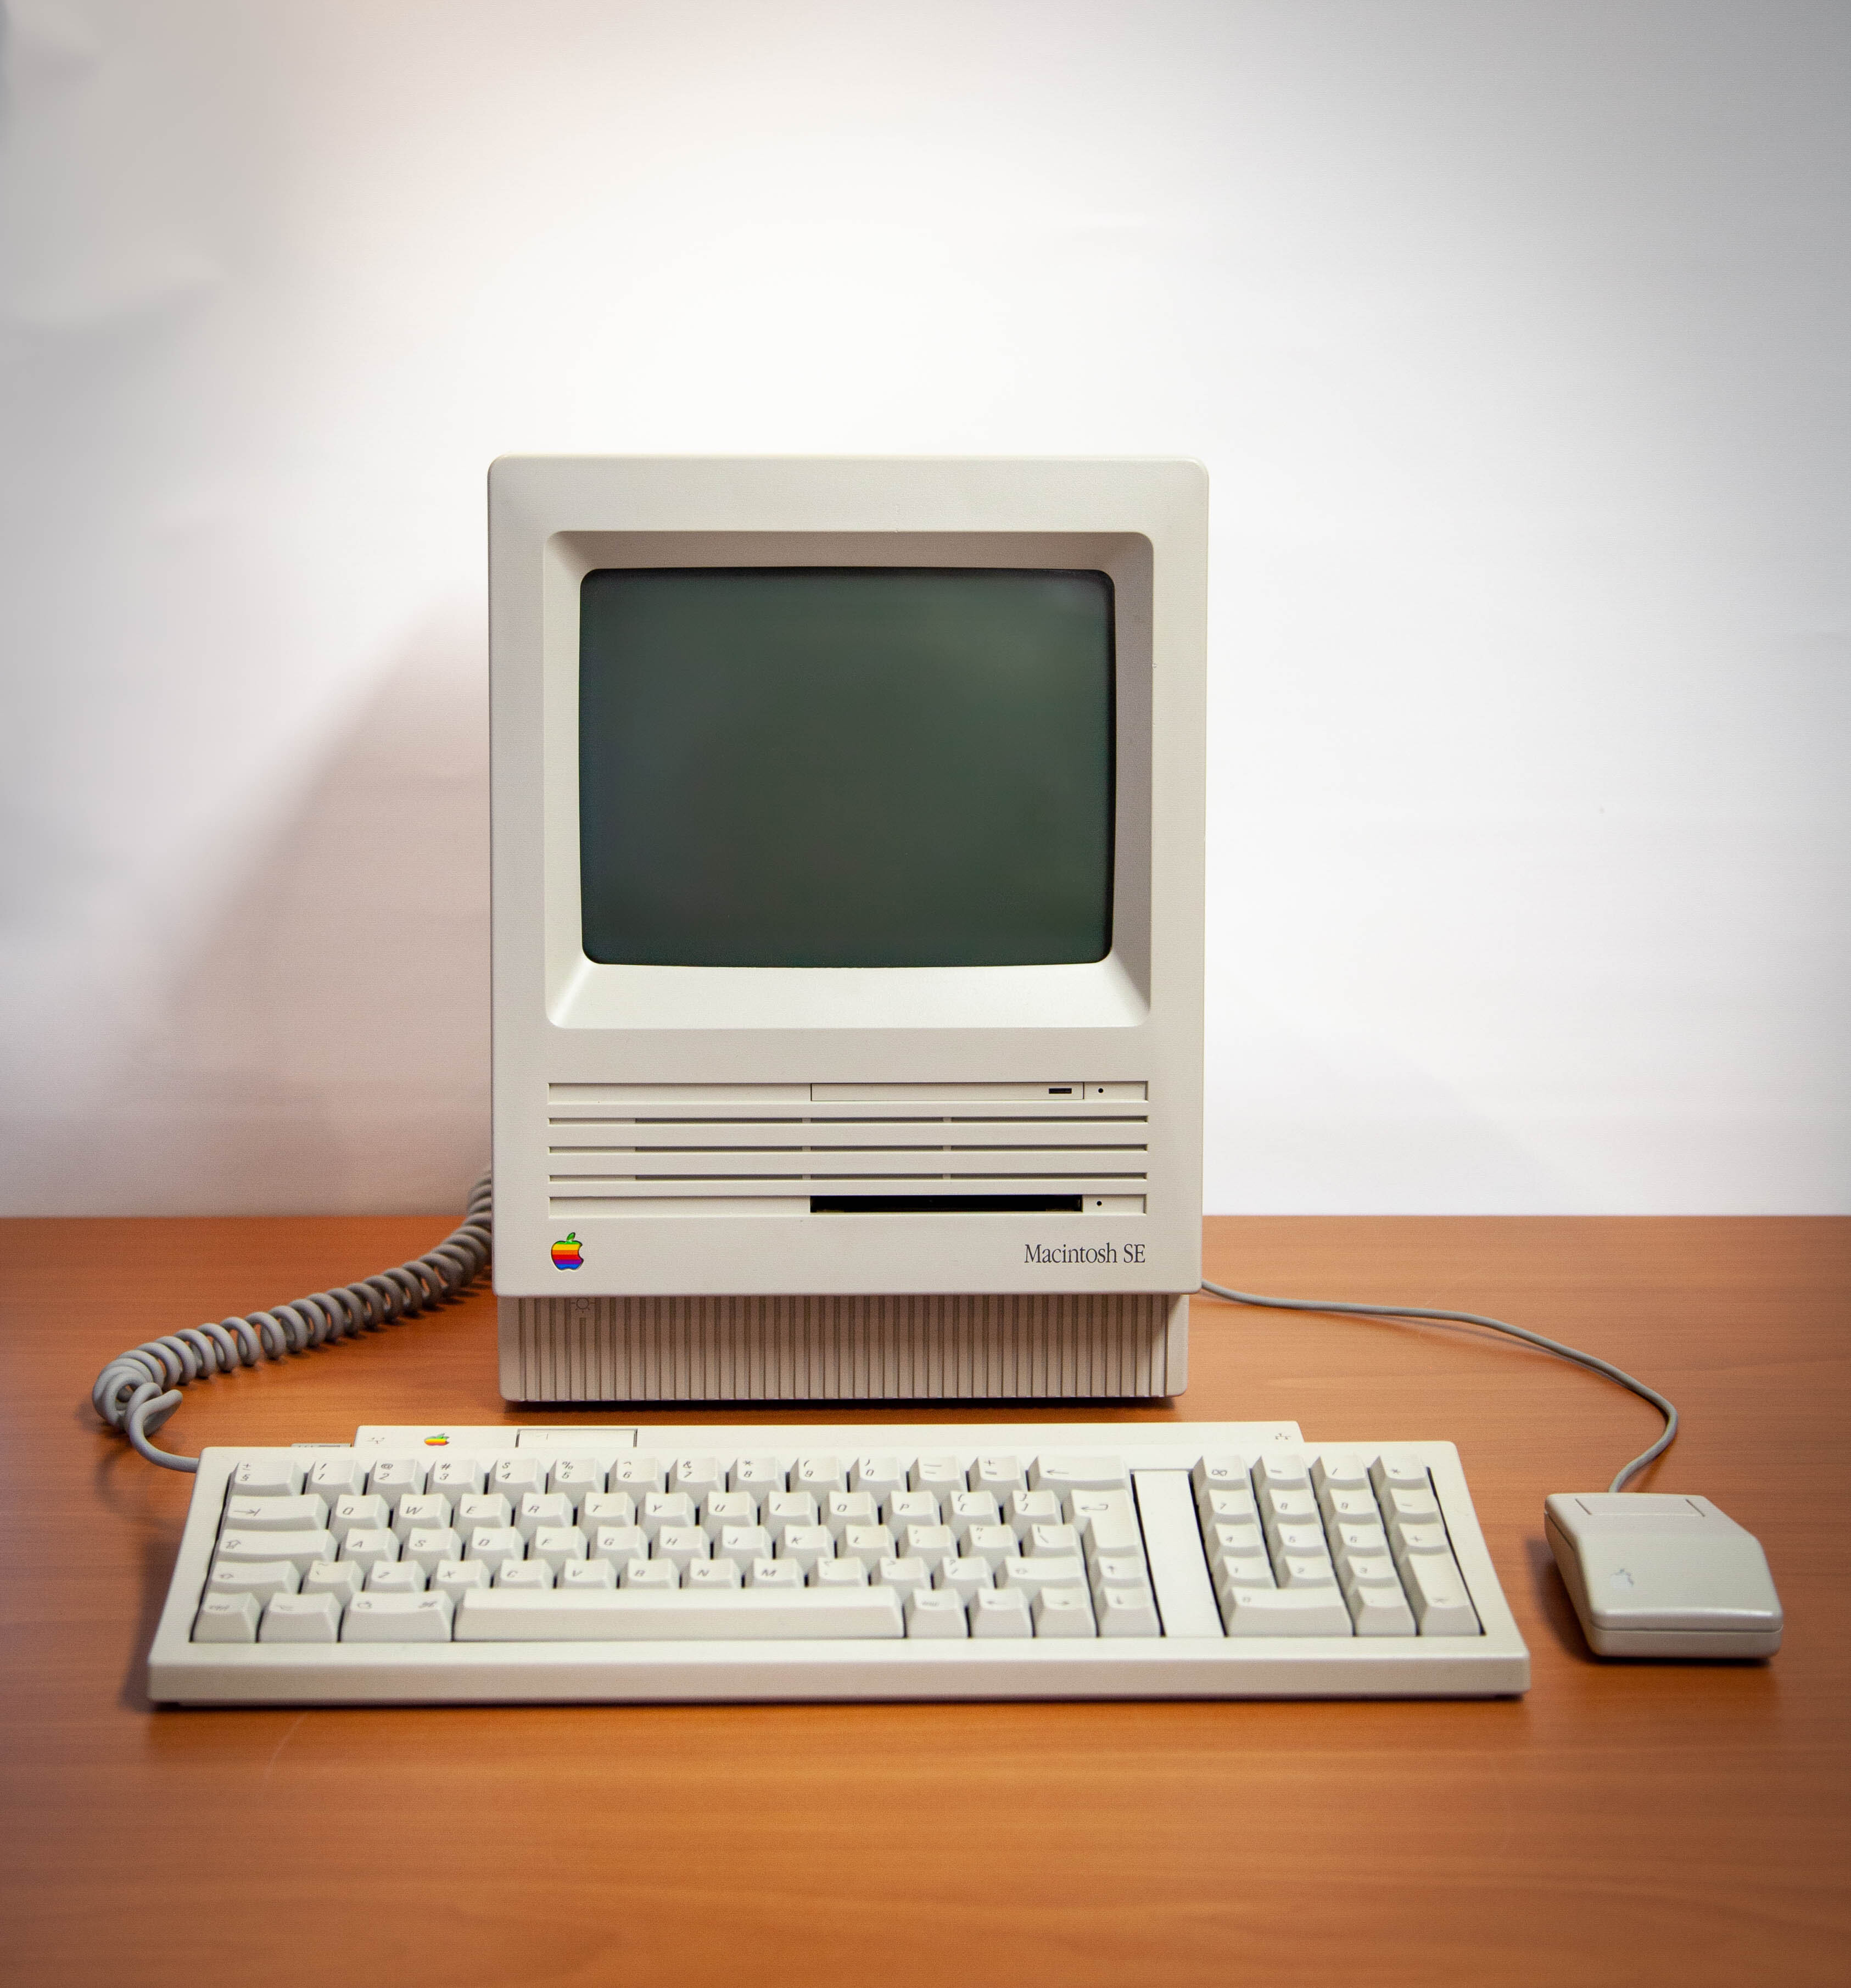
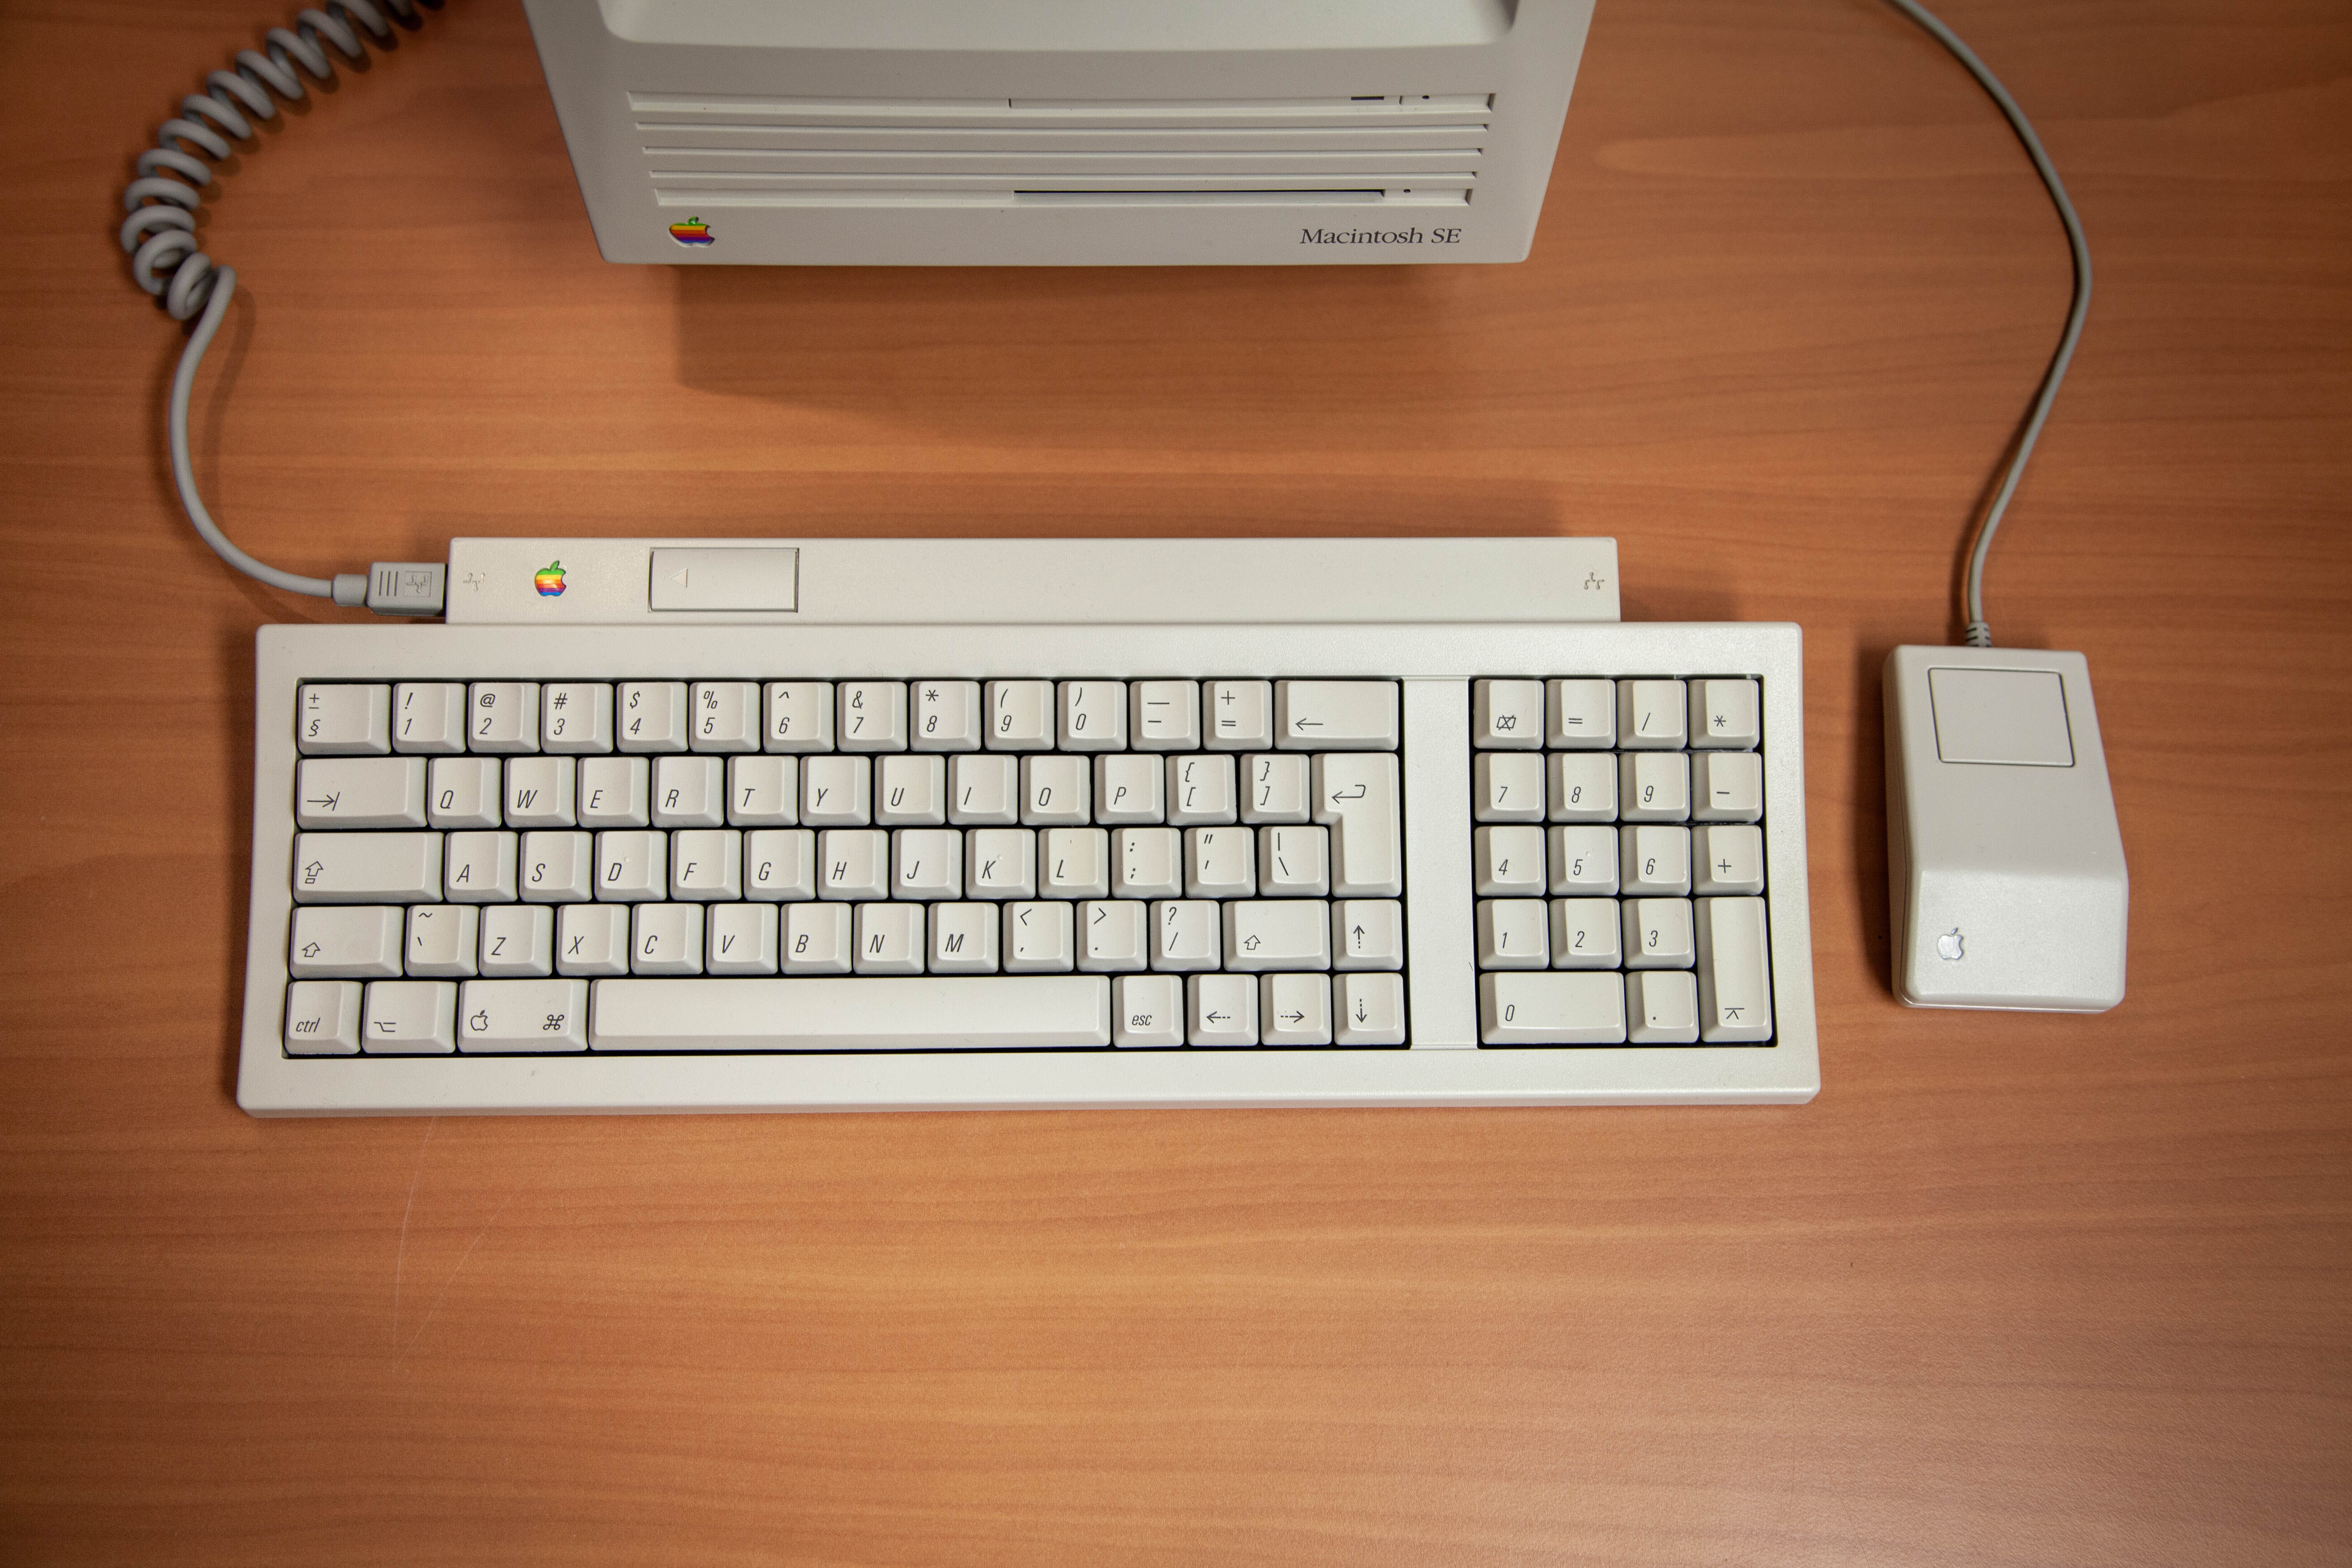
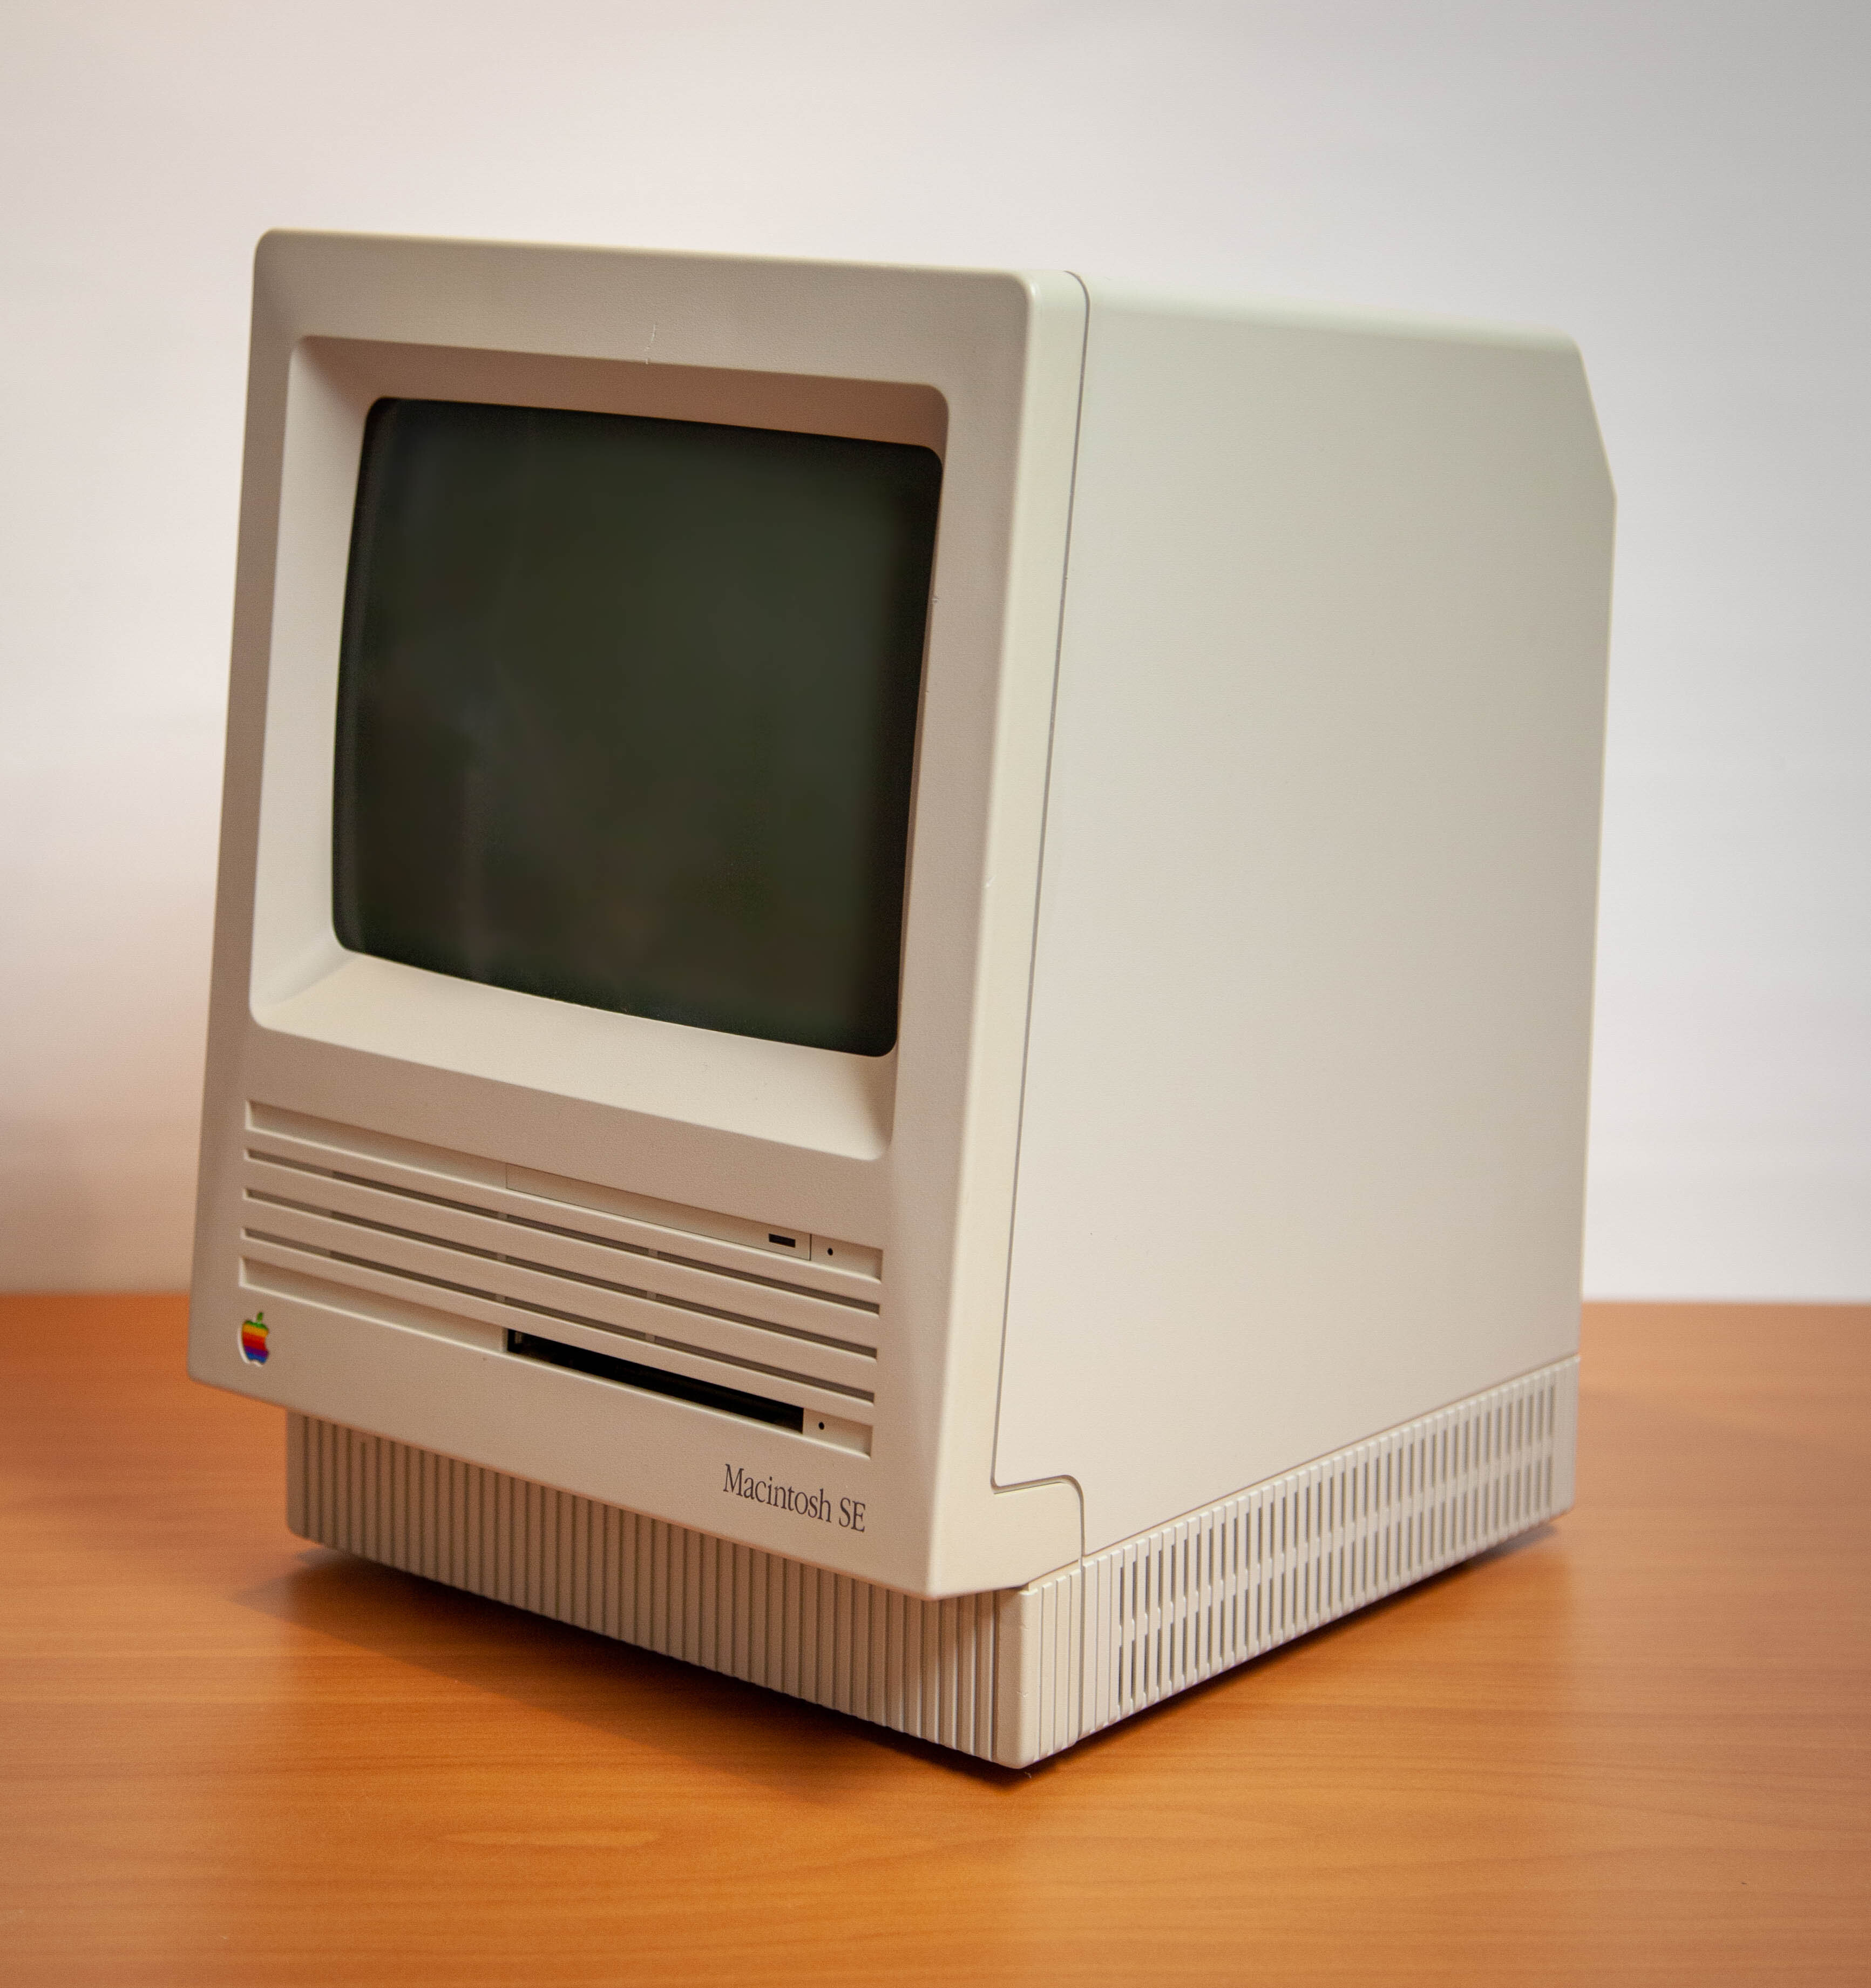
Completed pictures:

Restoration process:
Below is a description of all the work done on this Macintosh SE, starting with an inspection of all the parts.
Exterior inspection :
This machine was very yellowed and dirty, after a full clean it was already a few tints lighter.
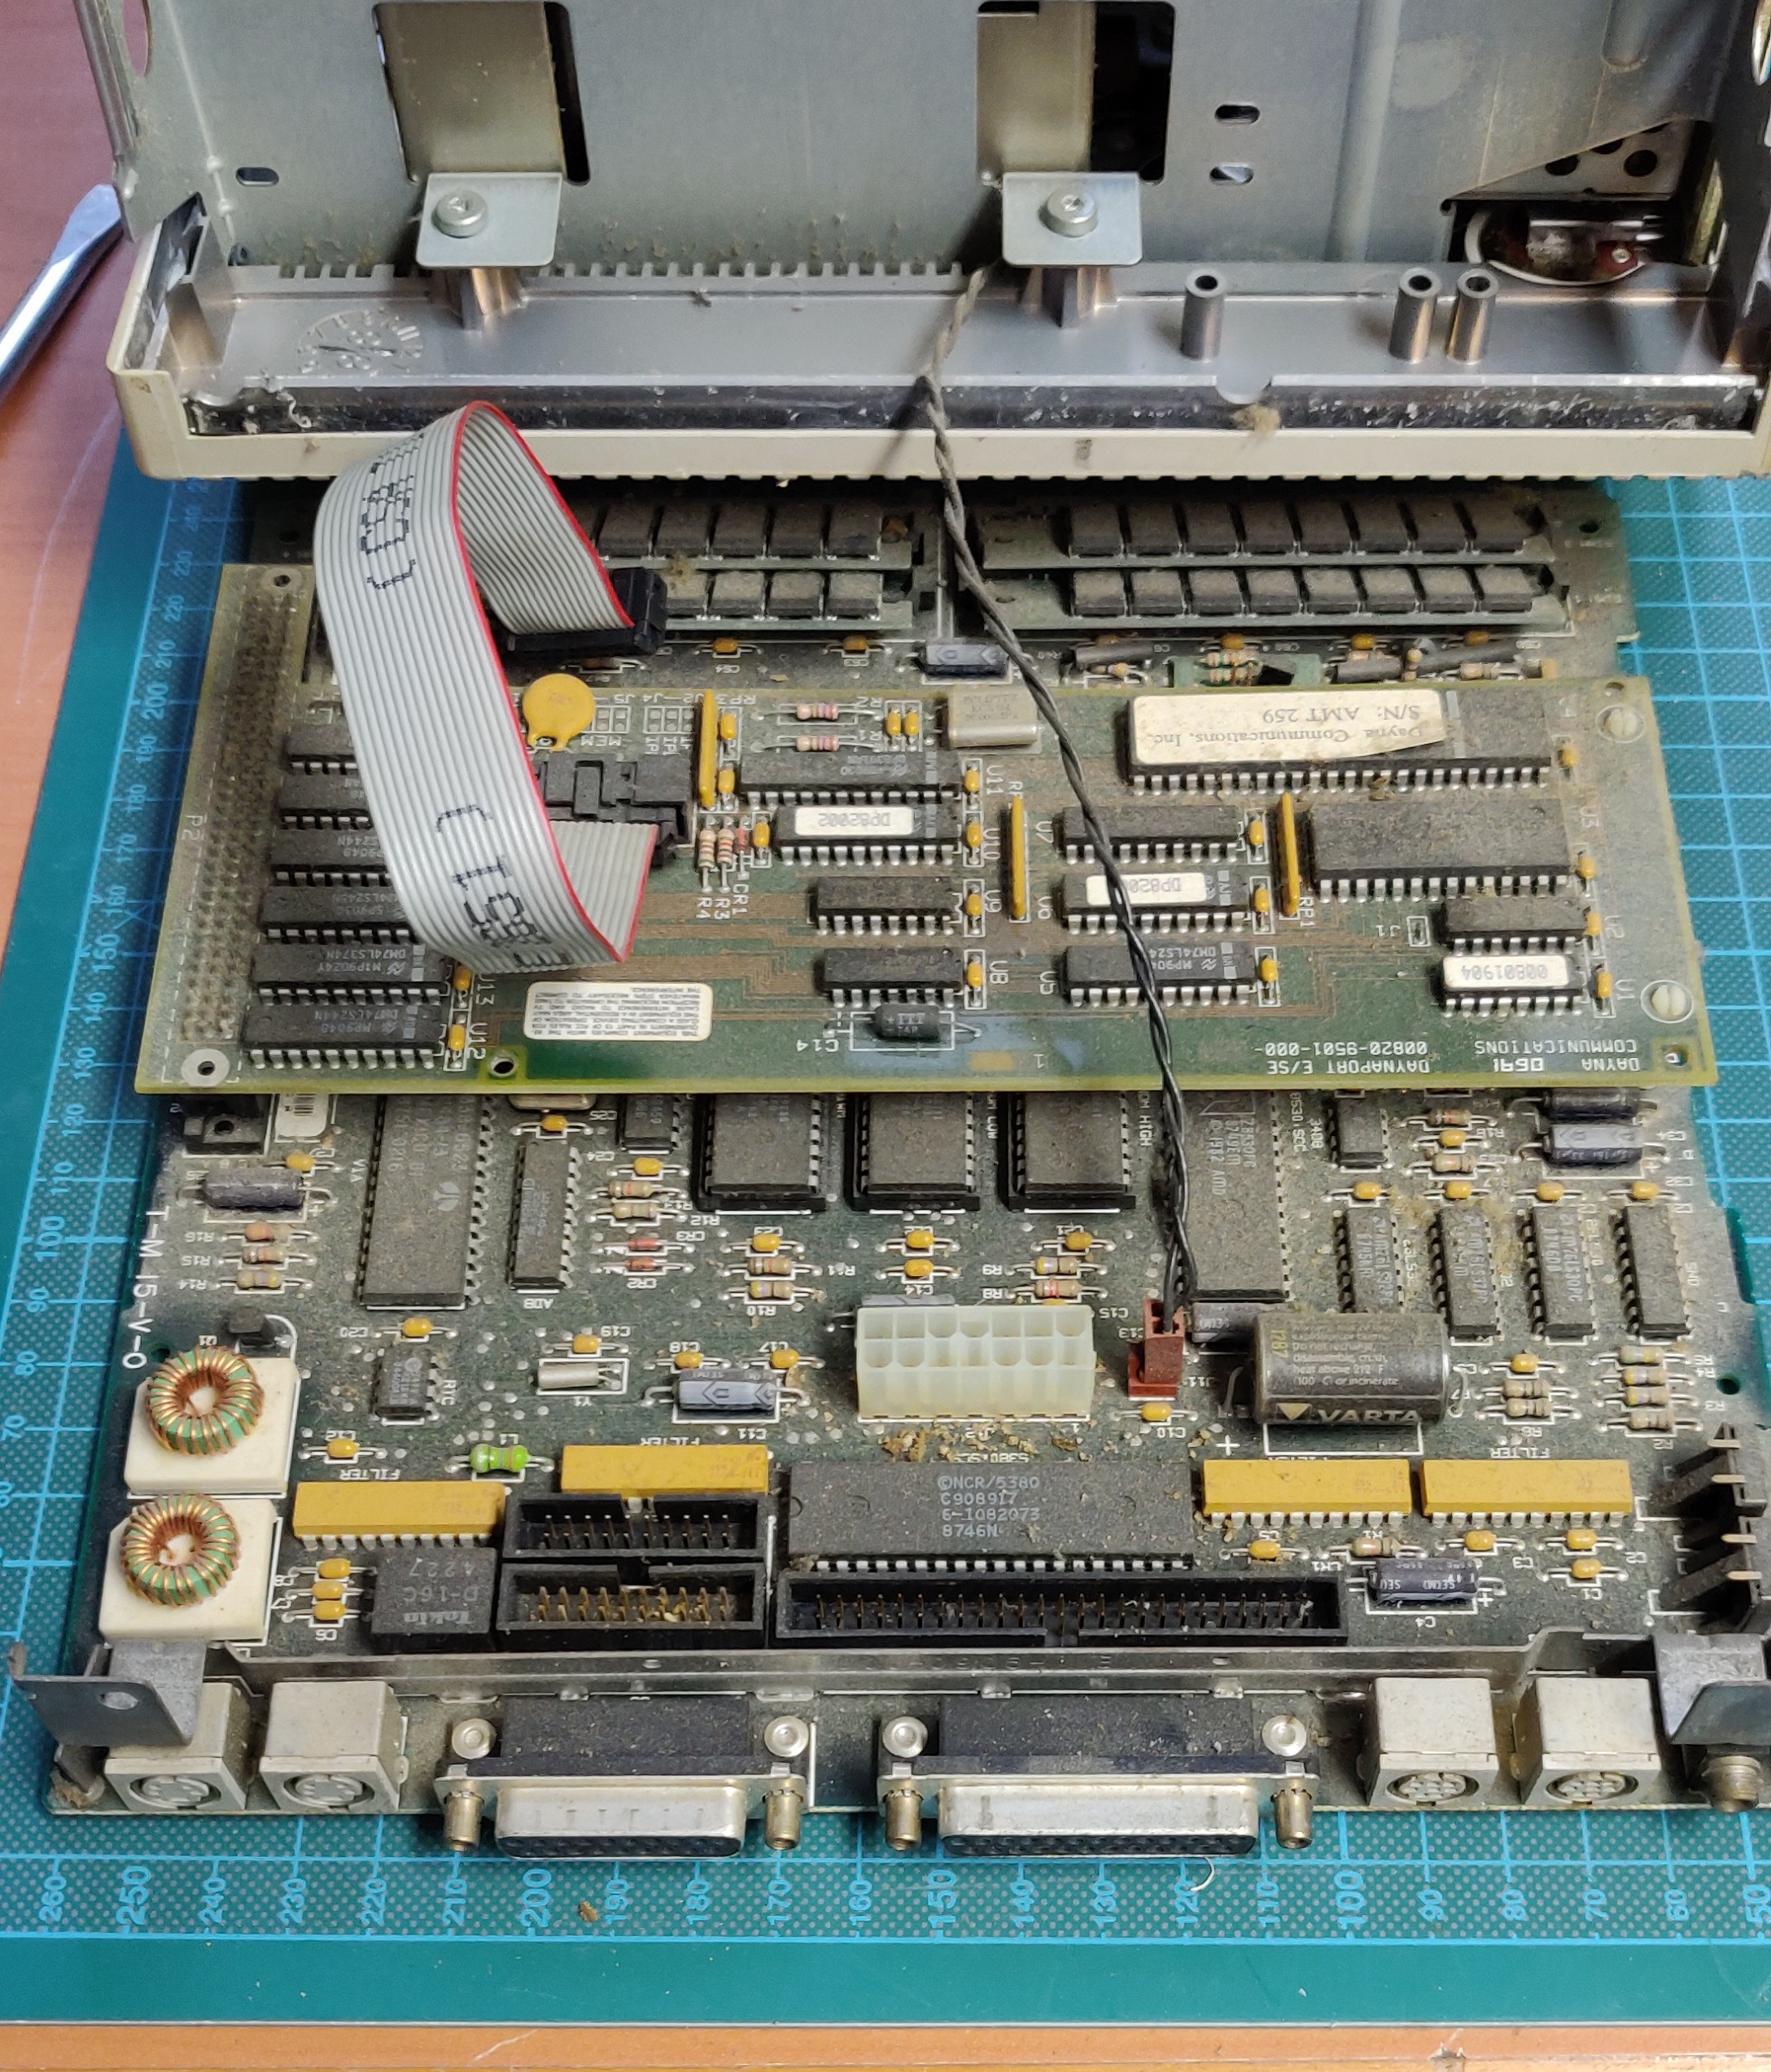
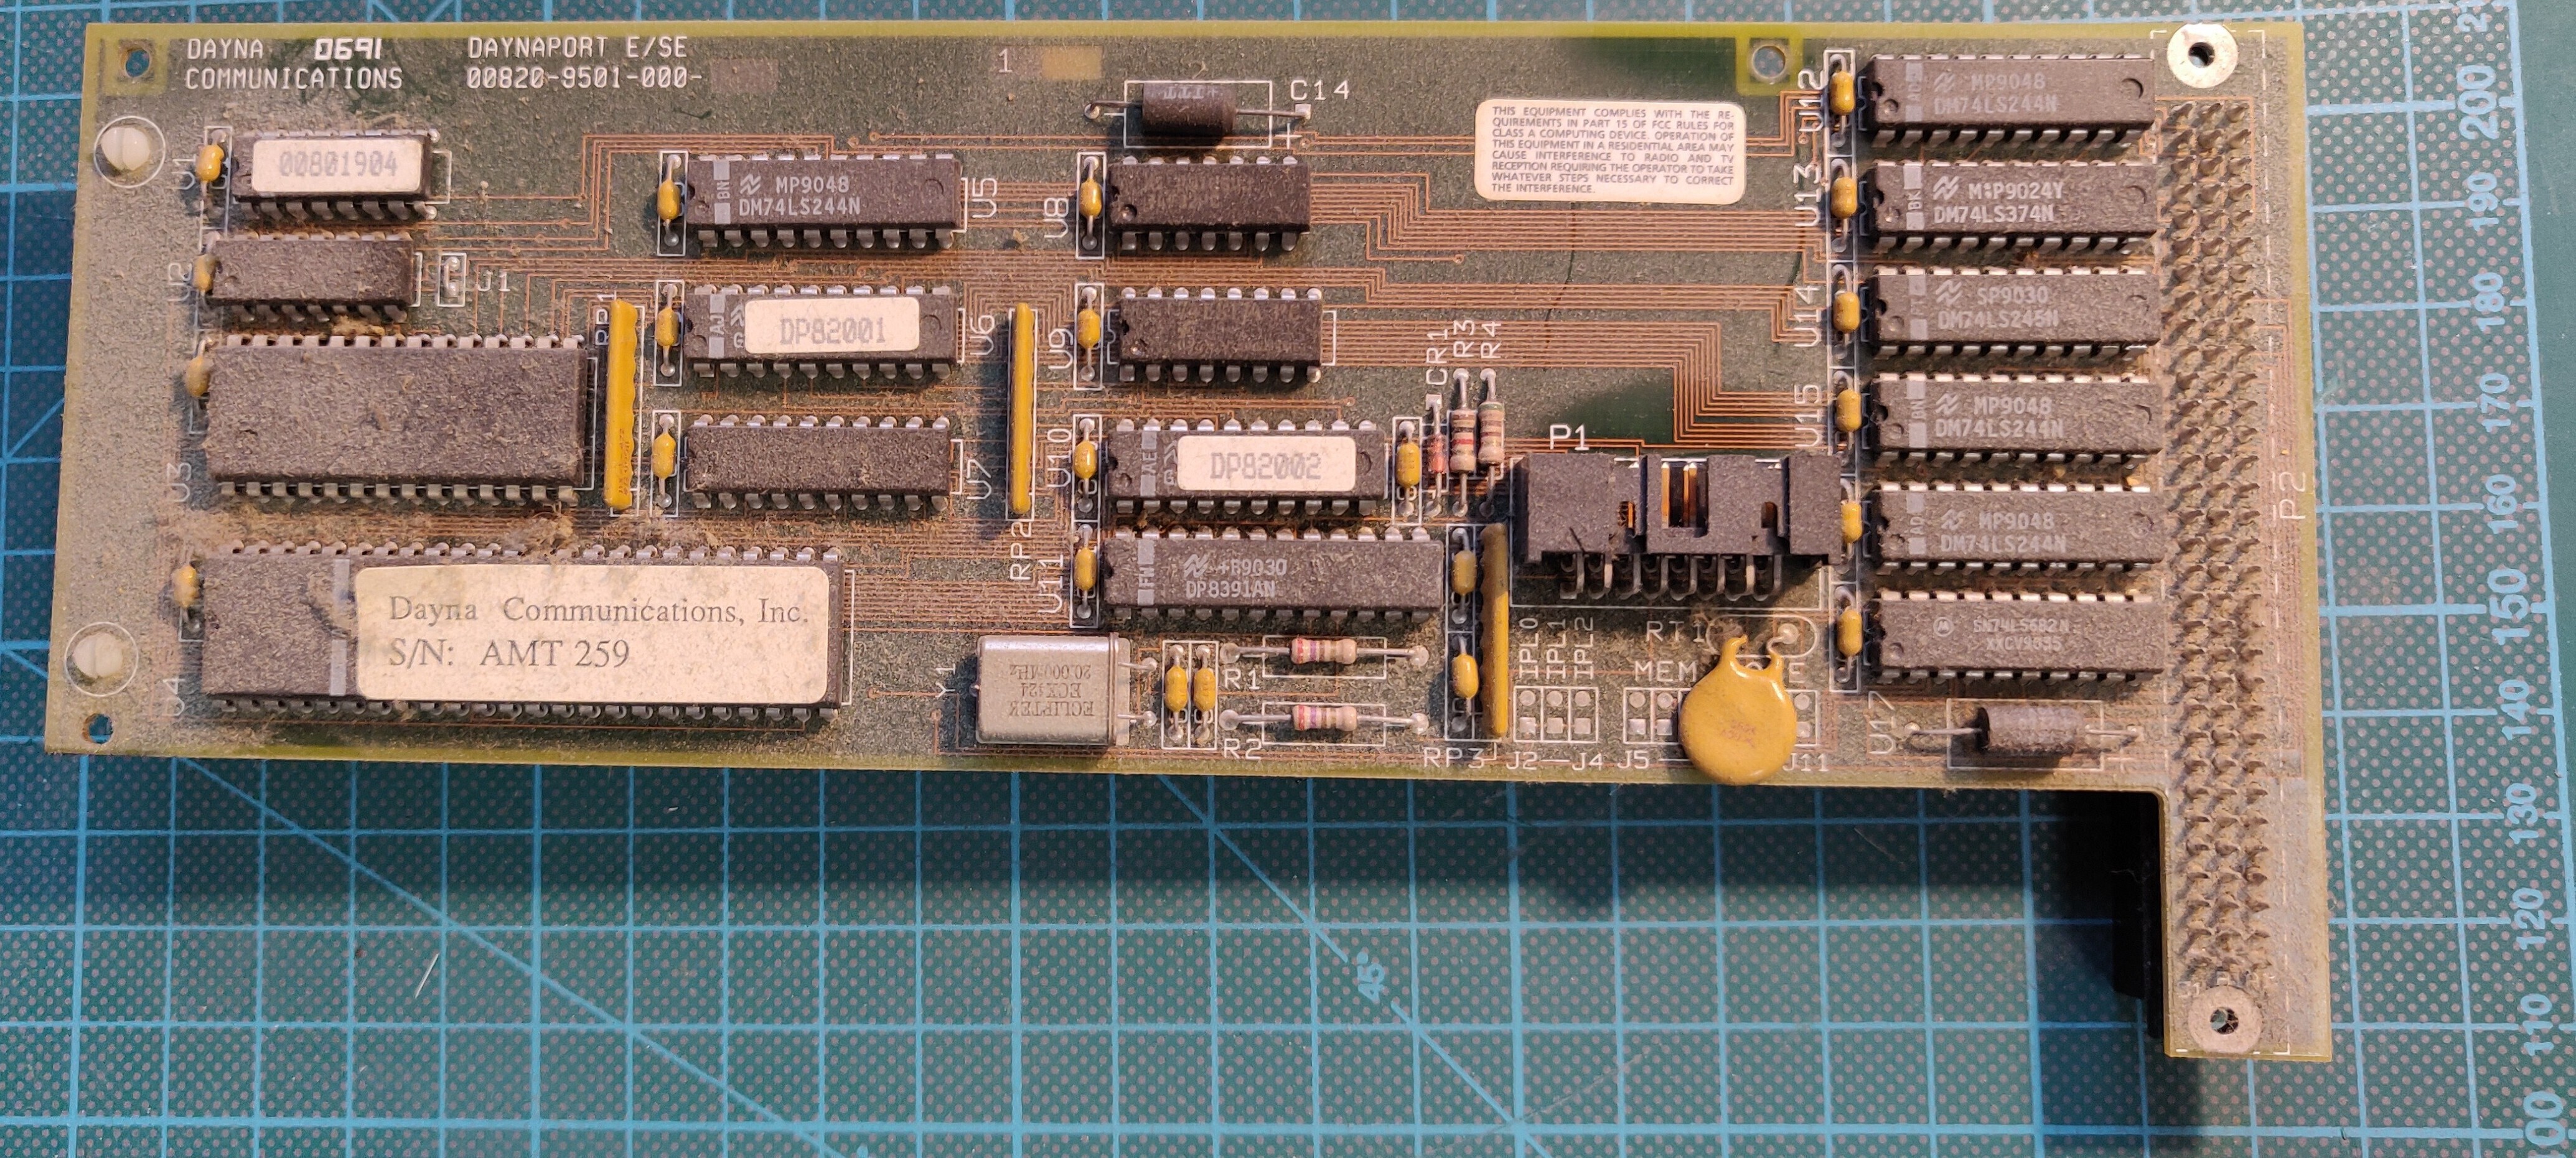
In the back I found a 10BASE-2 network card installed (more on this below):
Plenty of scuff marks all around, luckily I was able to clean all of them off.

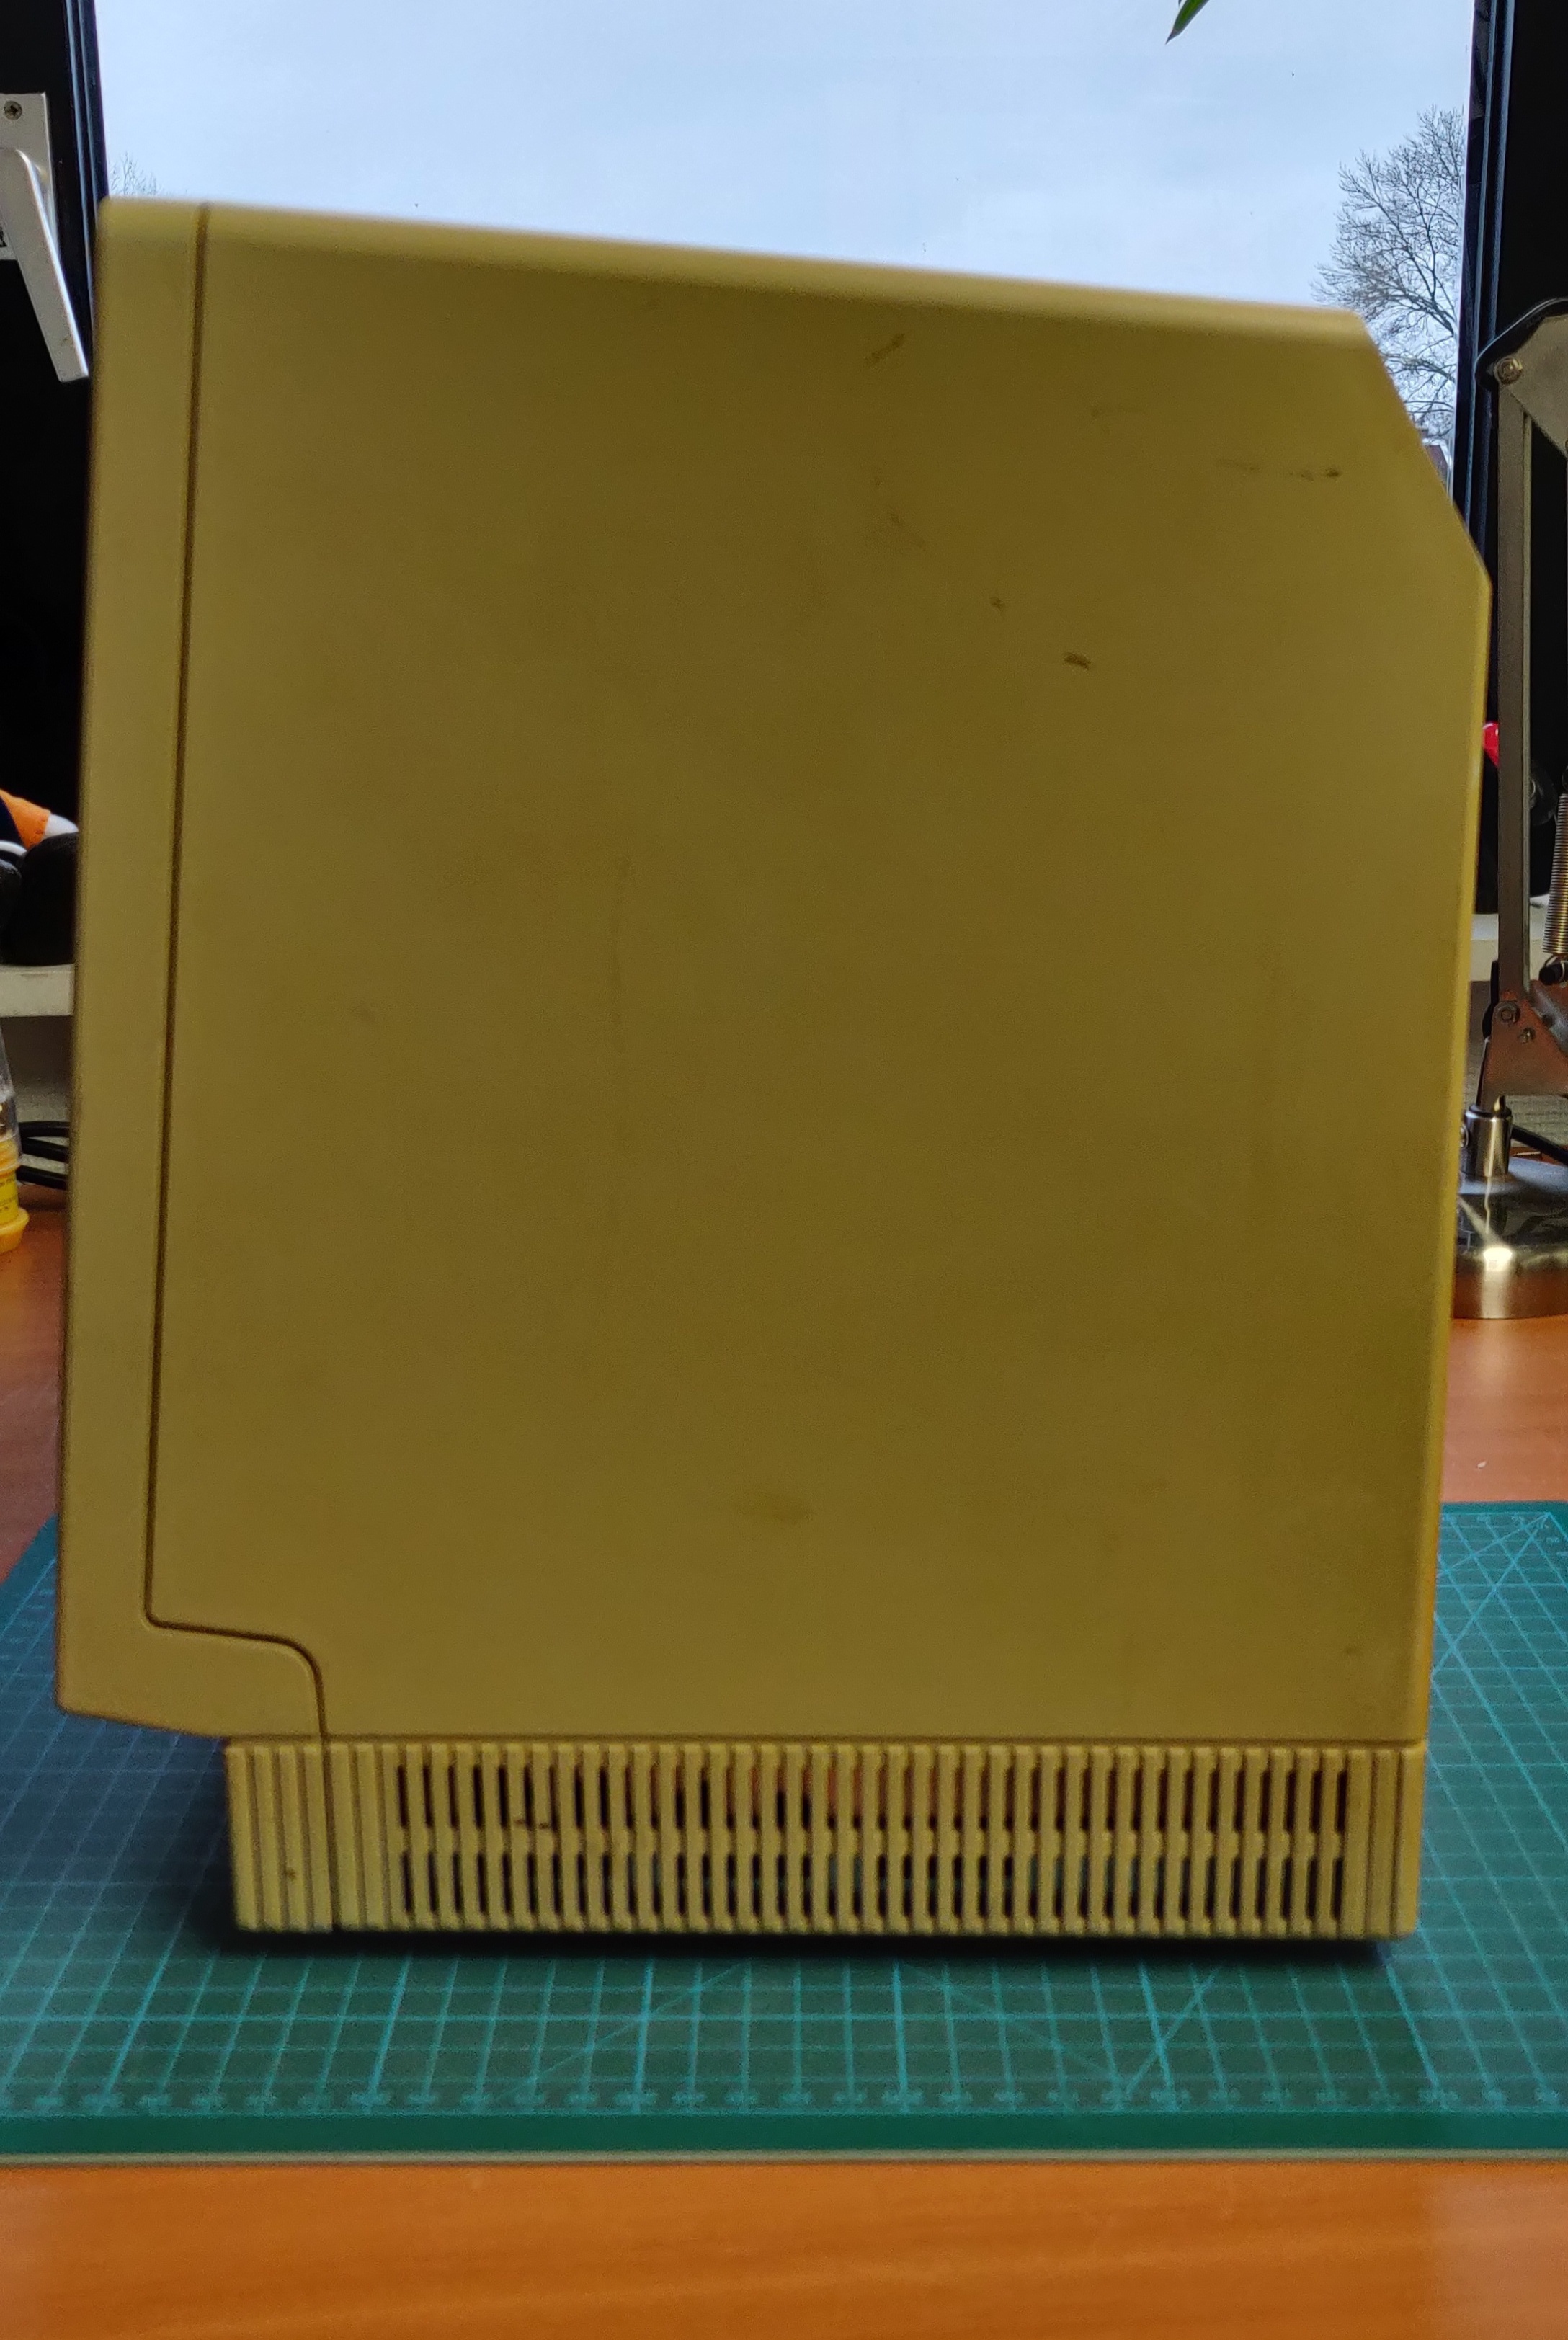
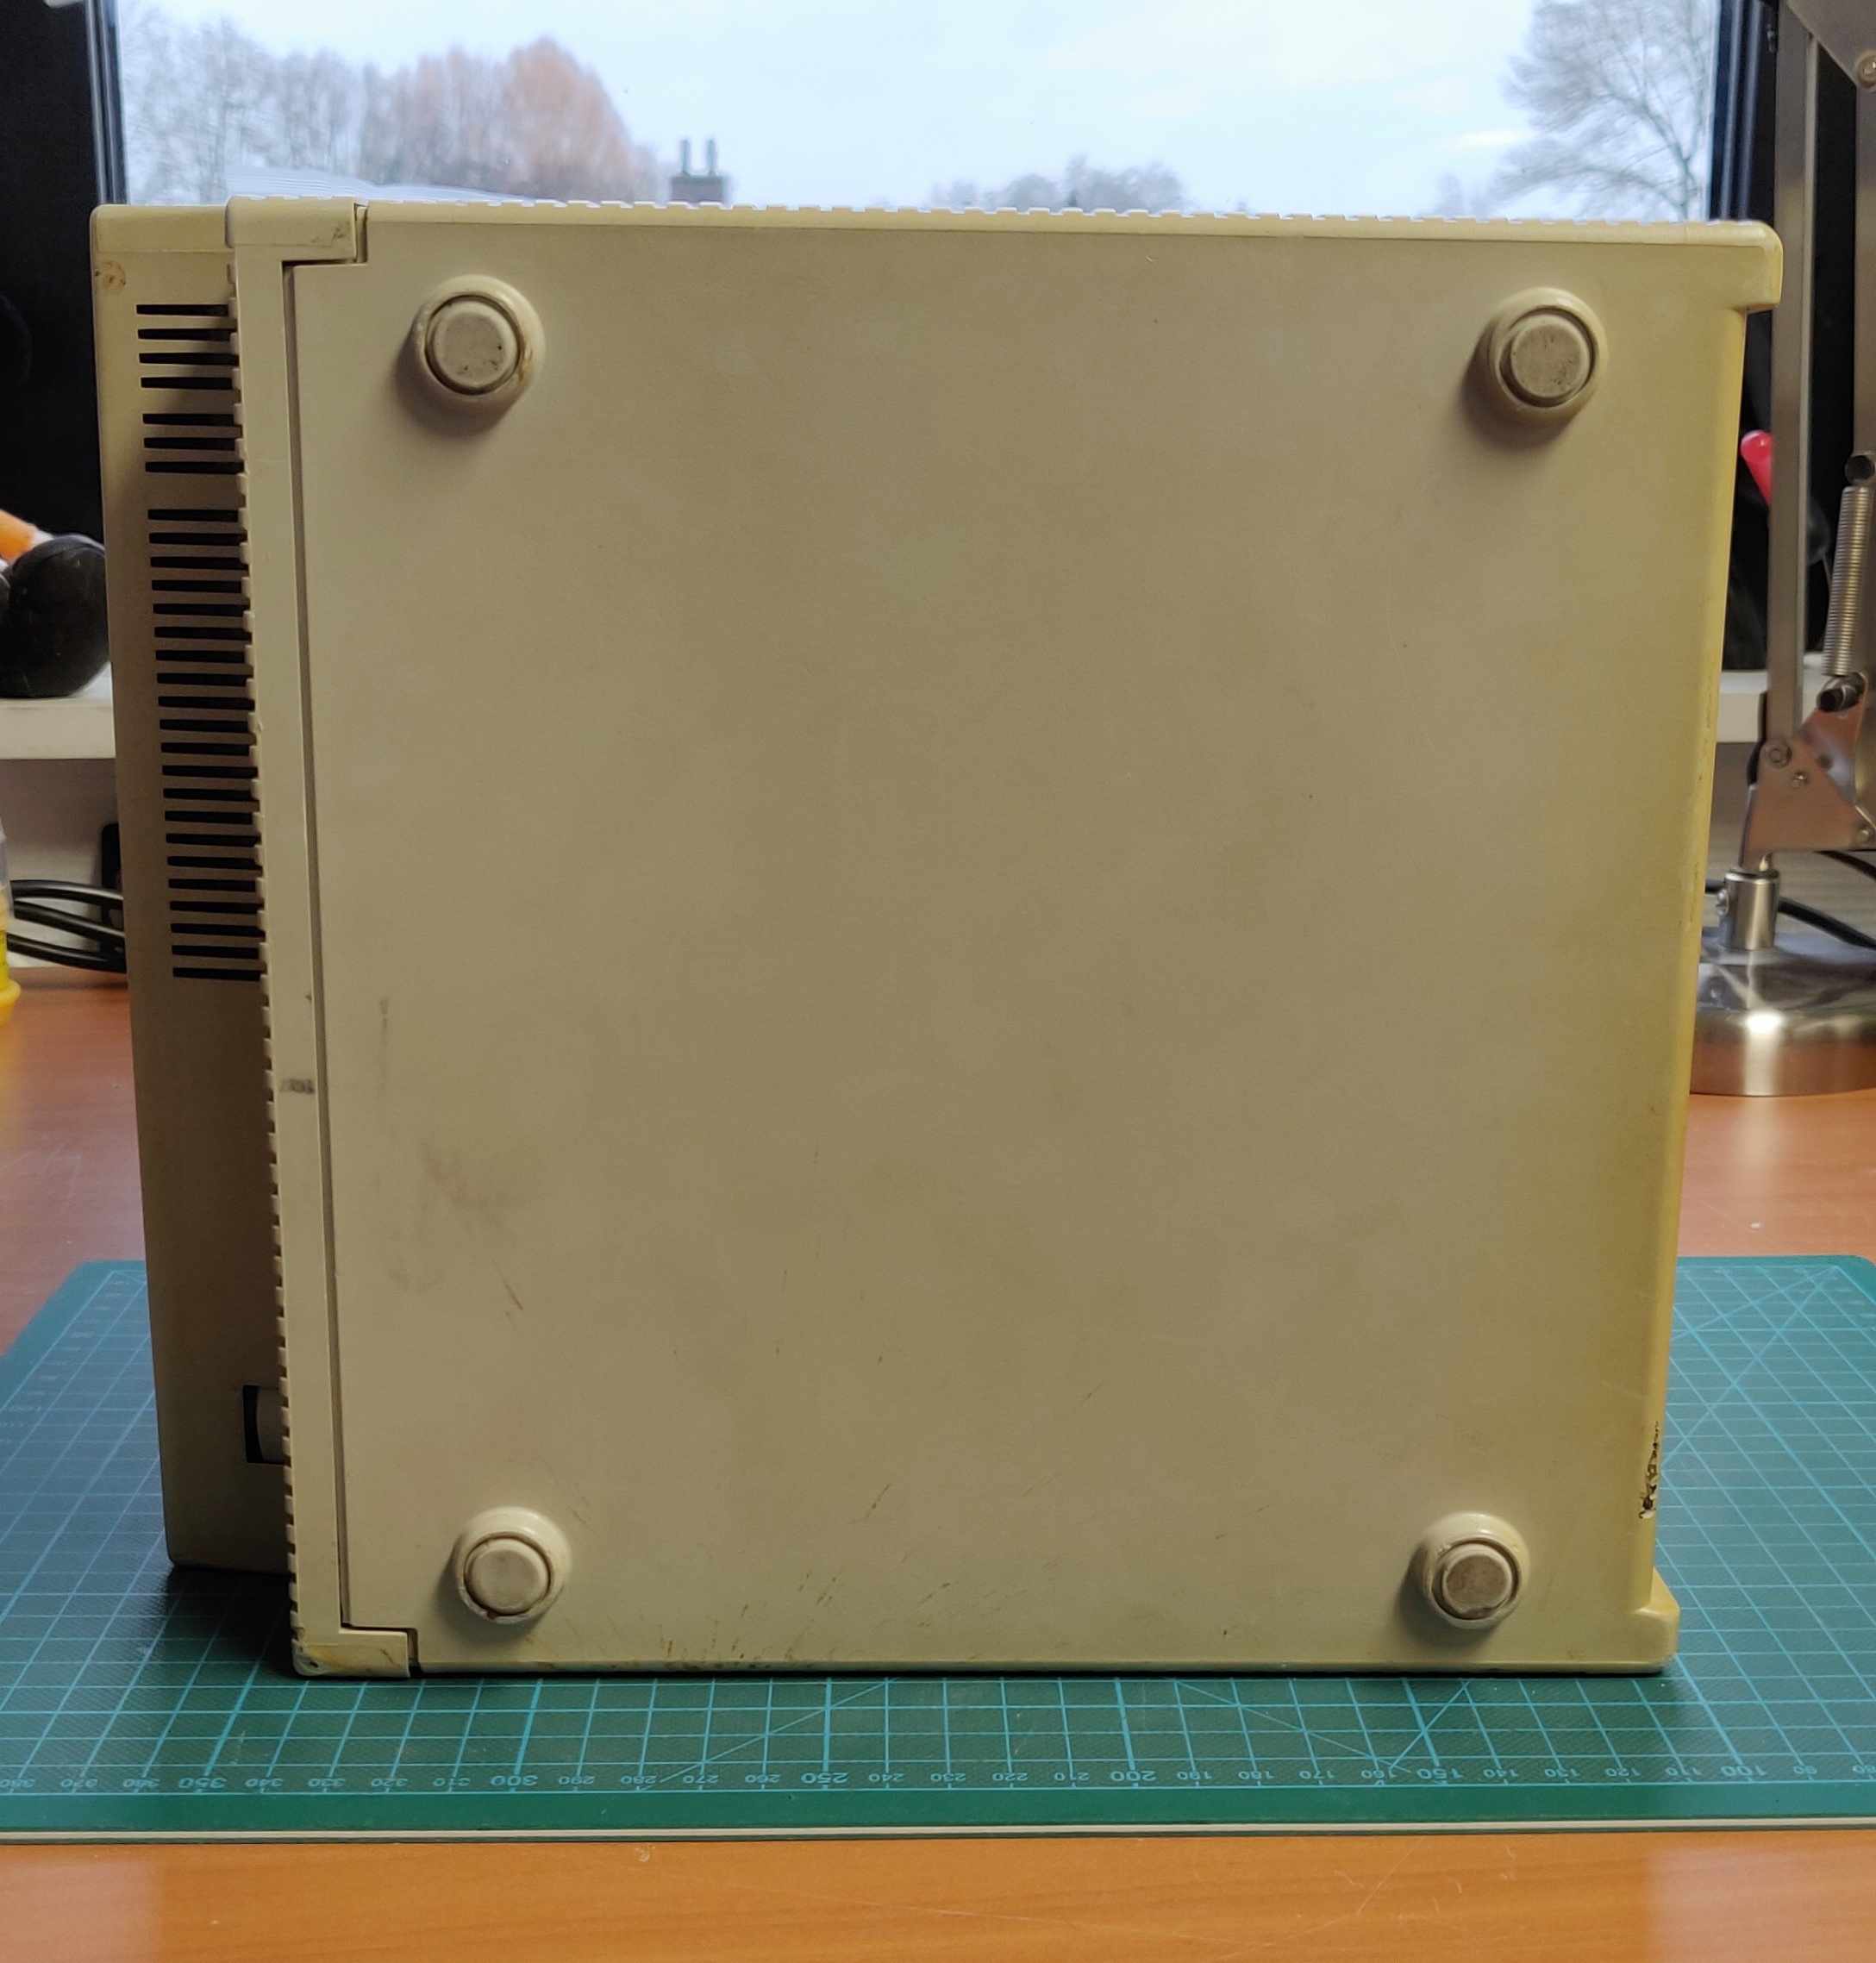
The bottom was the only part still showing the original colour of the plastic:
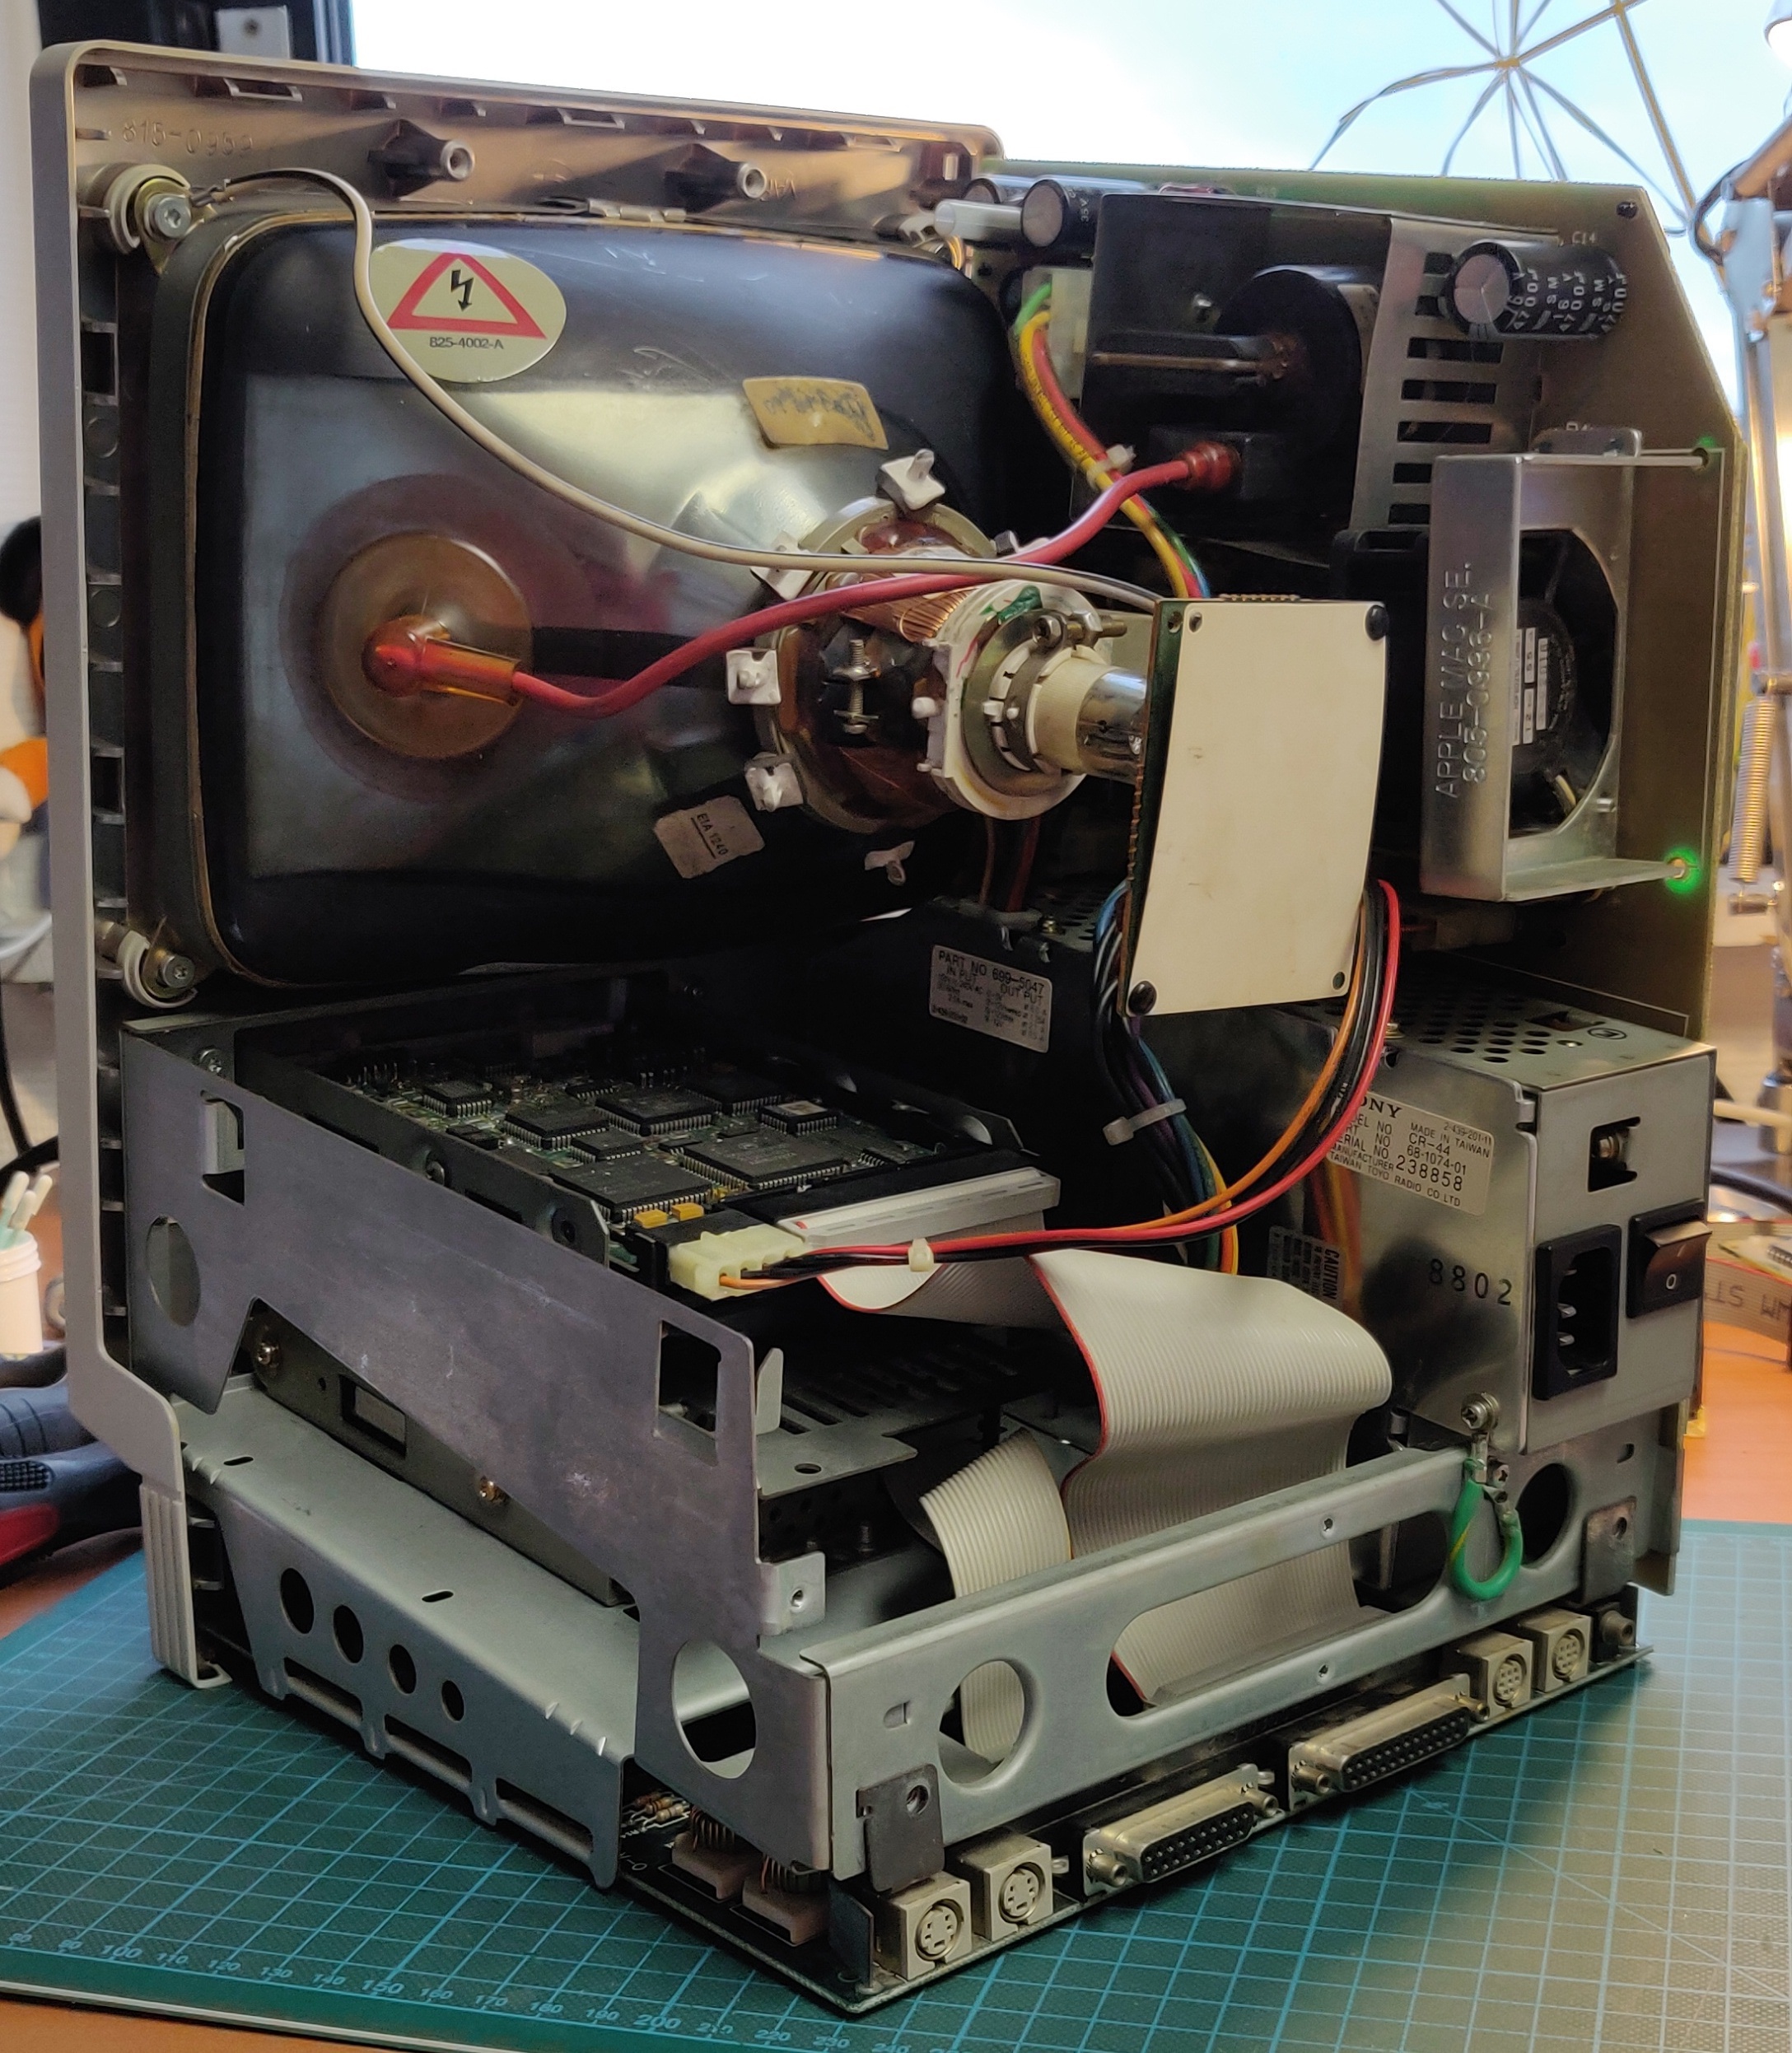
Internal inspection and cleaning:
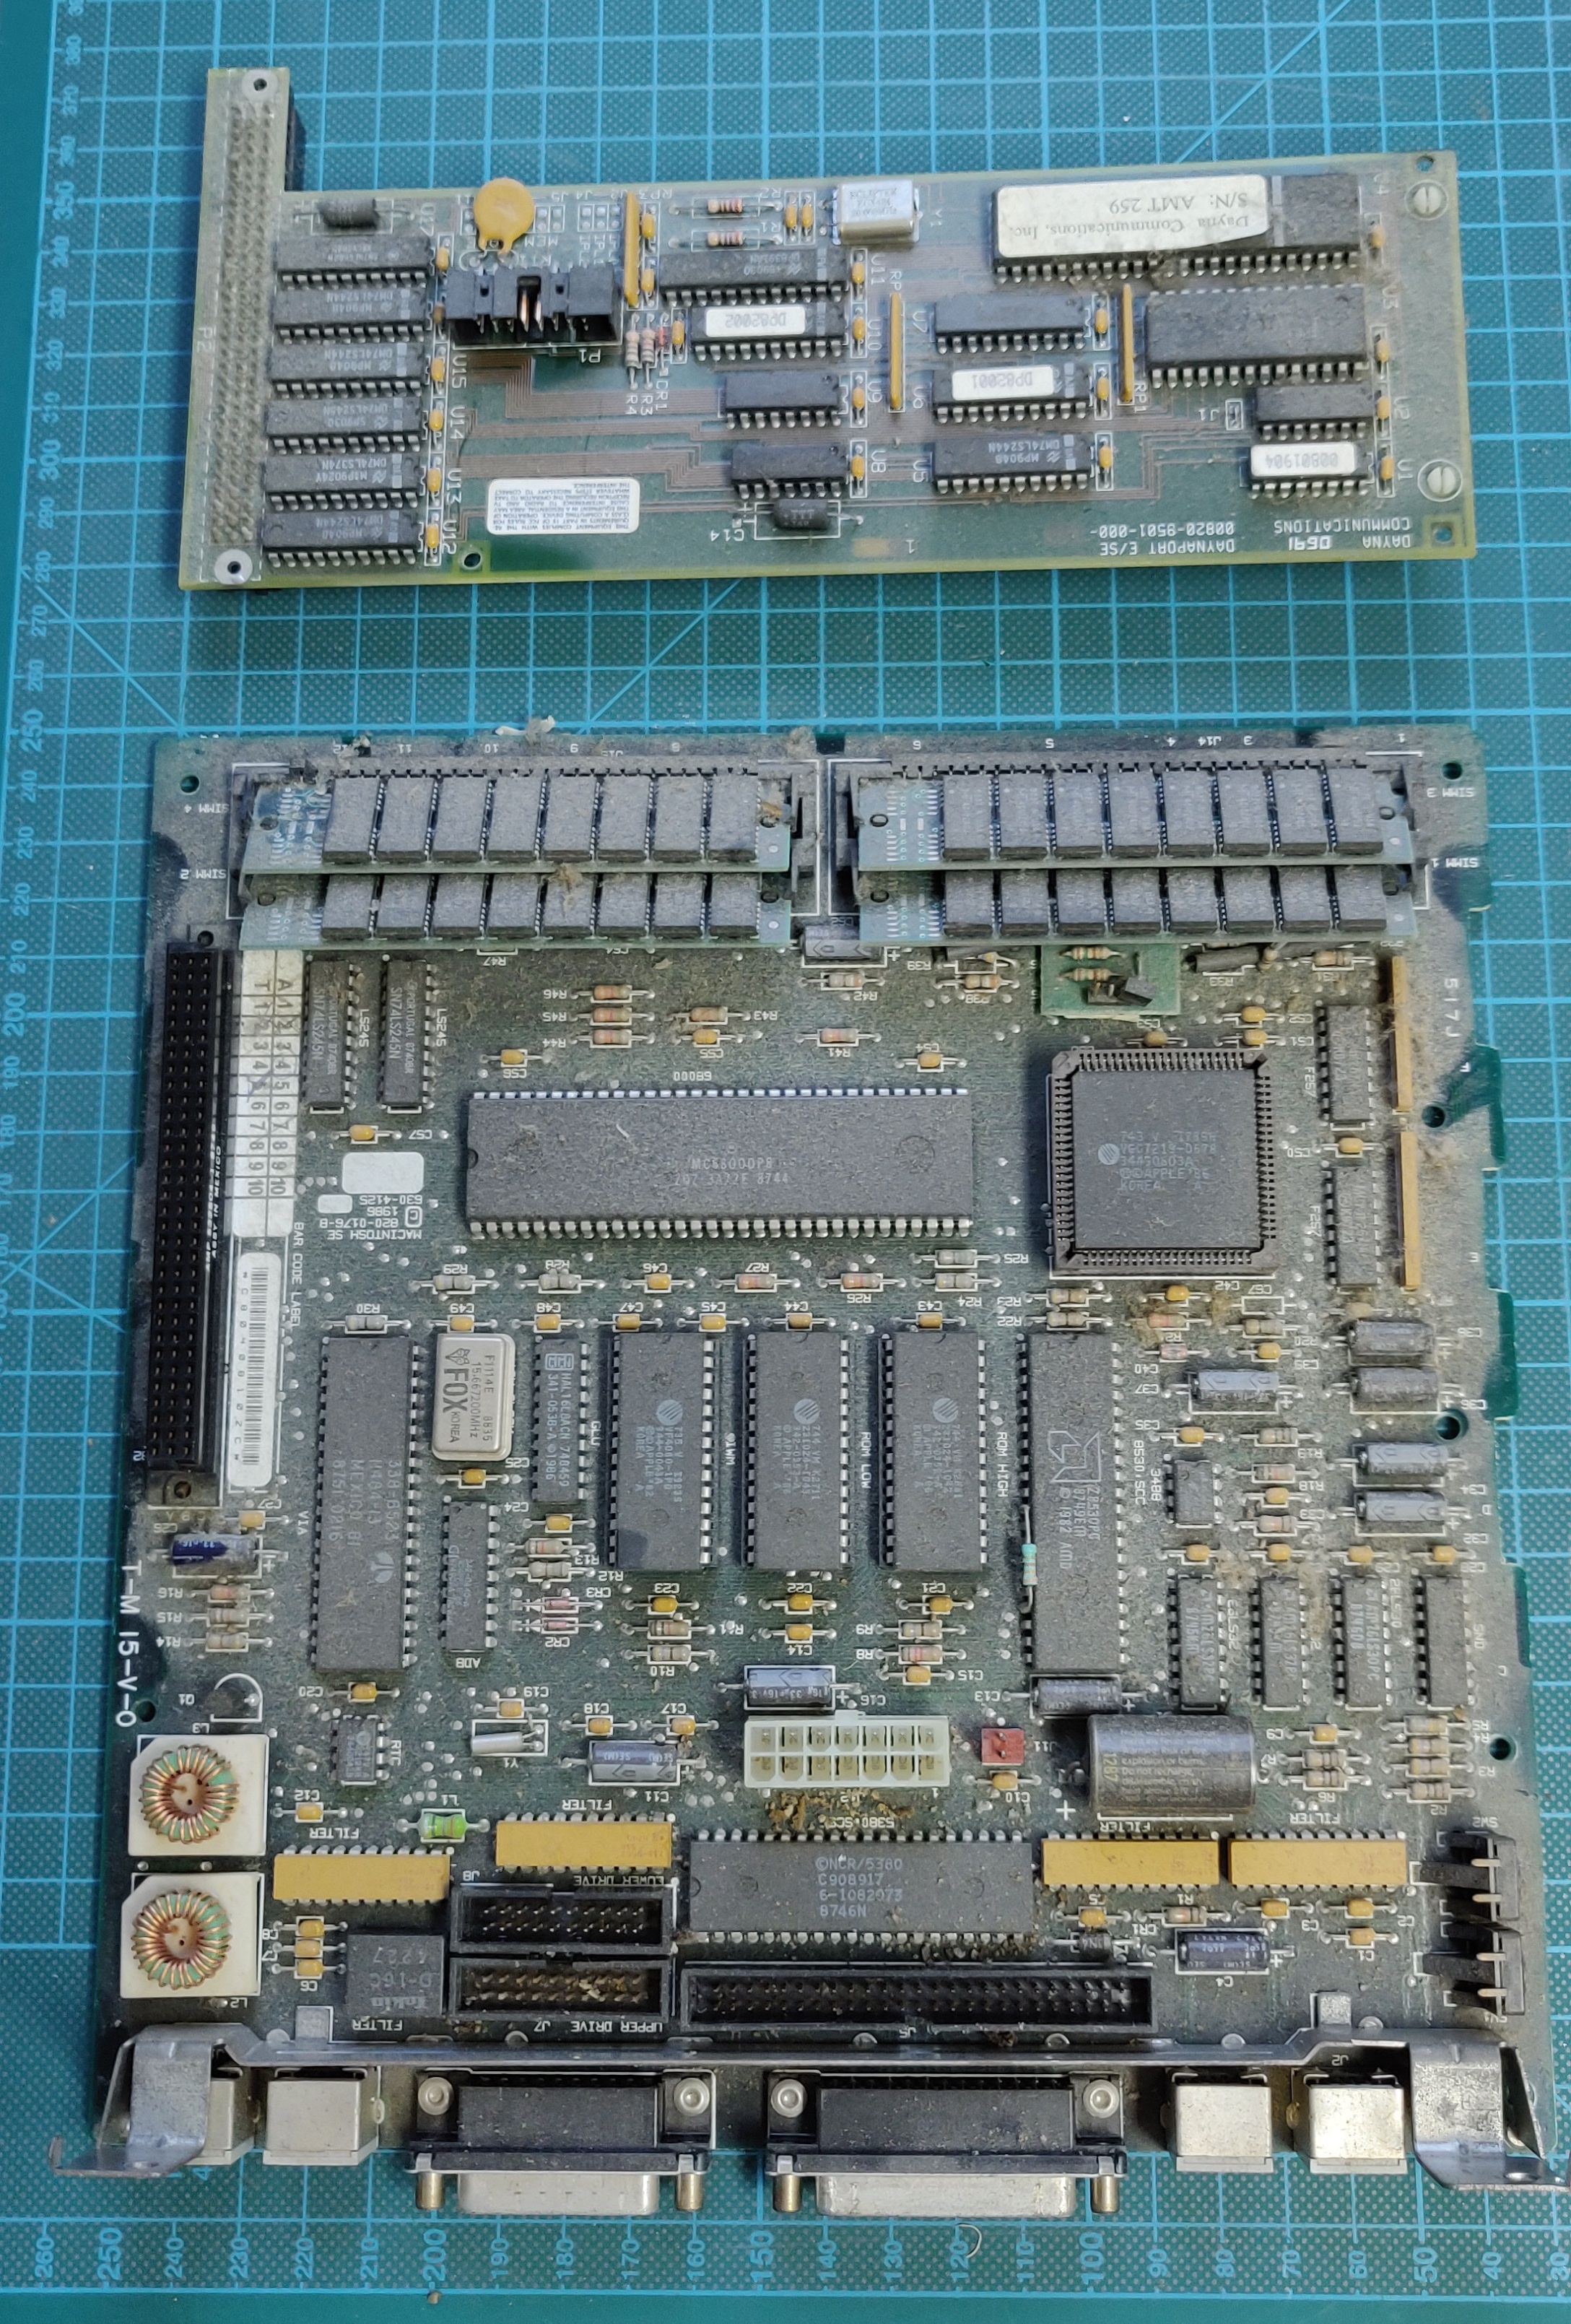
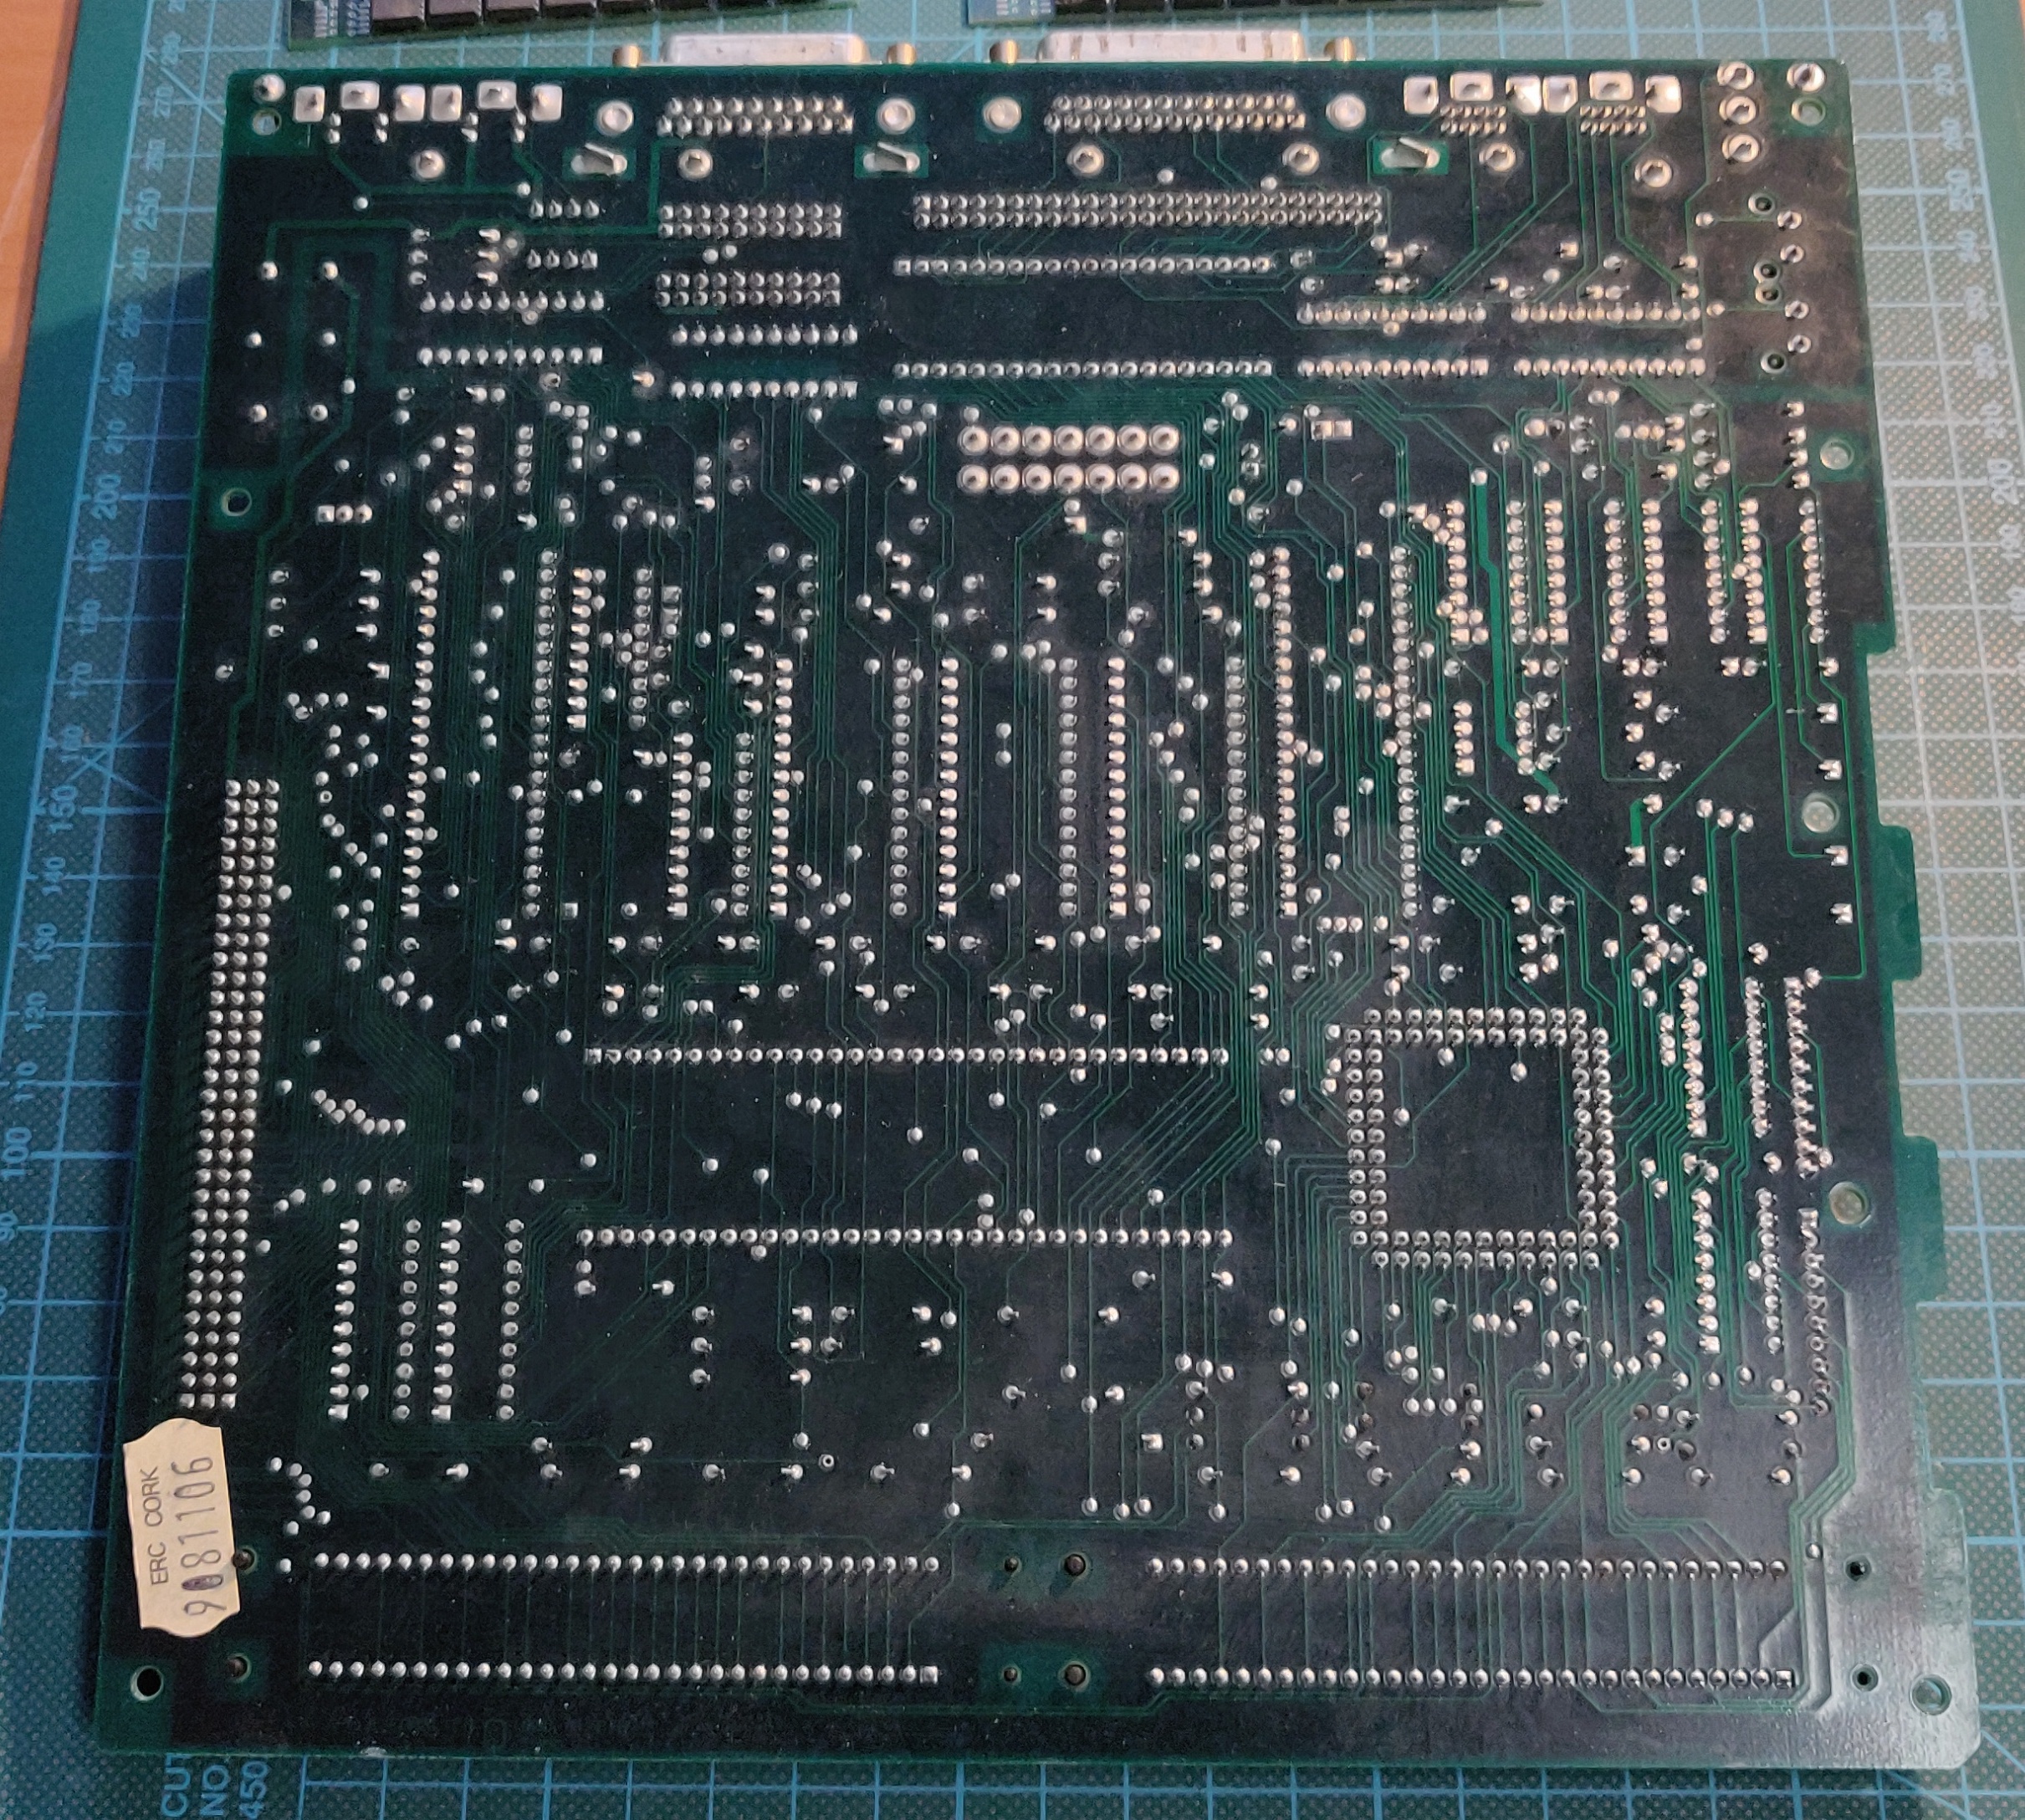
In these pictures you can see the logic board the way it came out of the machine, with and without the network card installed:
The memory was already maxed out with 4MB installed, together with a full load of dust:
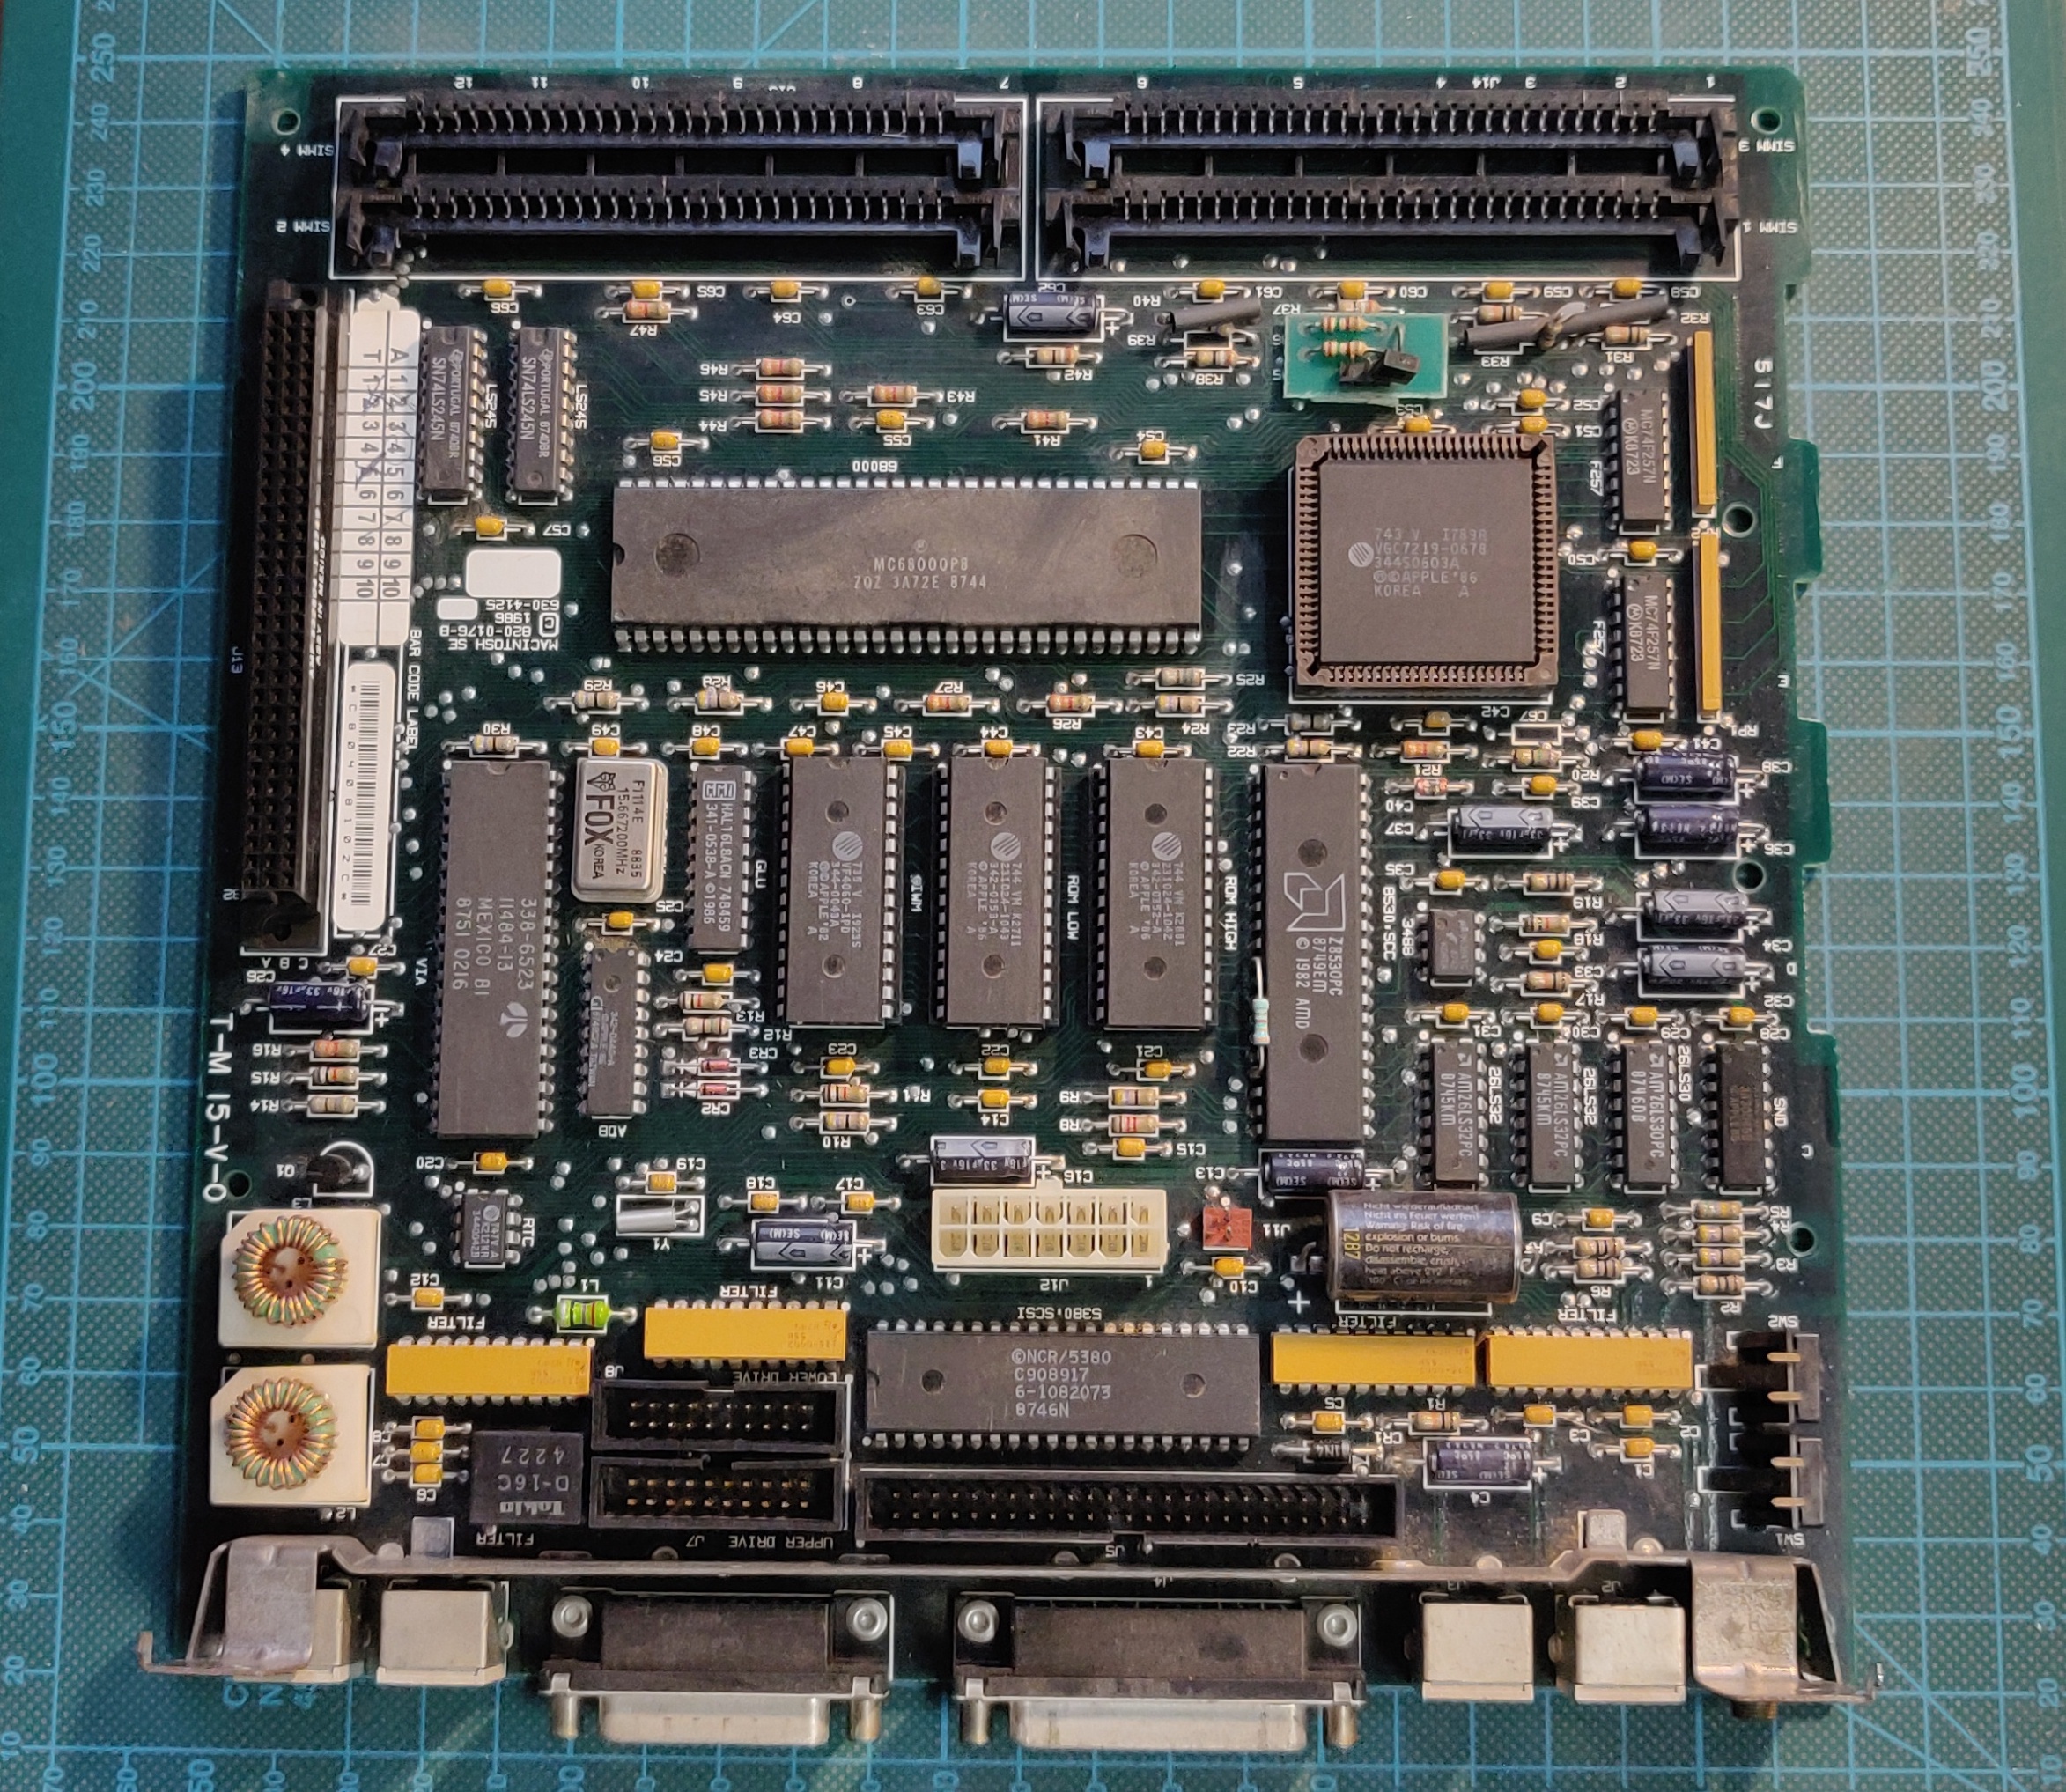
The logic board cleaned up very nice:
No obvious evidence of previous repairs:
This is the Dynaport E/SE 10BASE-2 network adapter. I haven't re-installed this board since it doesn't support 10BASE-T, making it pretty useless in the modern world:
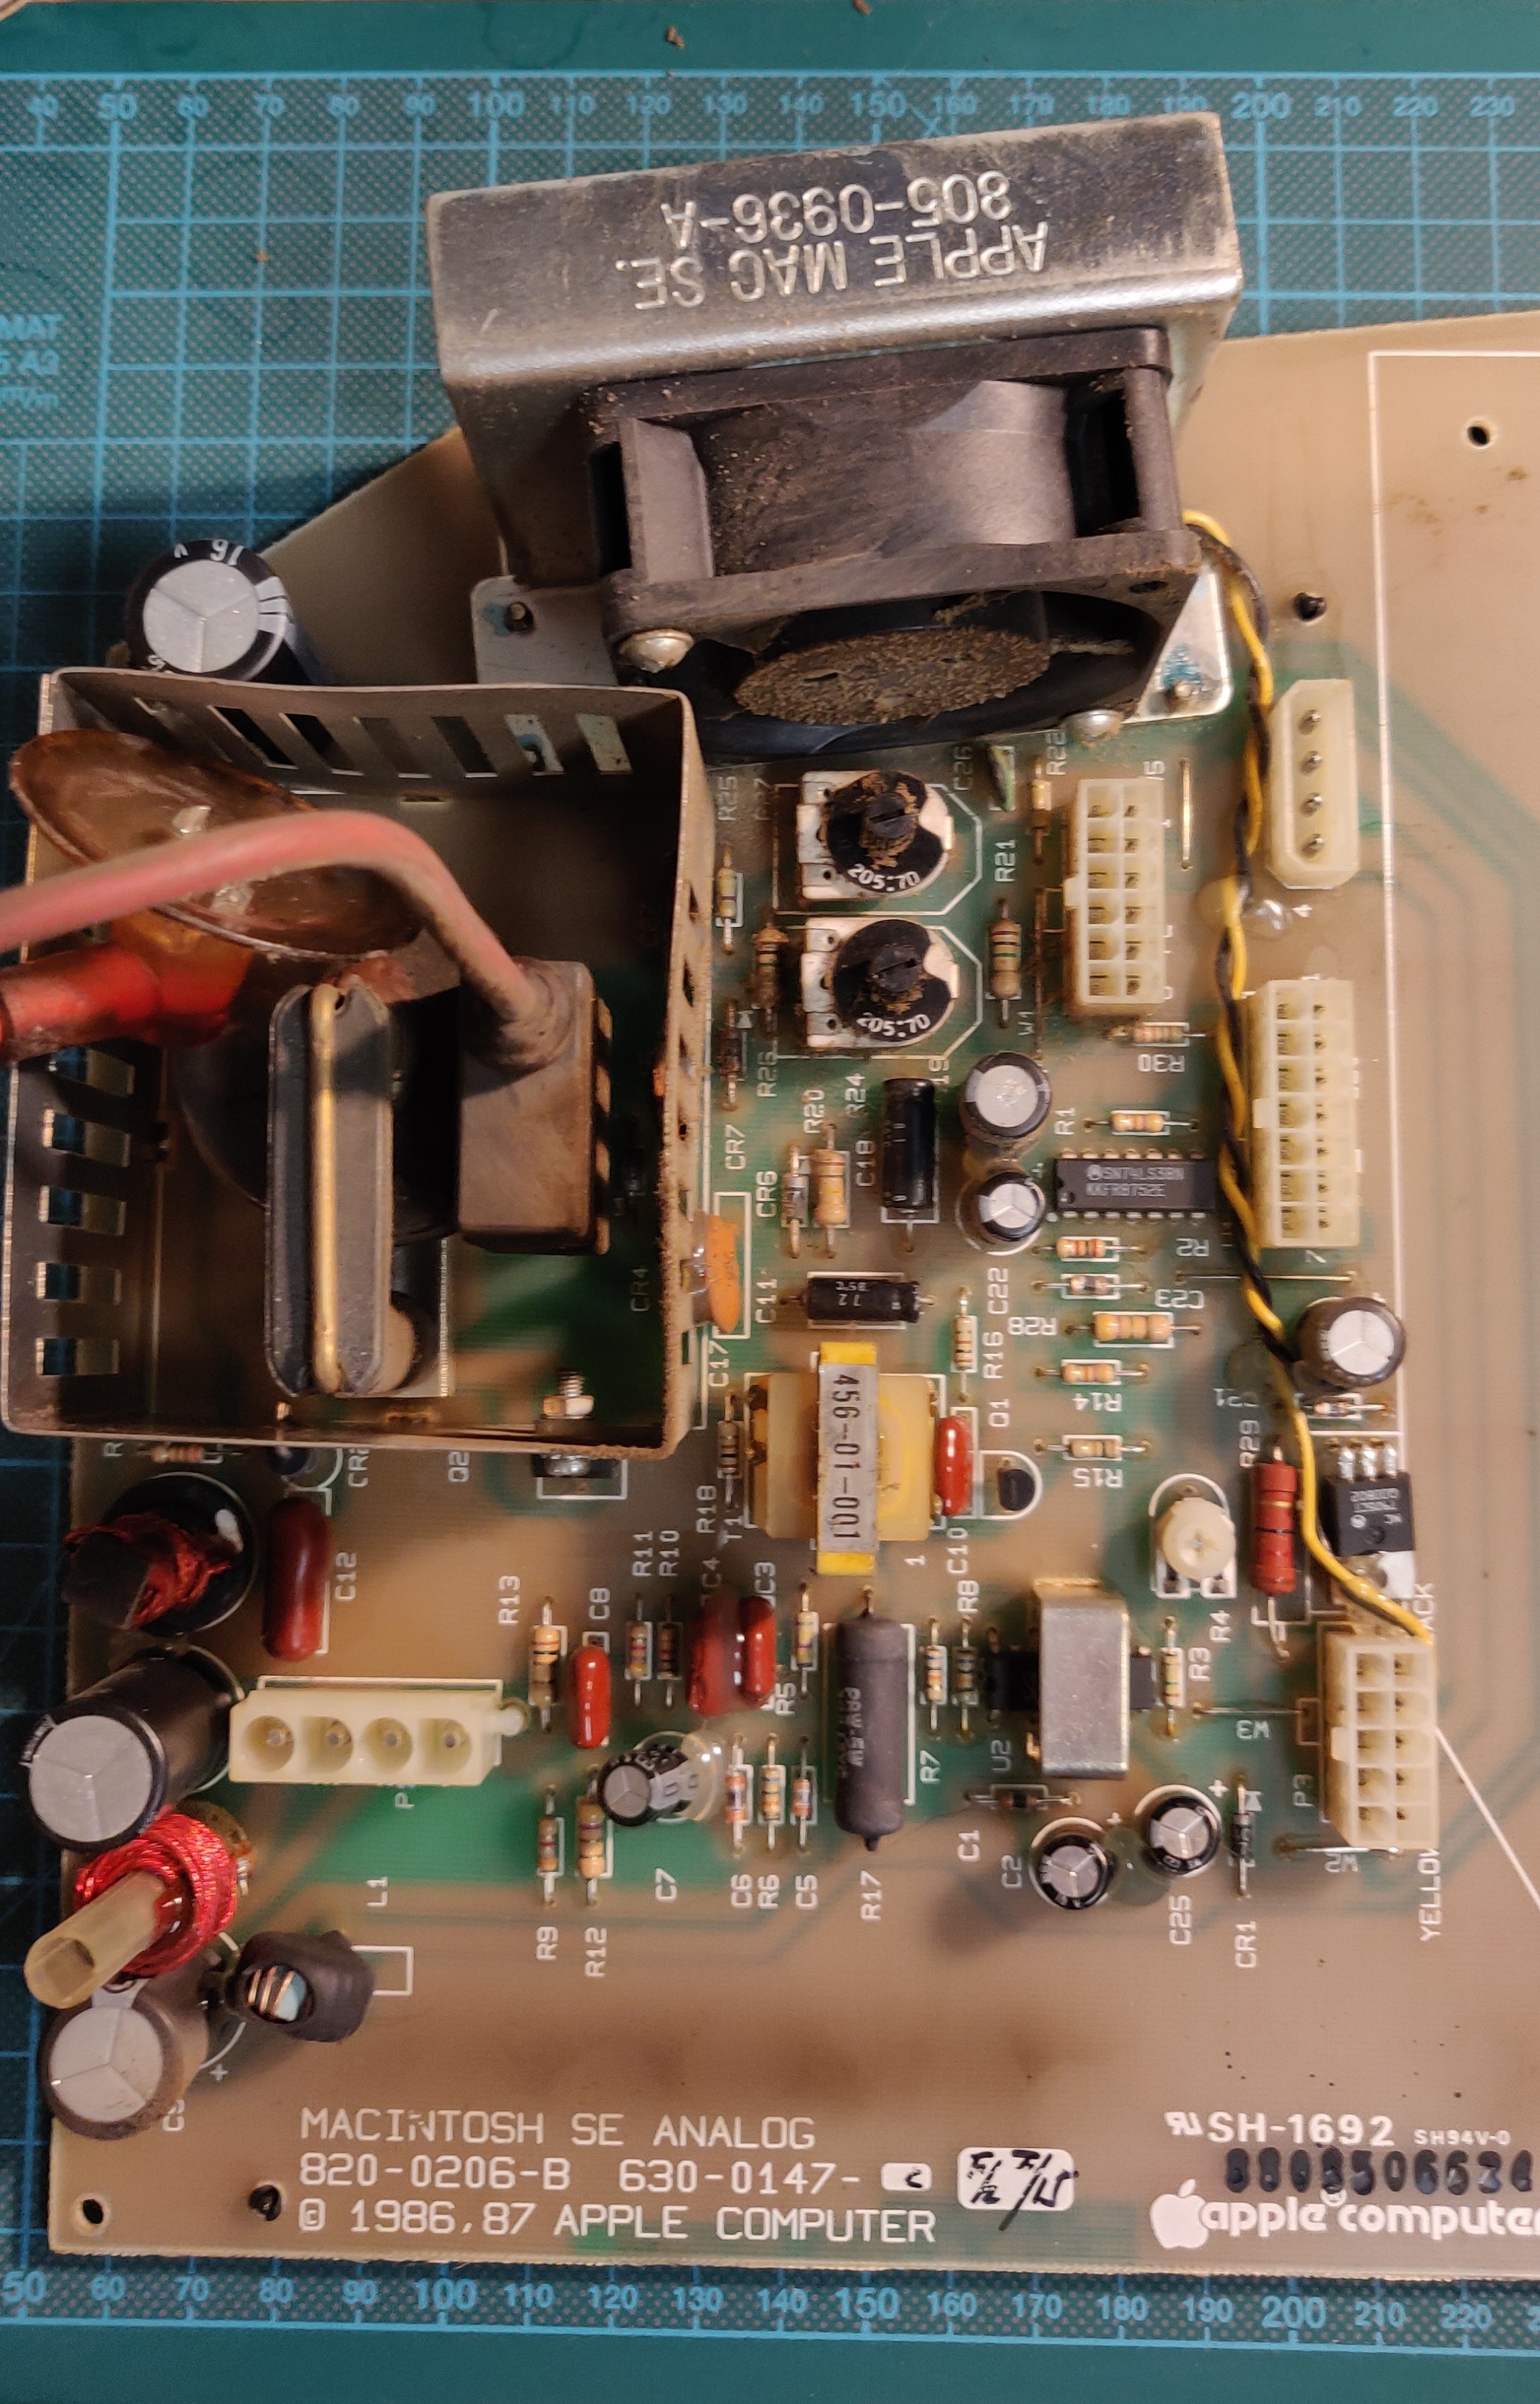
The analogue board fresh out of the case with lots of caked on dust:
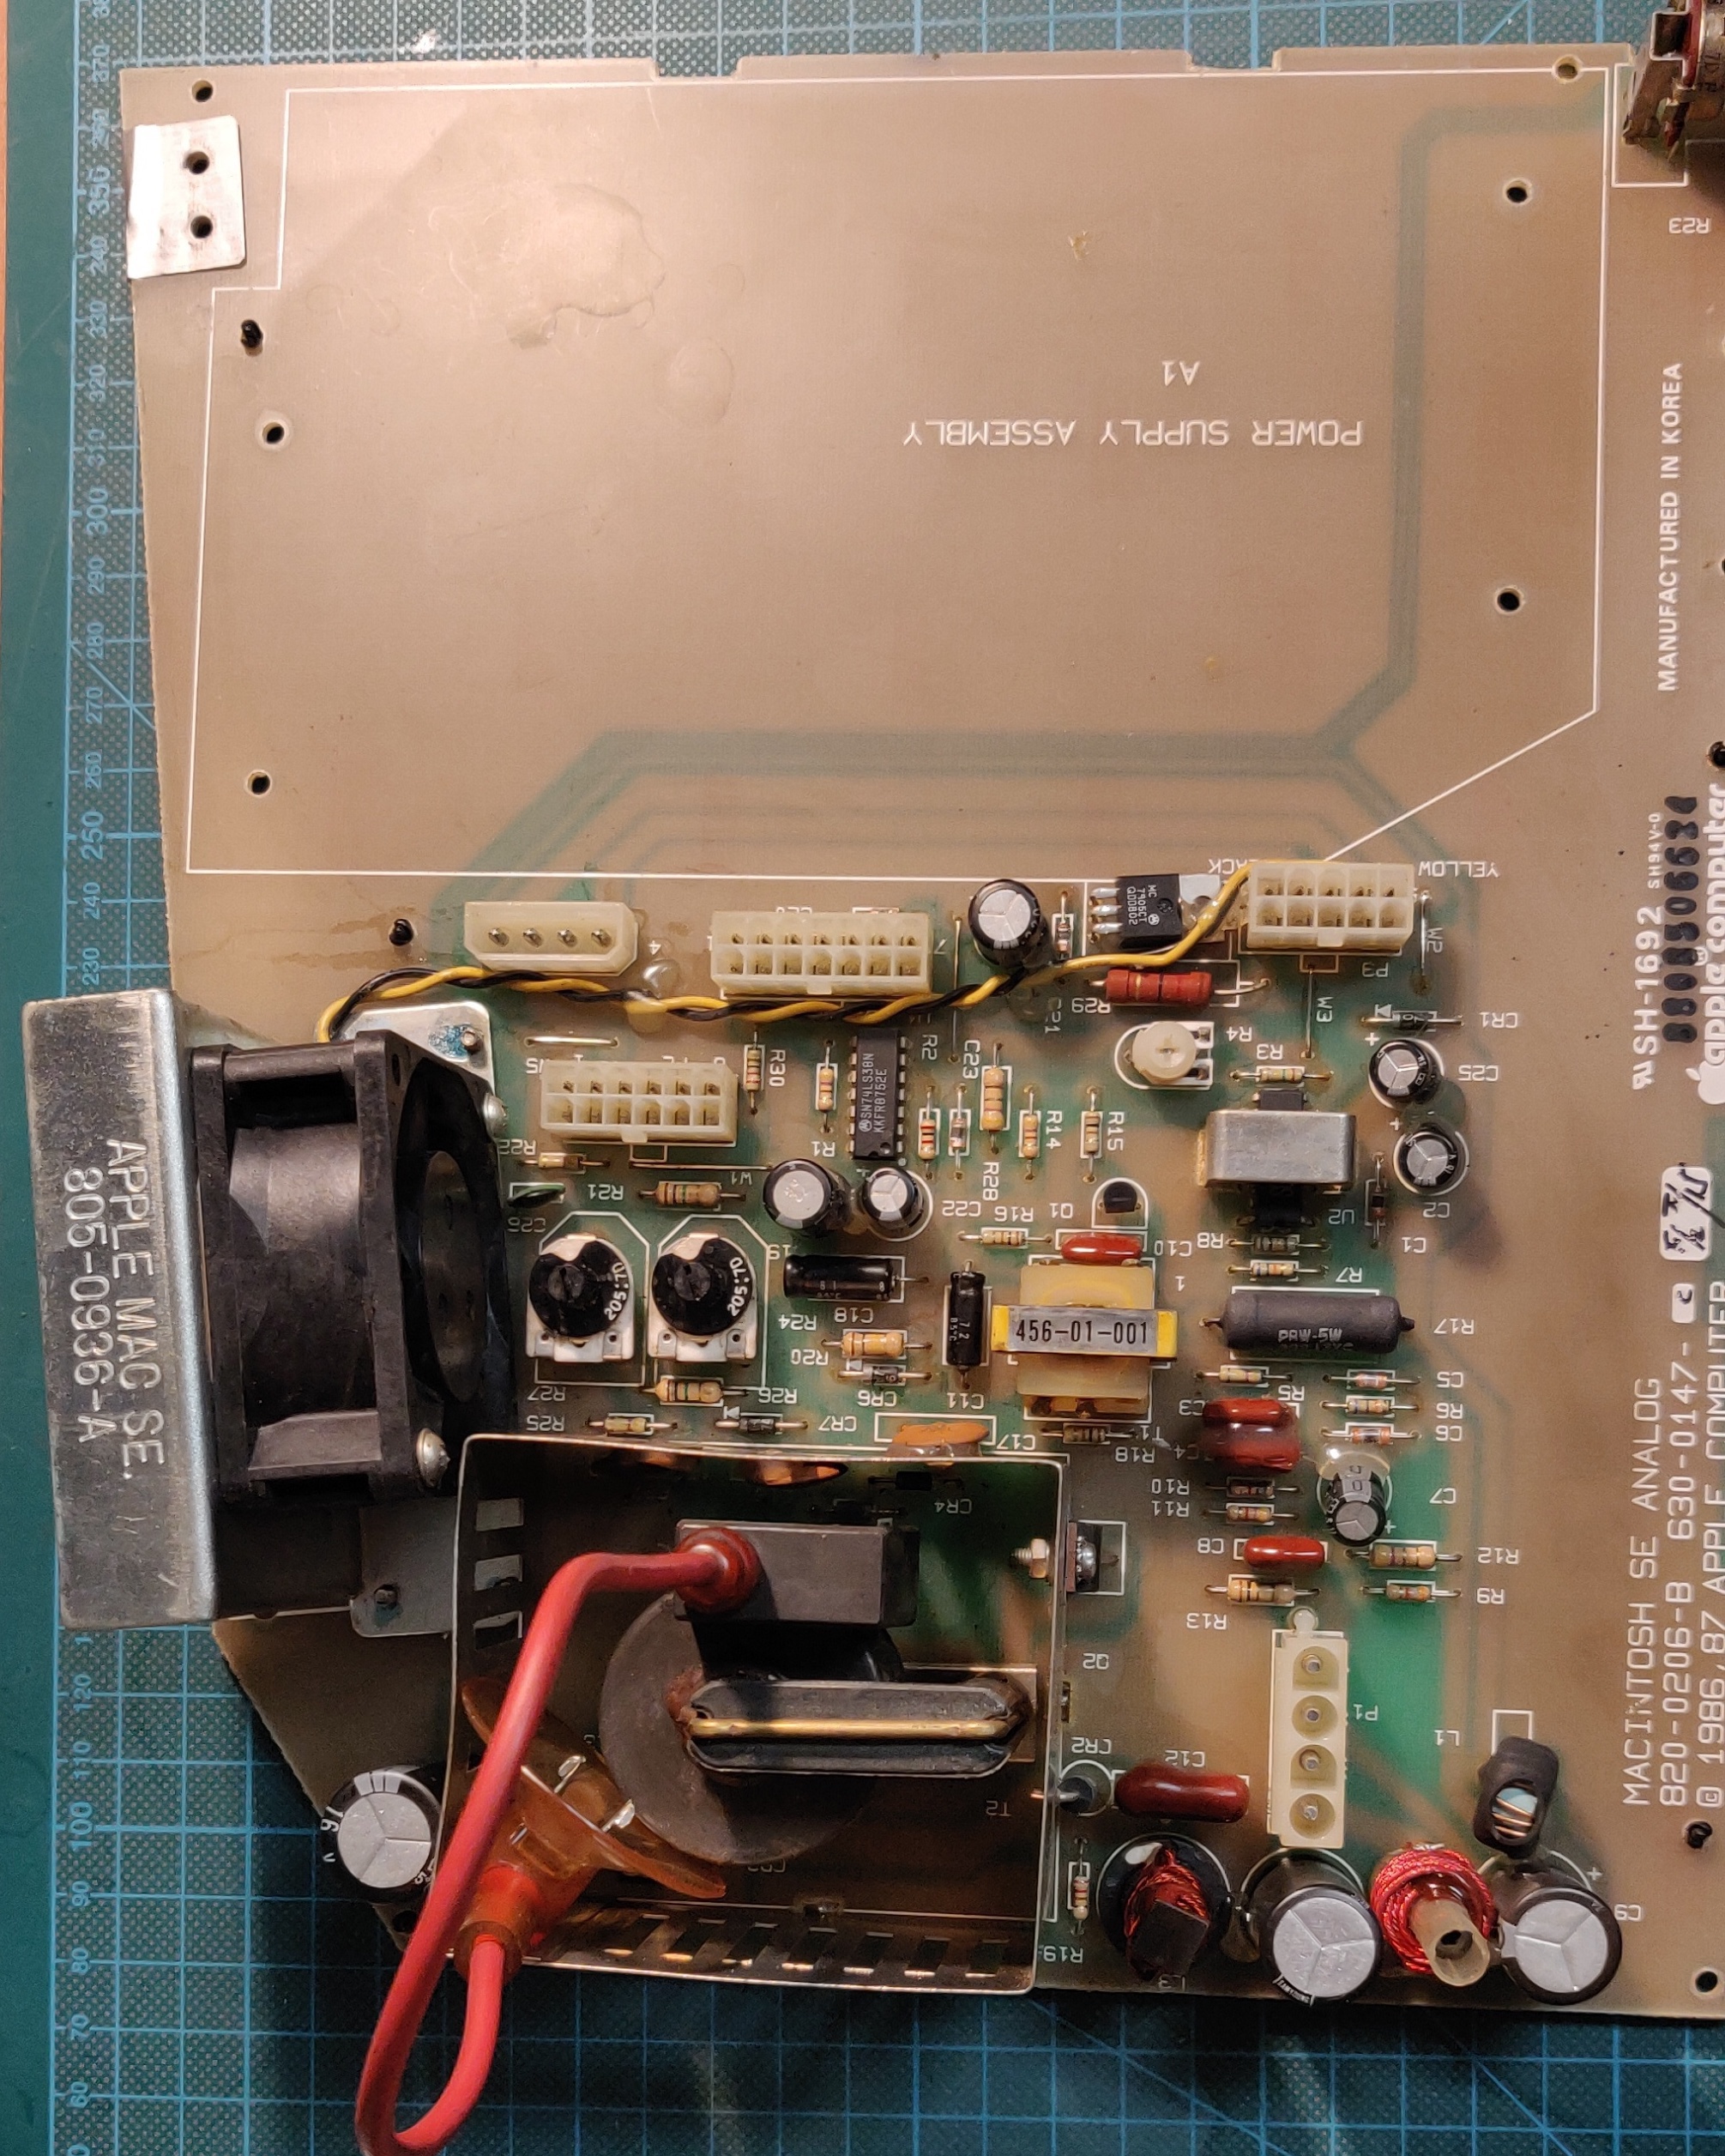
The same board after thorough cleaning:
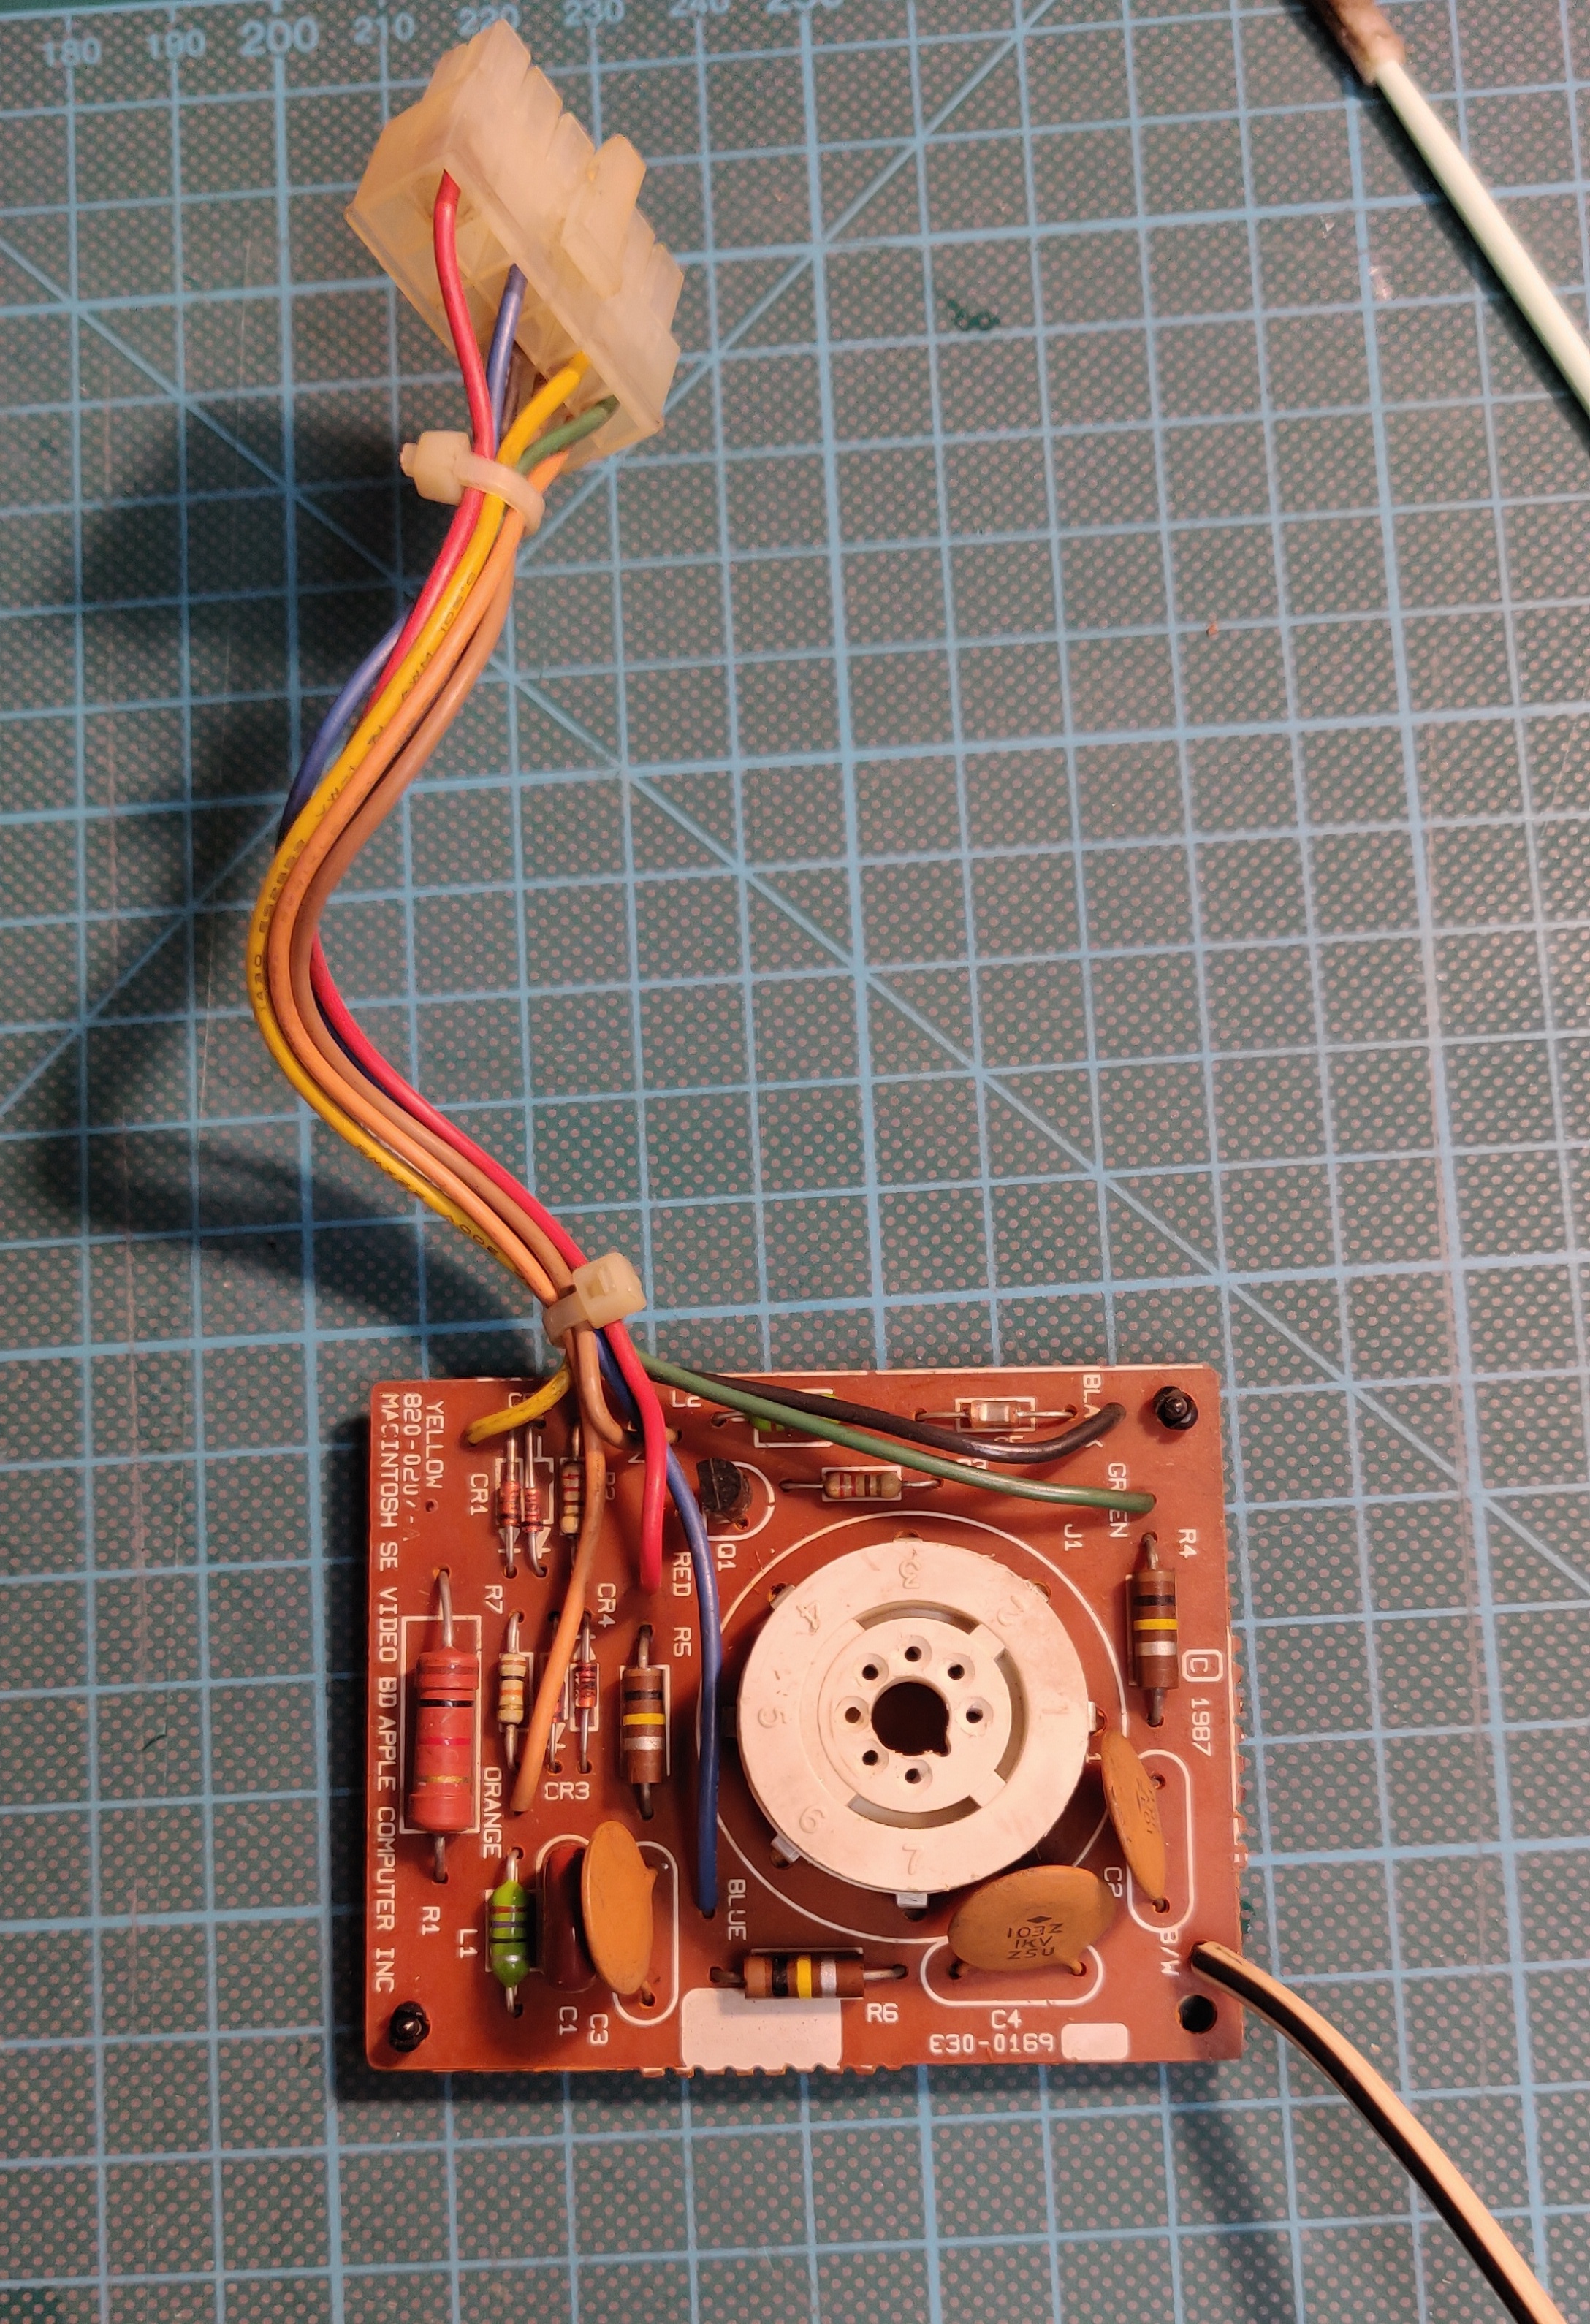
The CRT connector board after cleaning and testing:
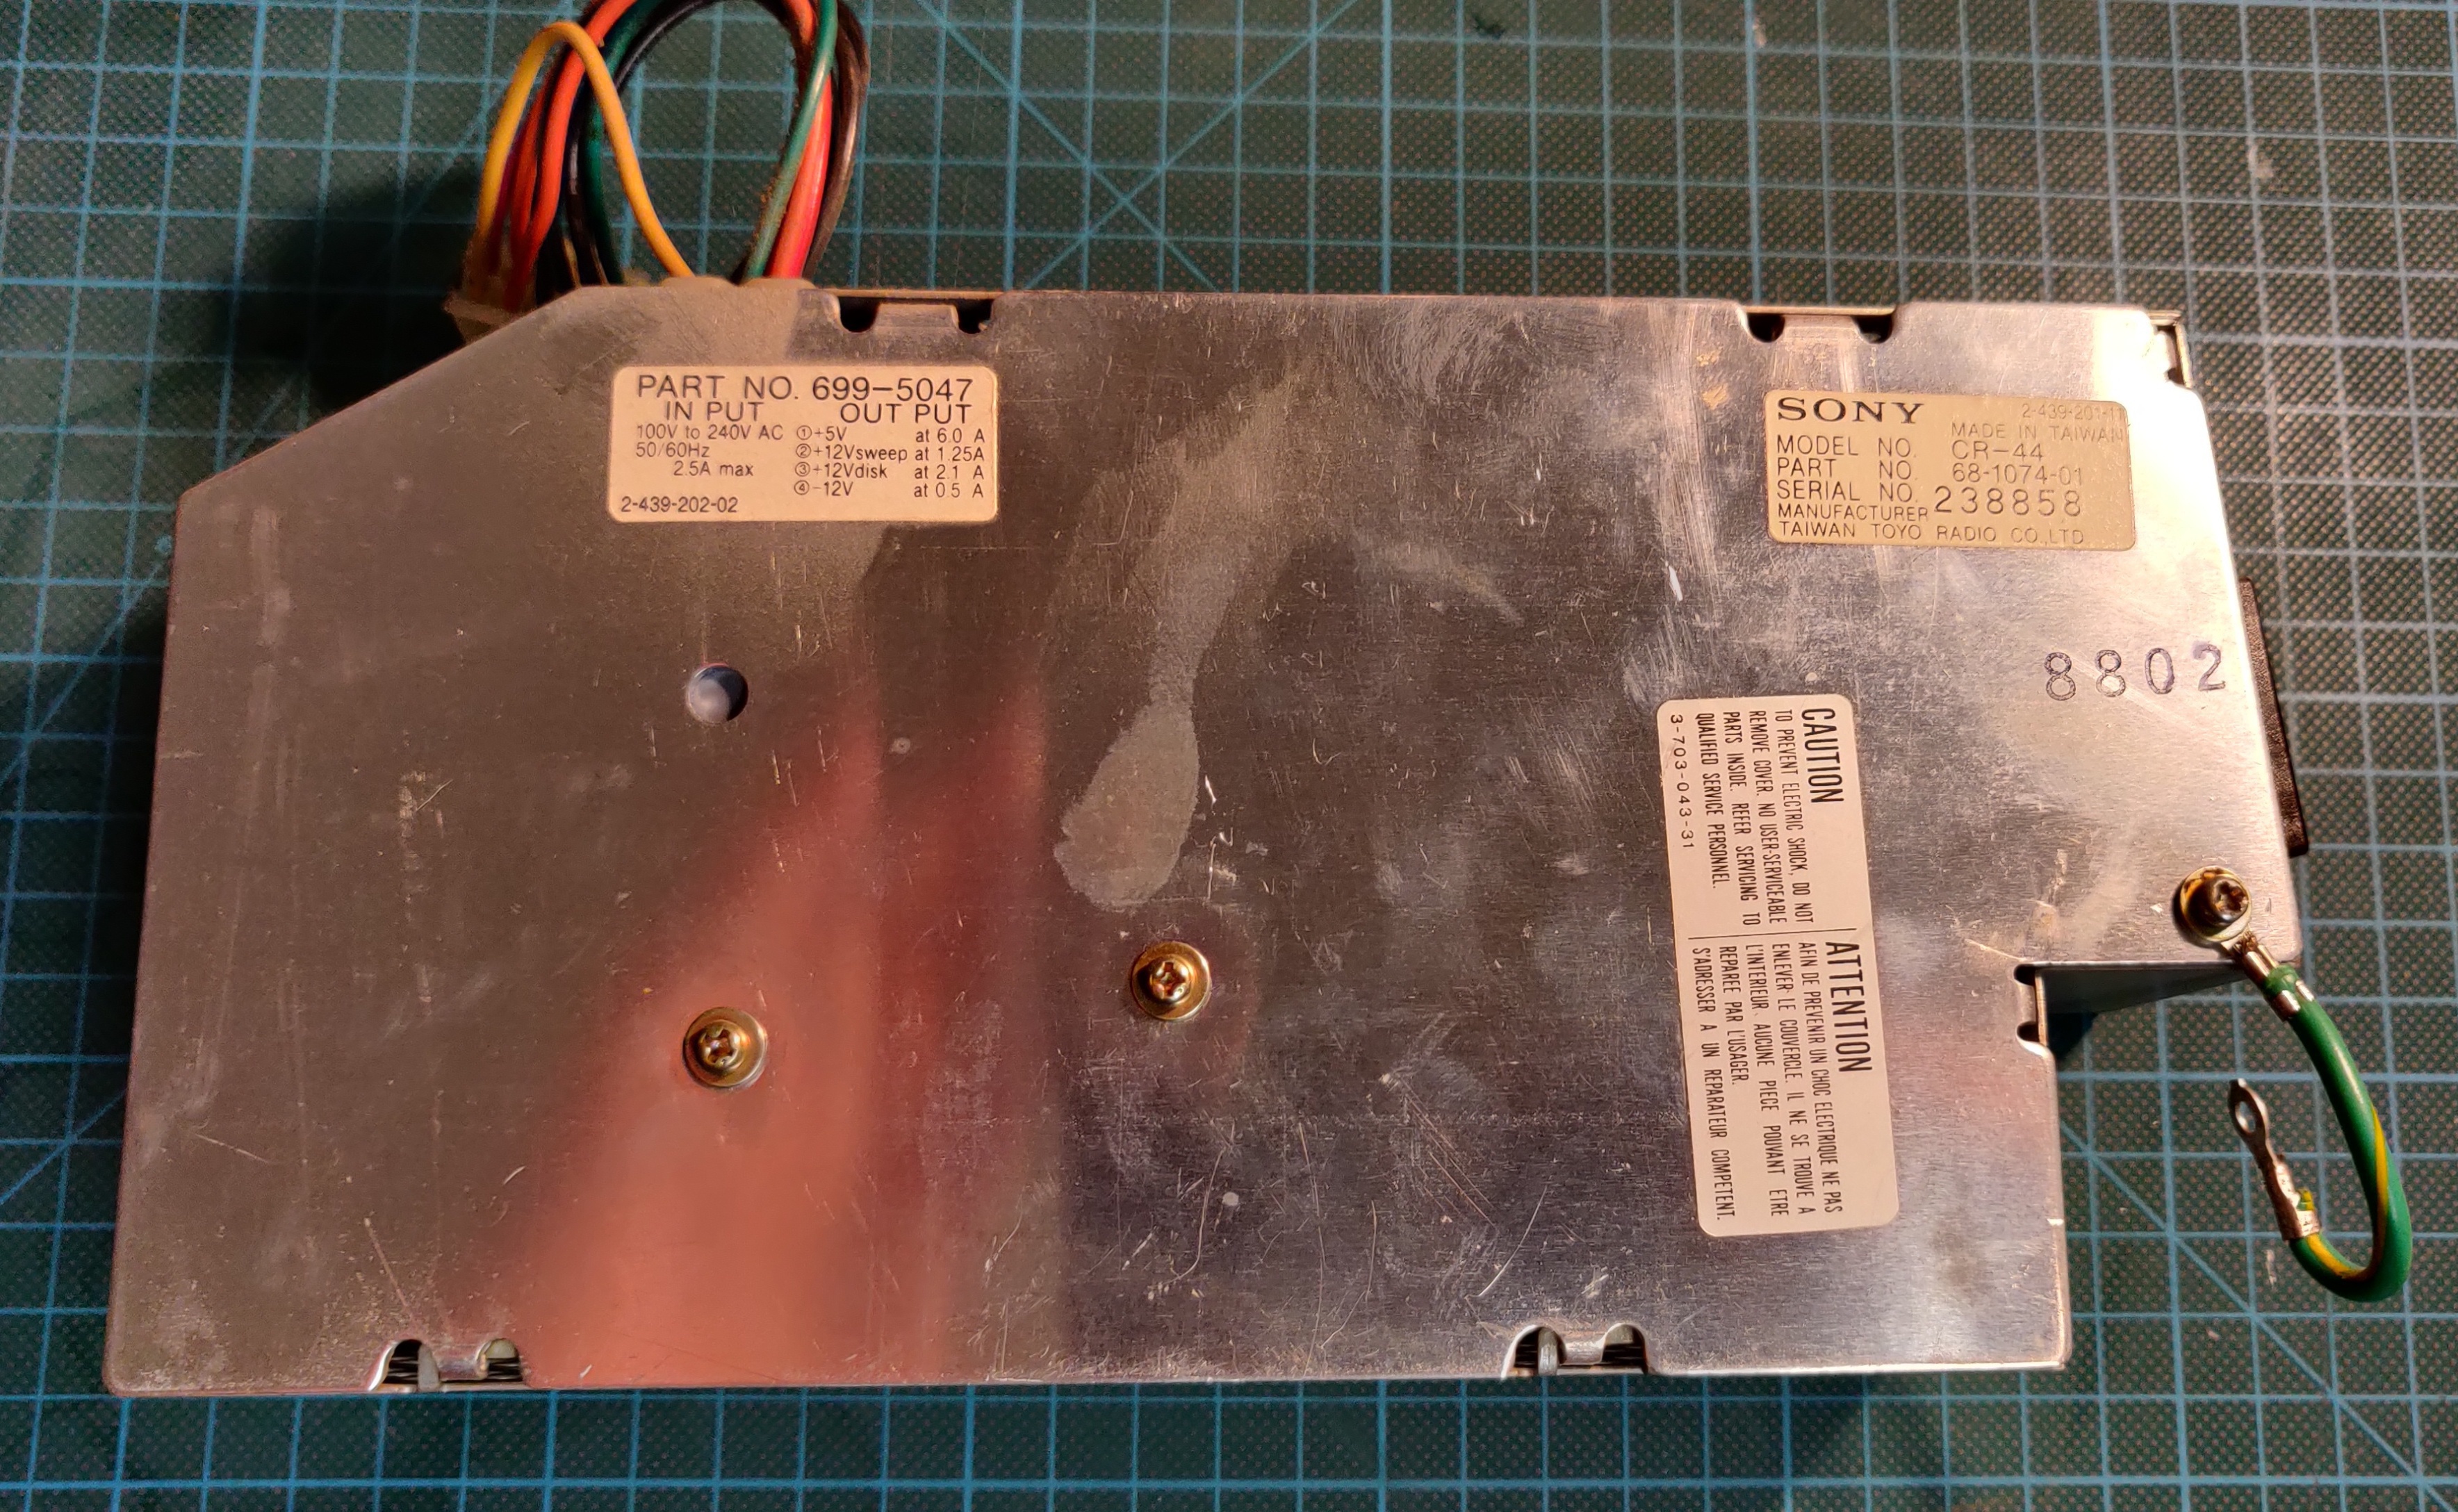
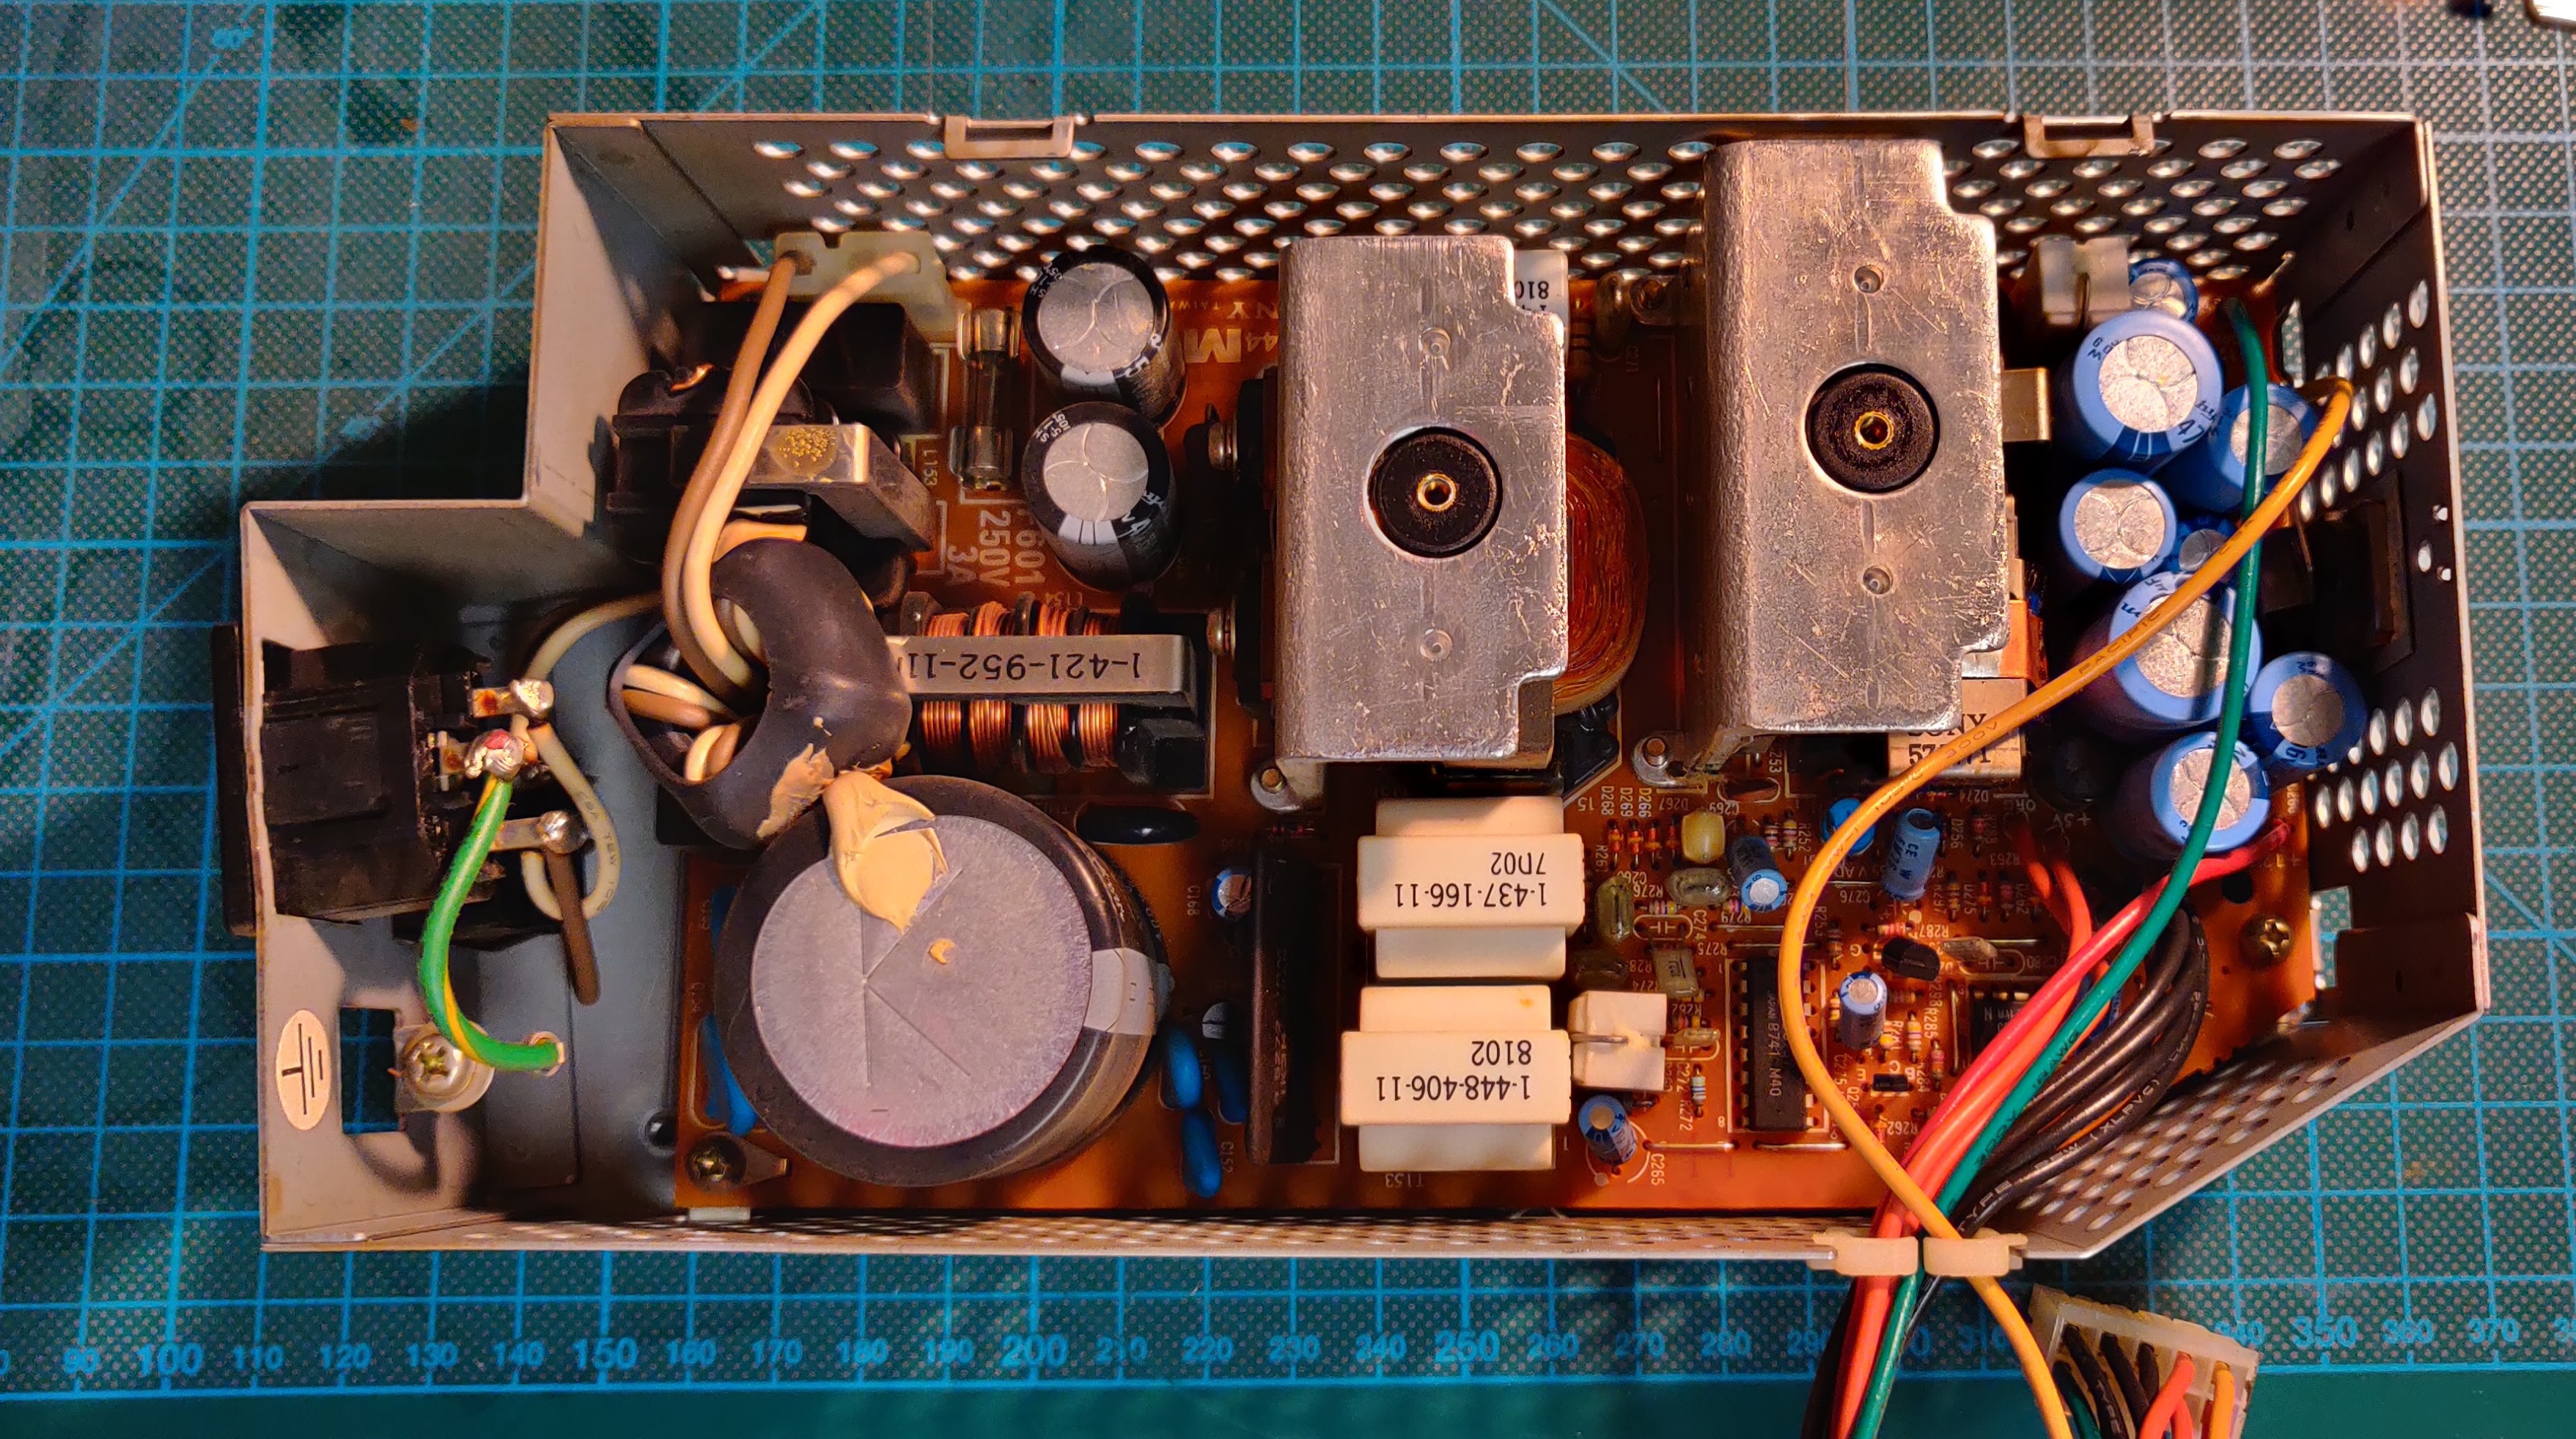
The power supply:
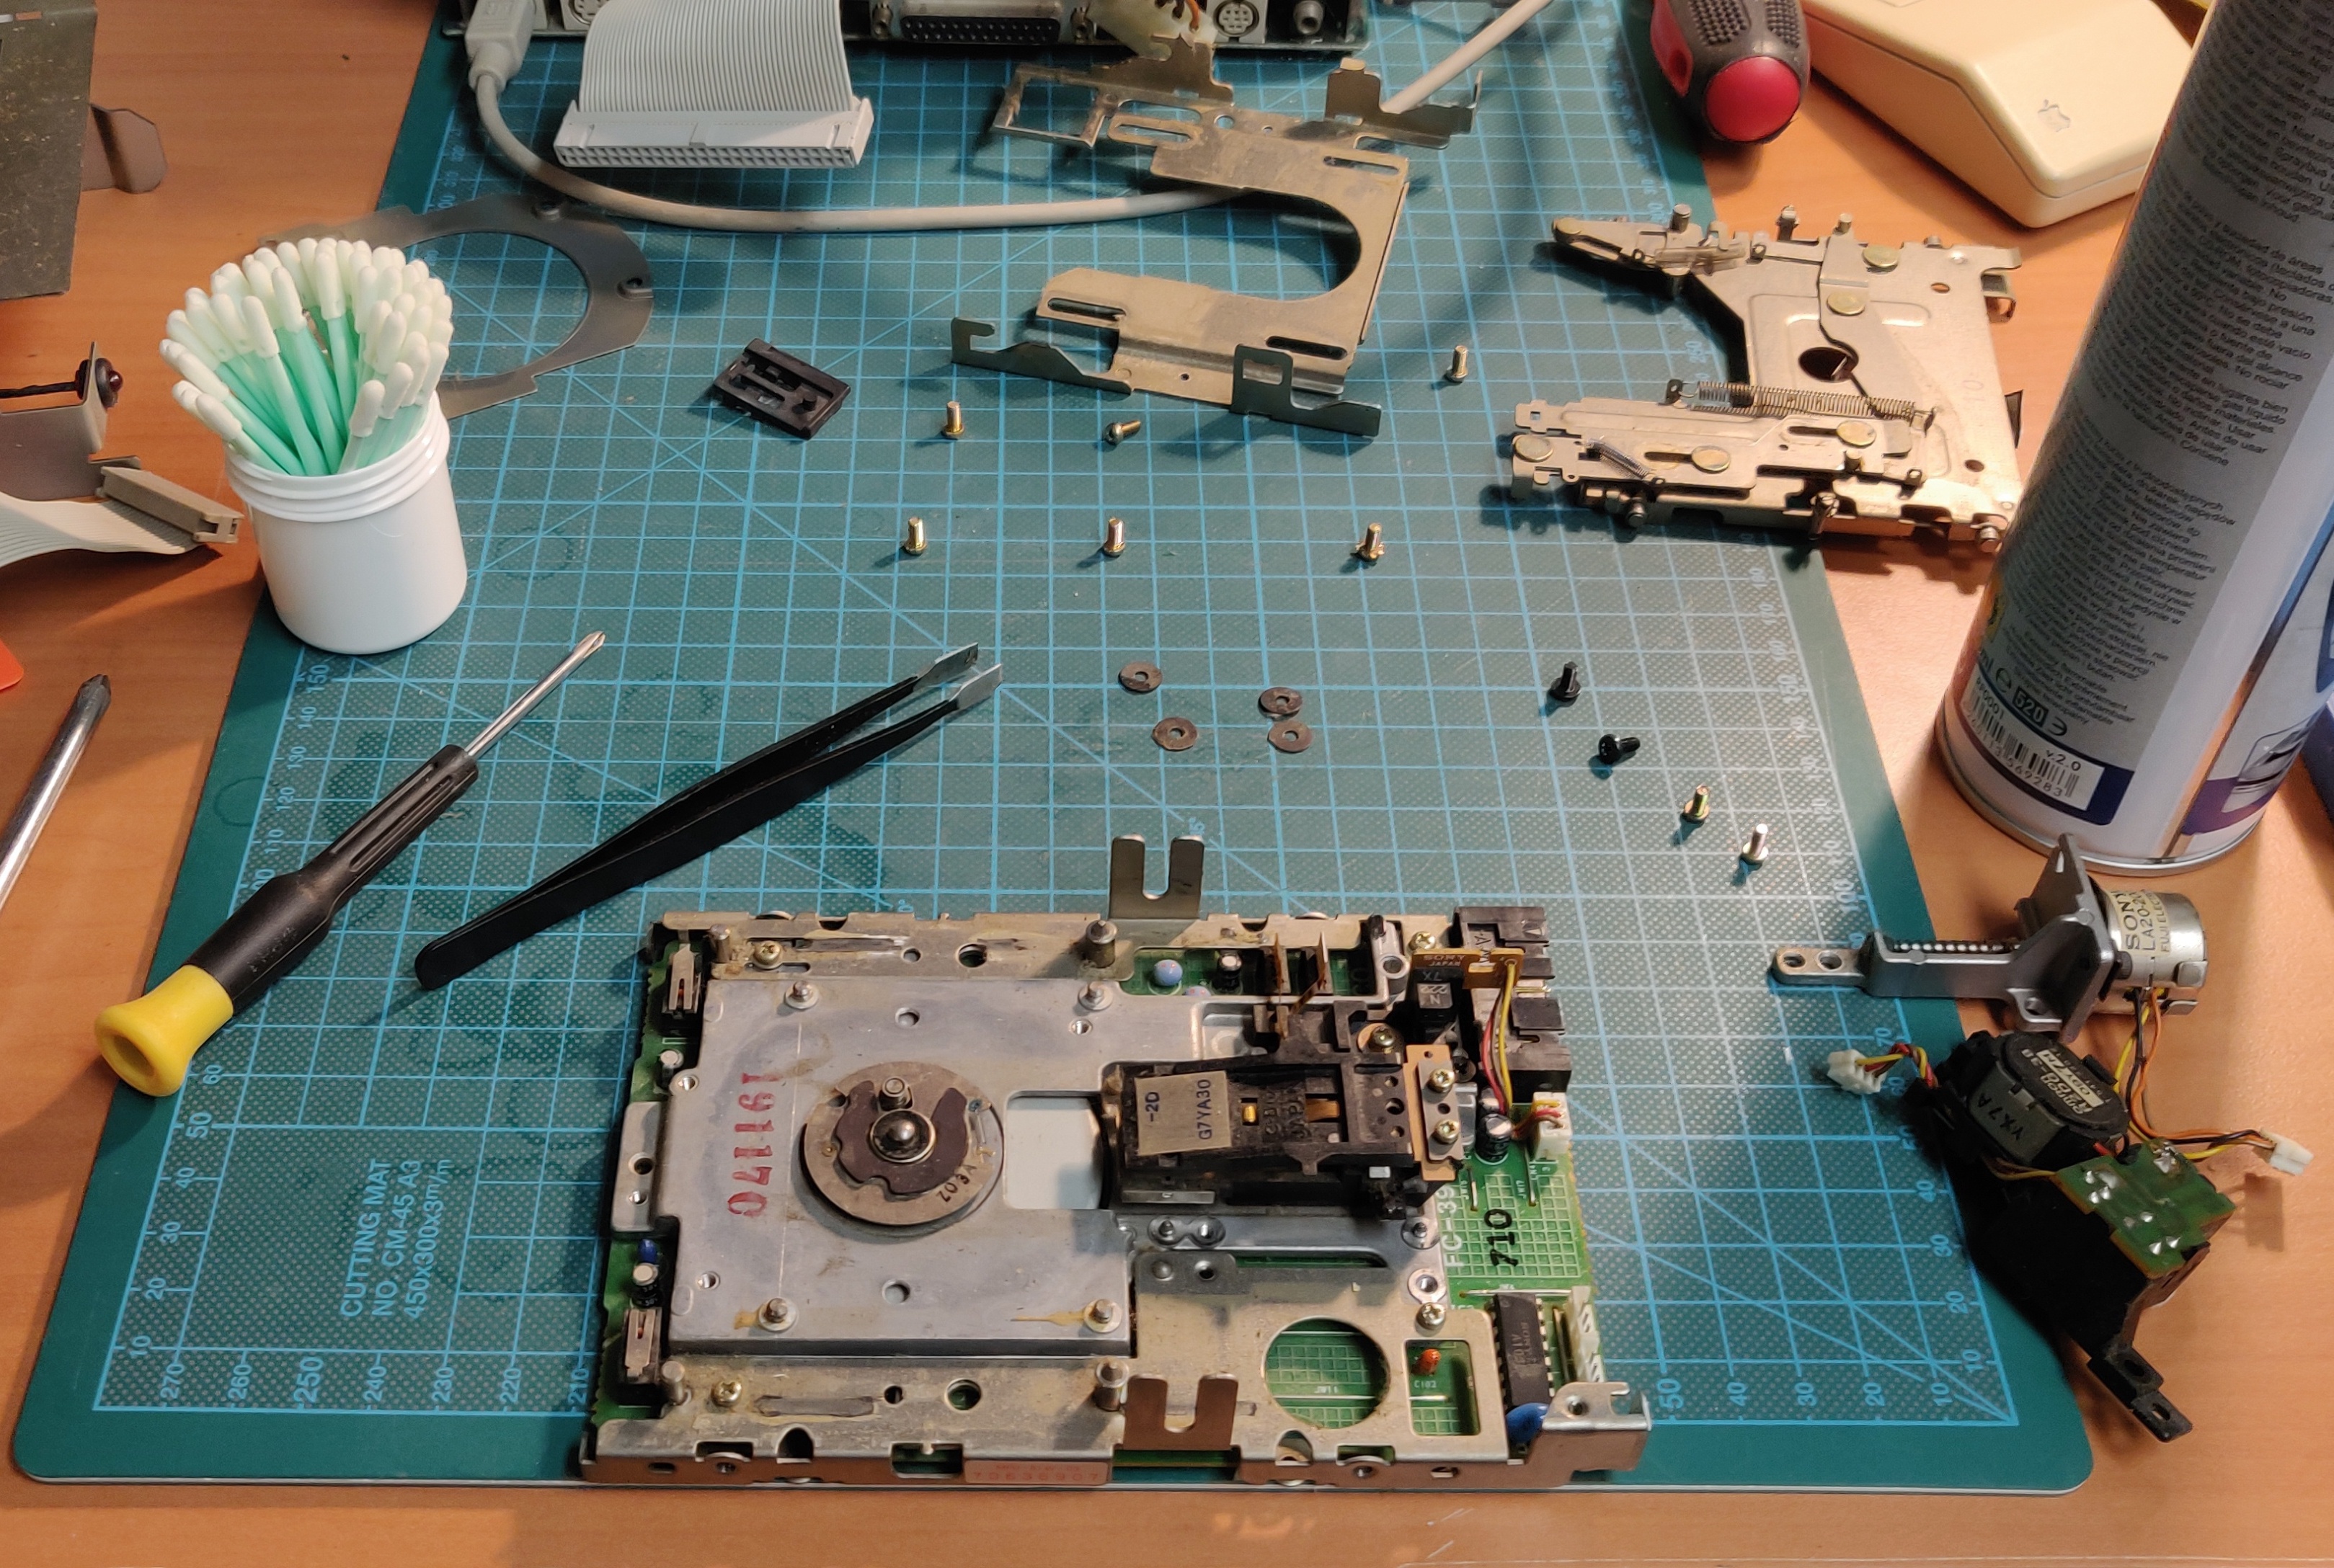
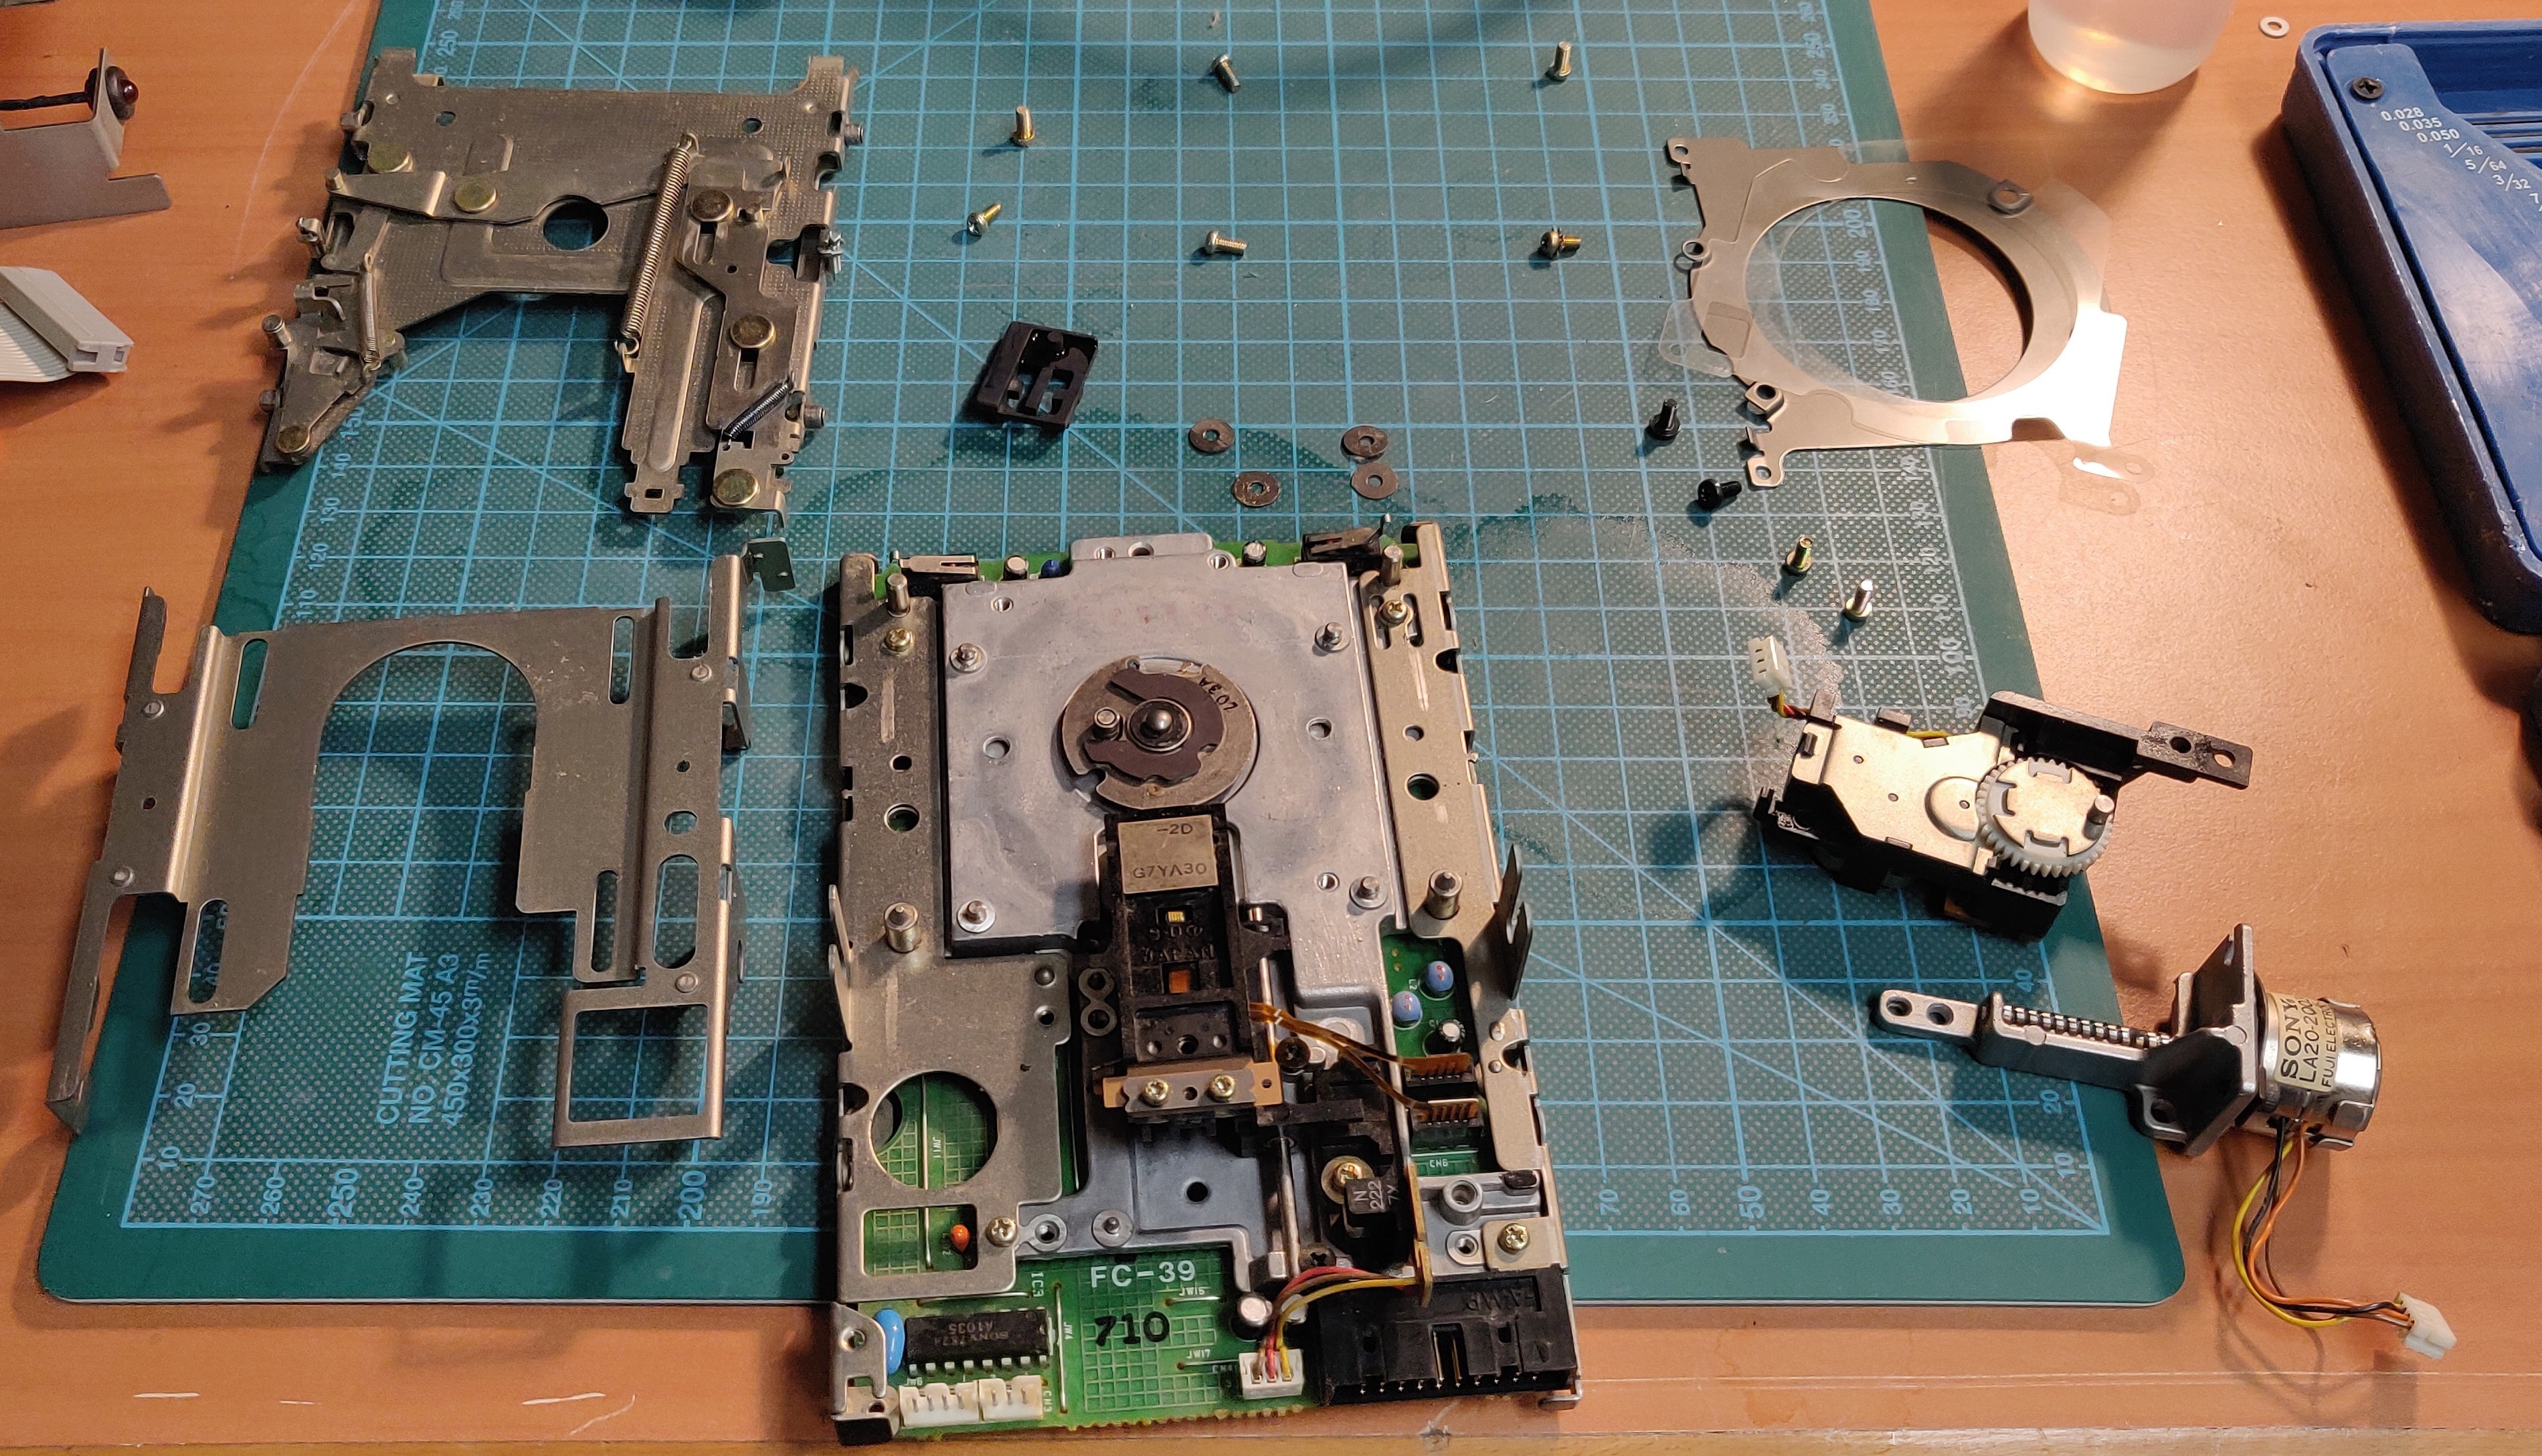
Floppy drive cleaning:
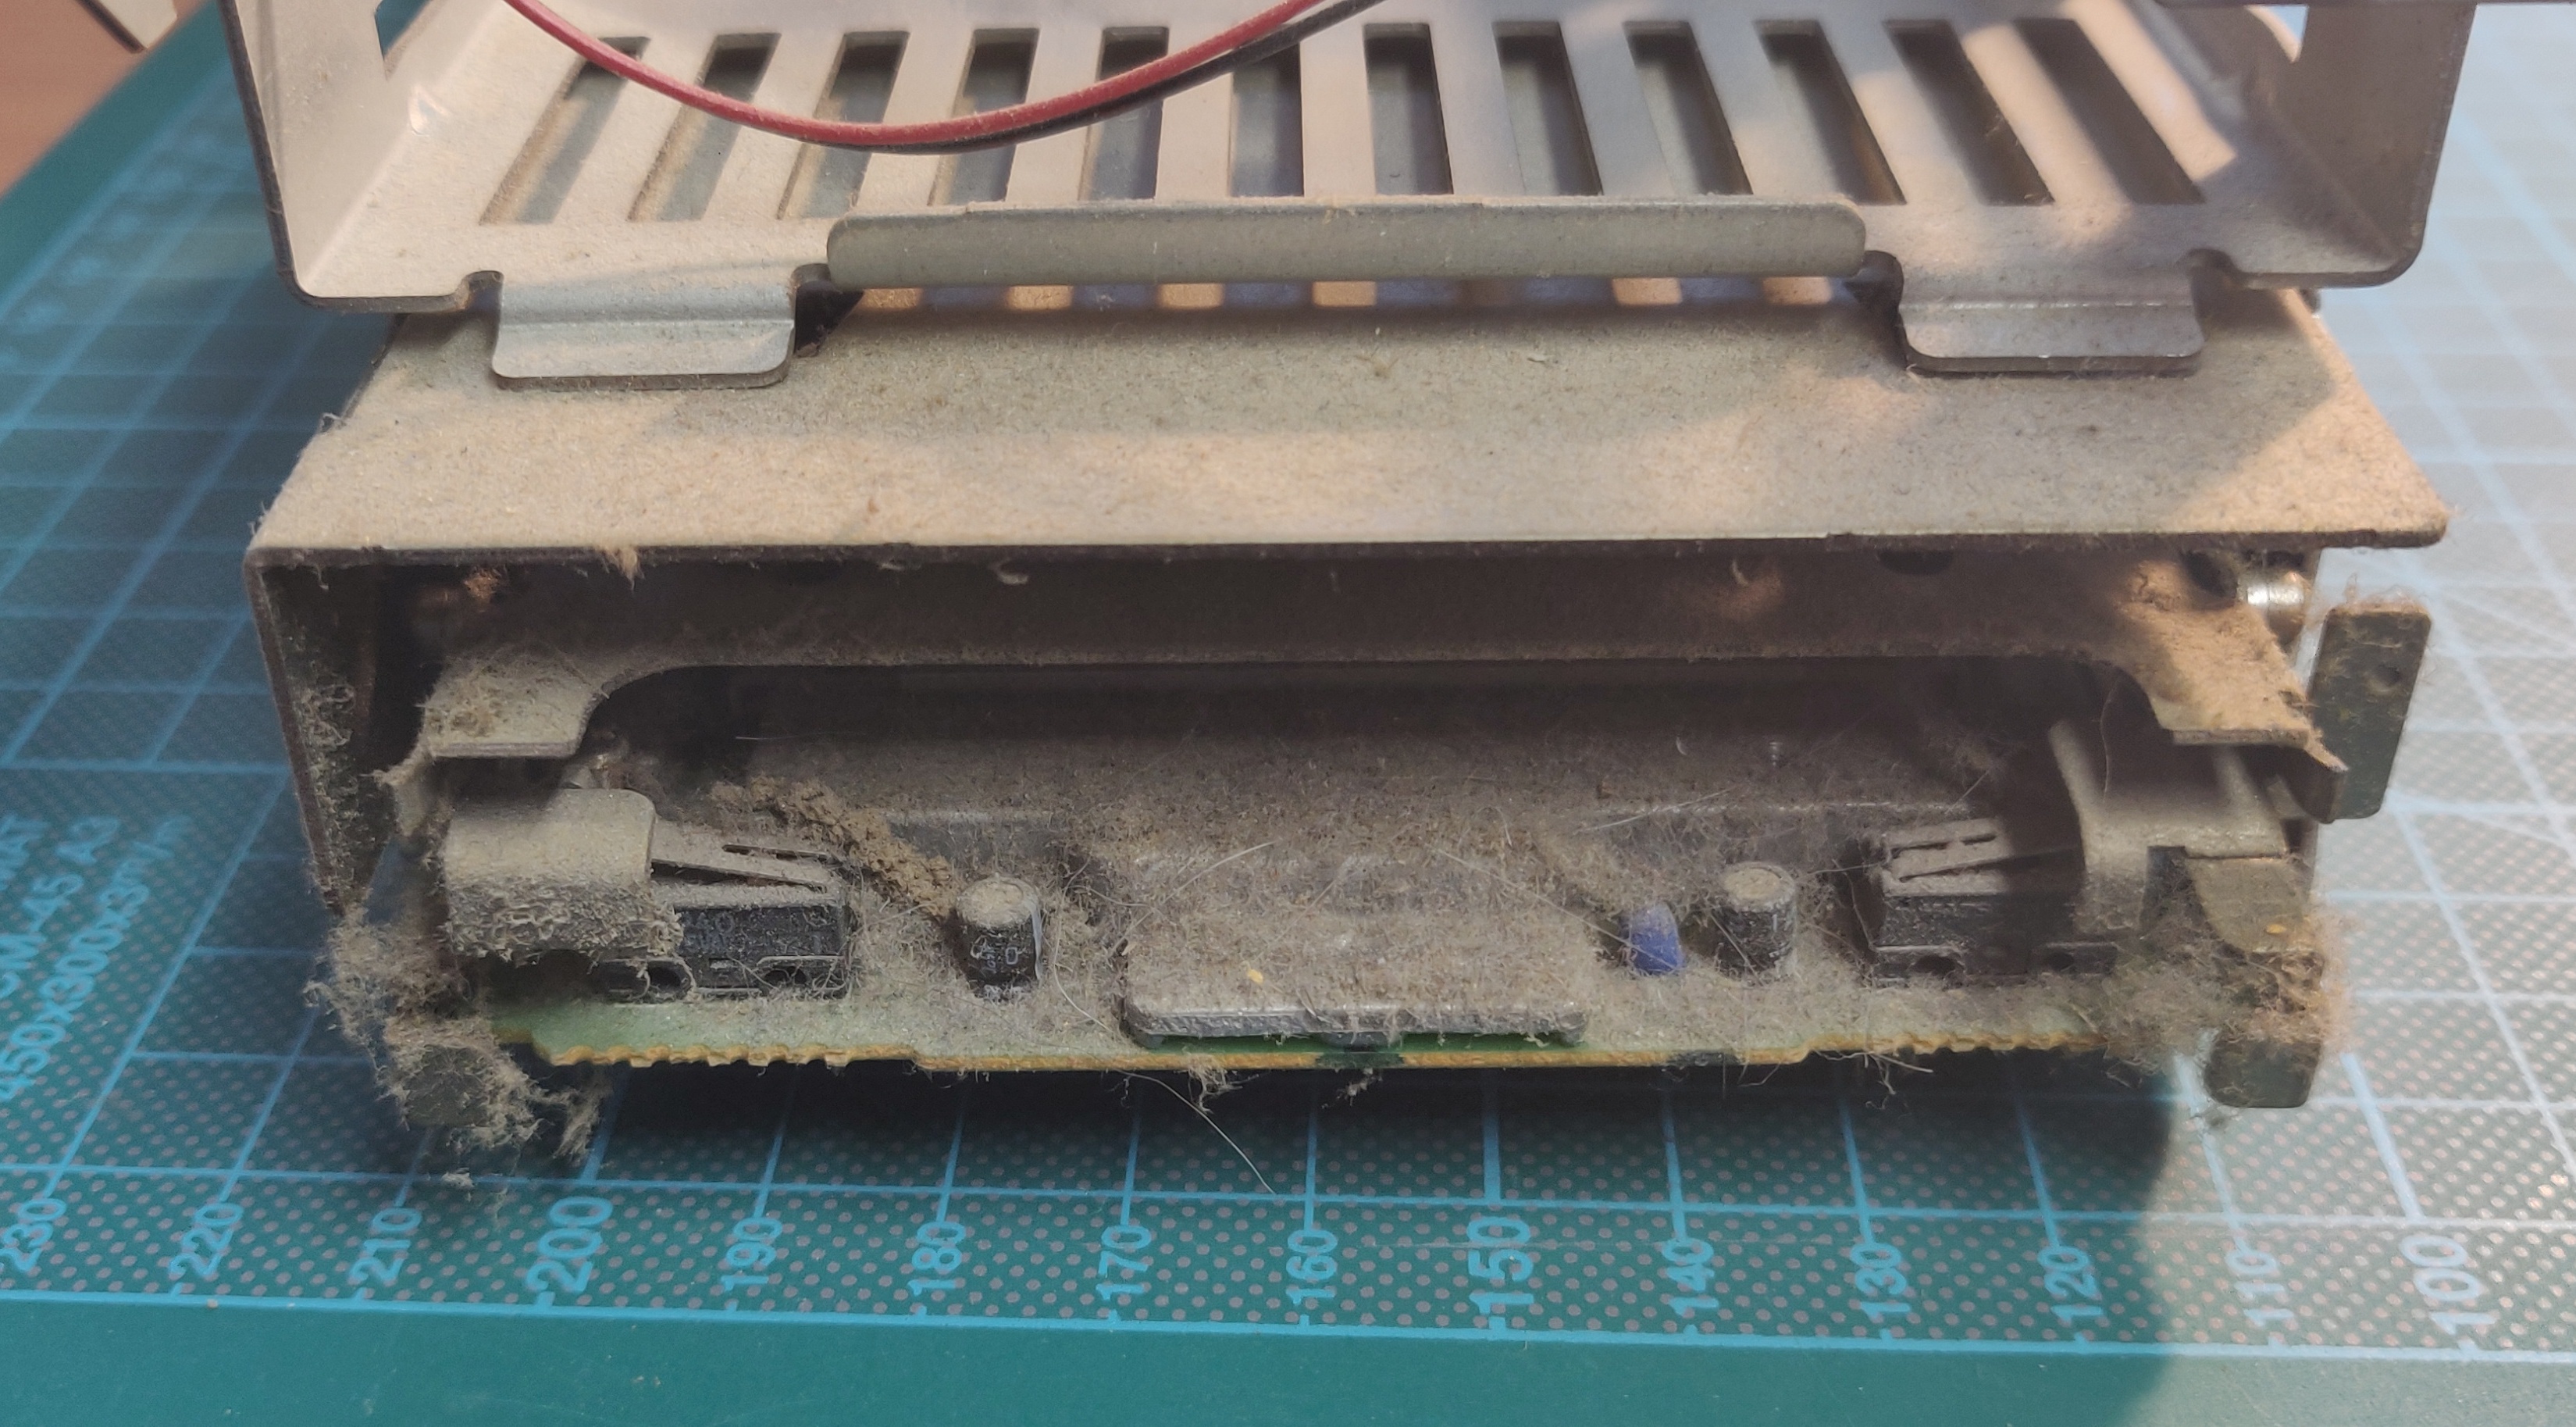
The floppy drive was in quite a state when I took it out, these models lack the dust flap usually found on PCs, and it shows:
Fully disassembled:
Fully cleaned, lubed and ready for re-assembly:
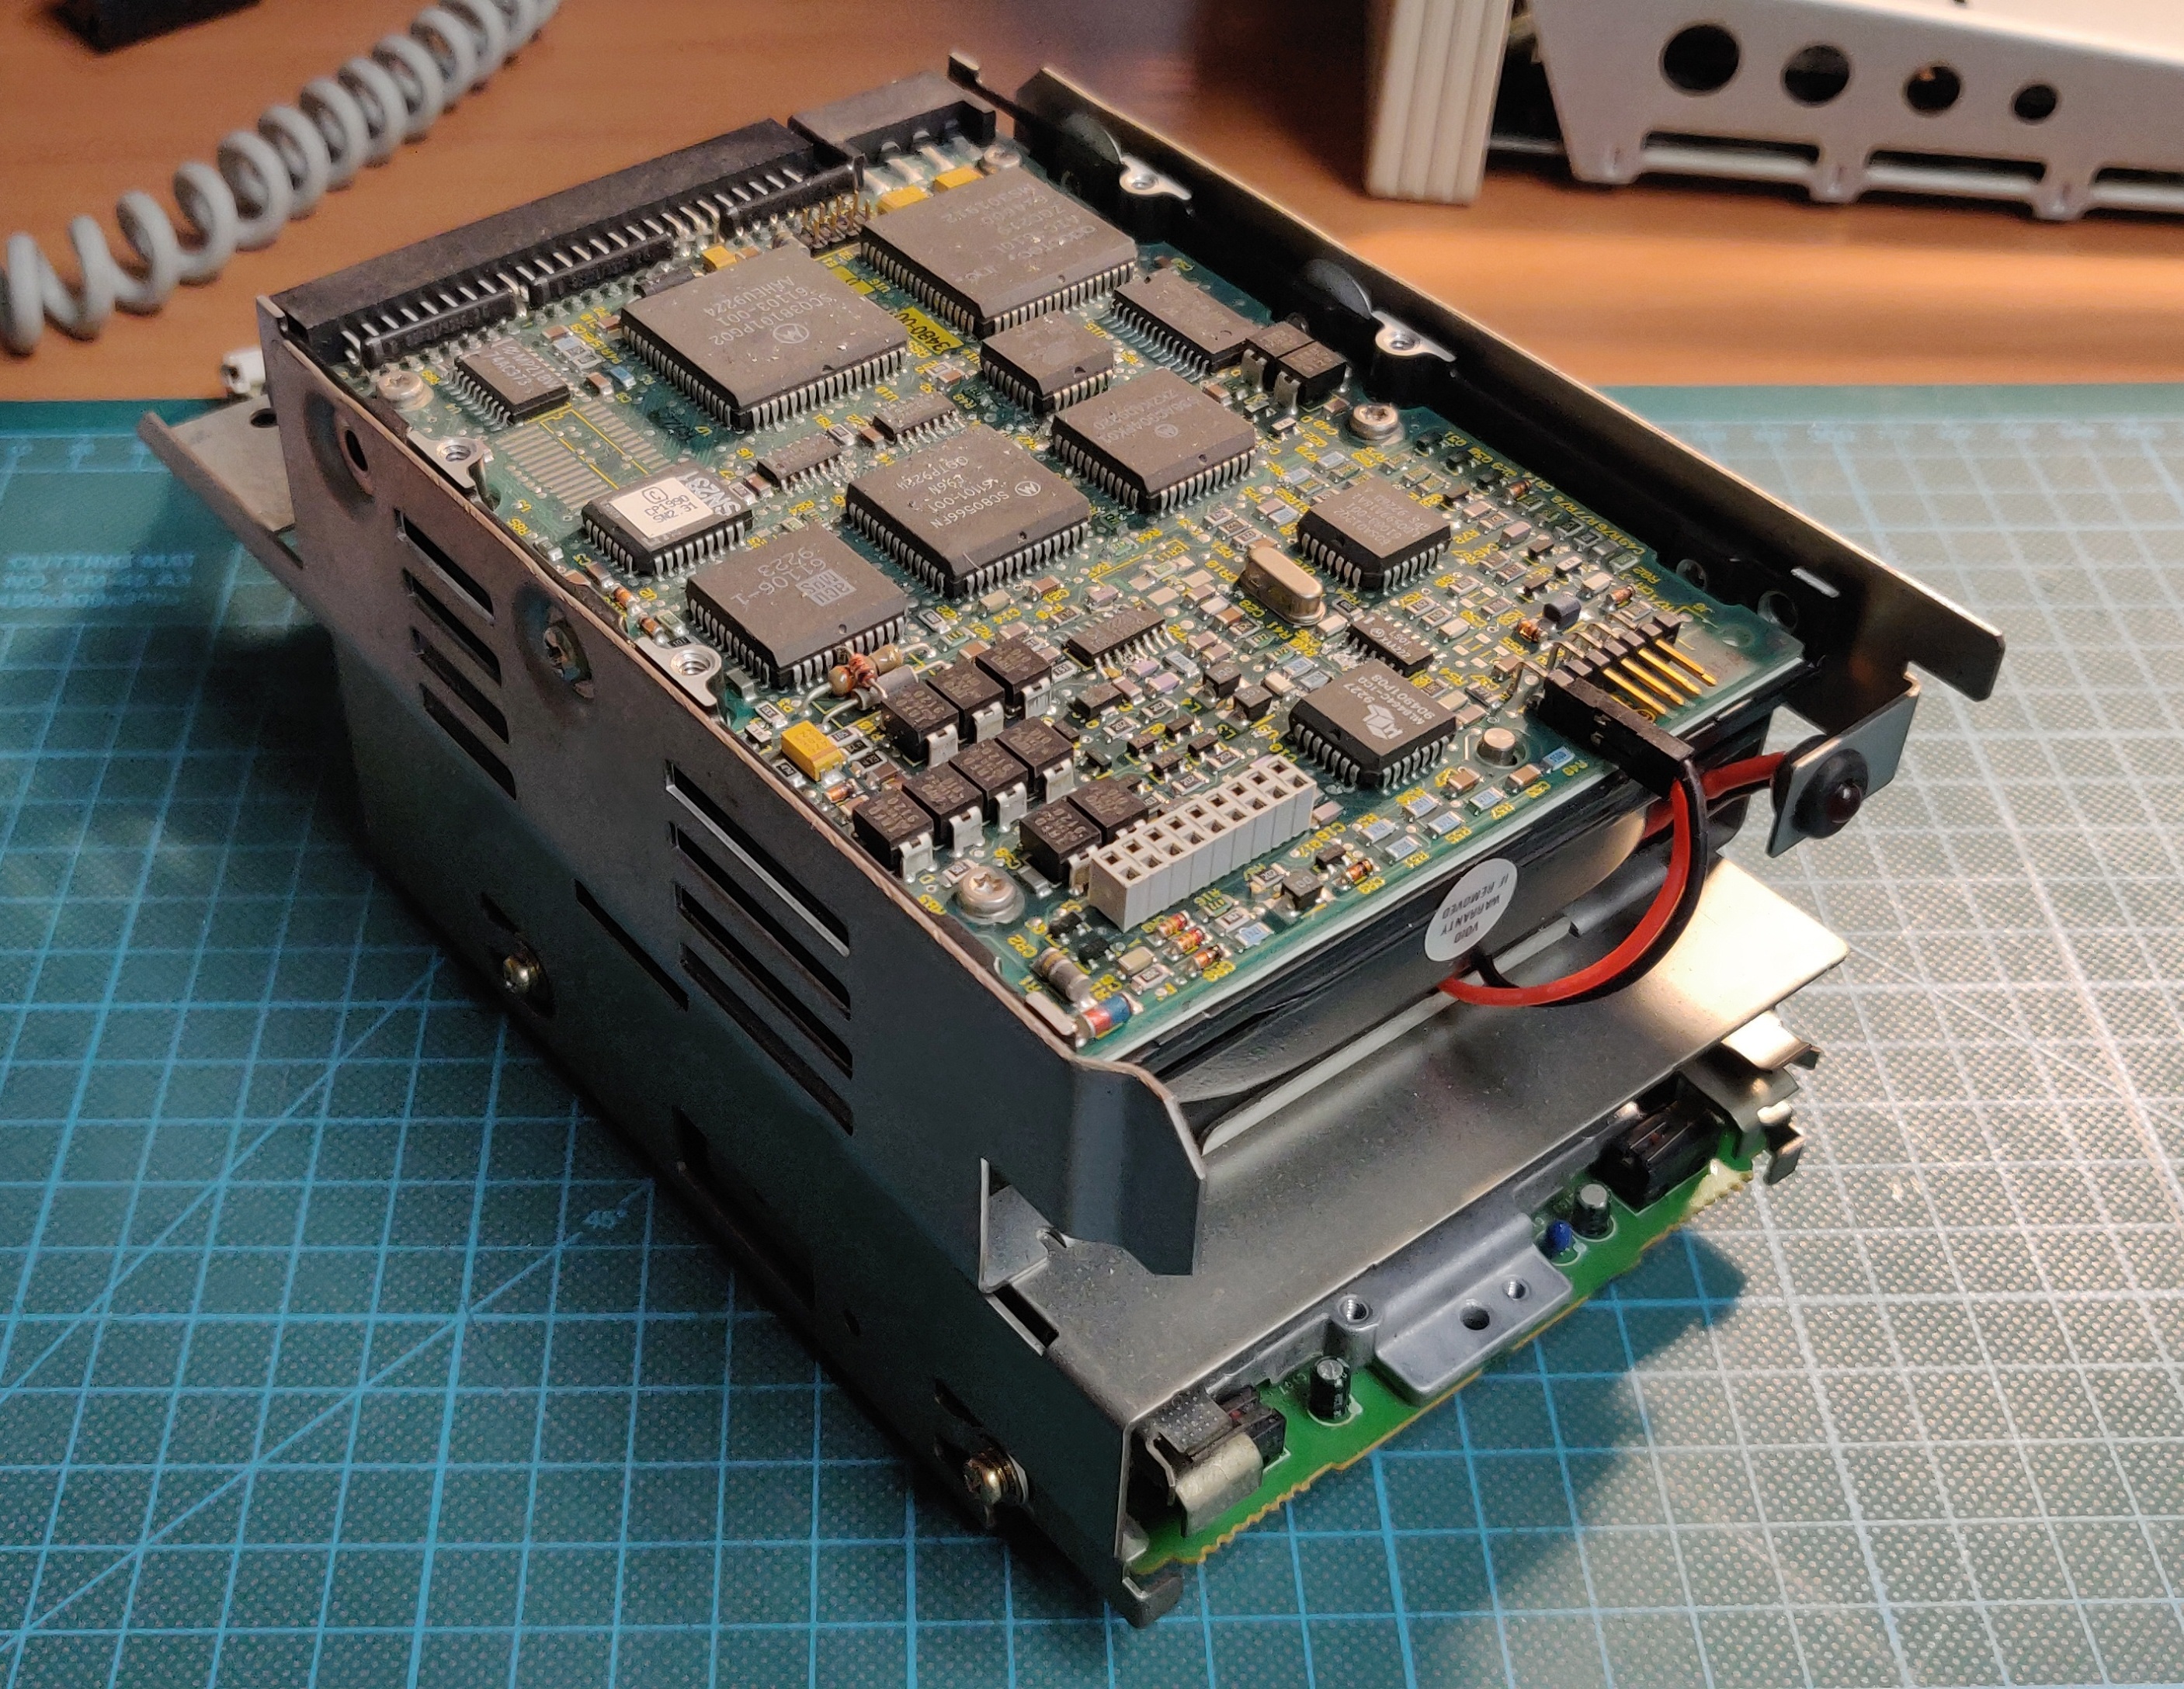
Hard disk replacement:
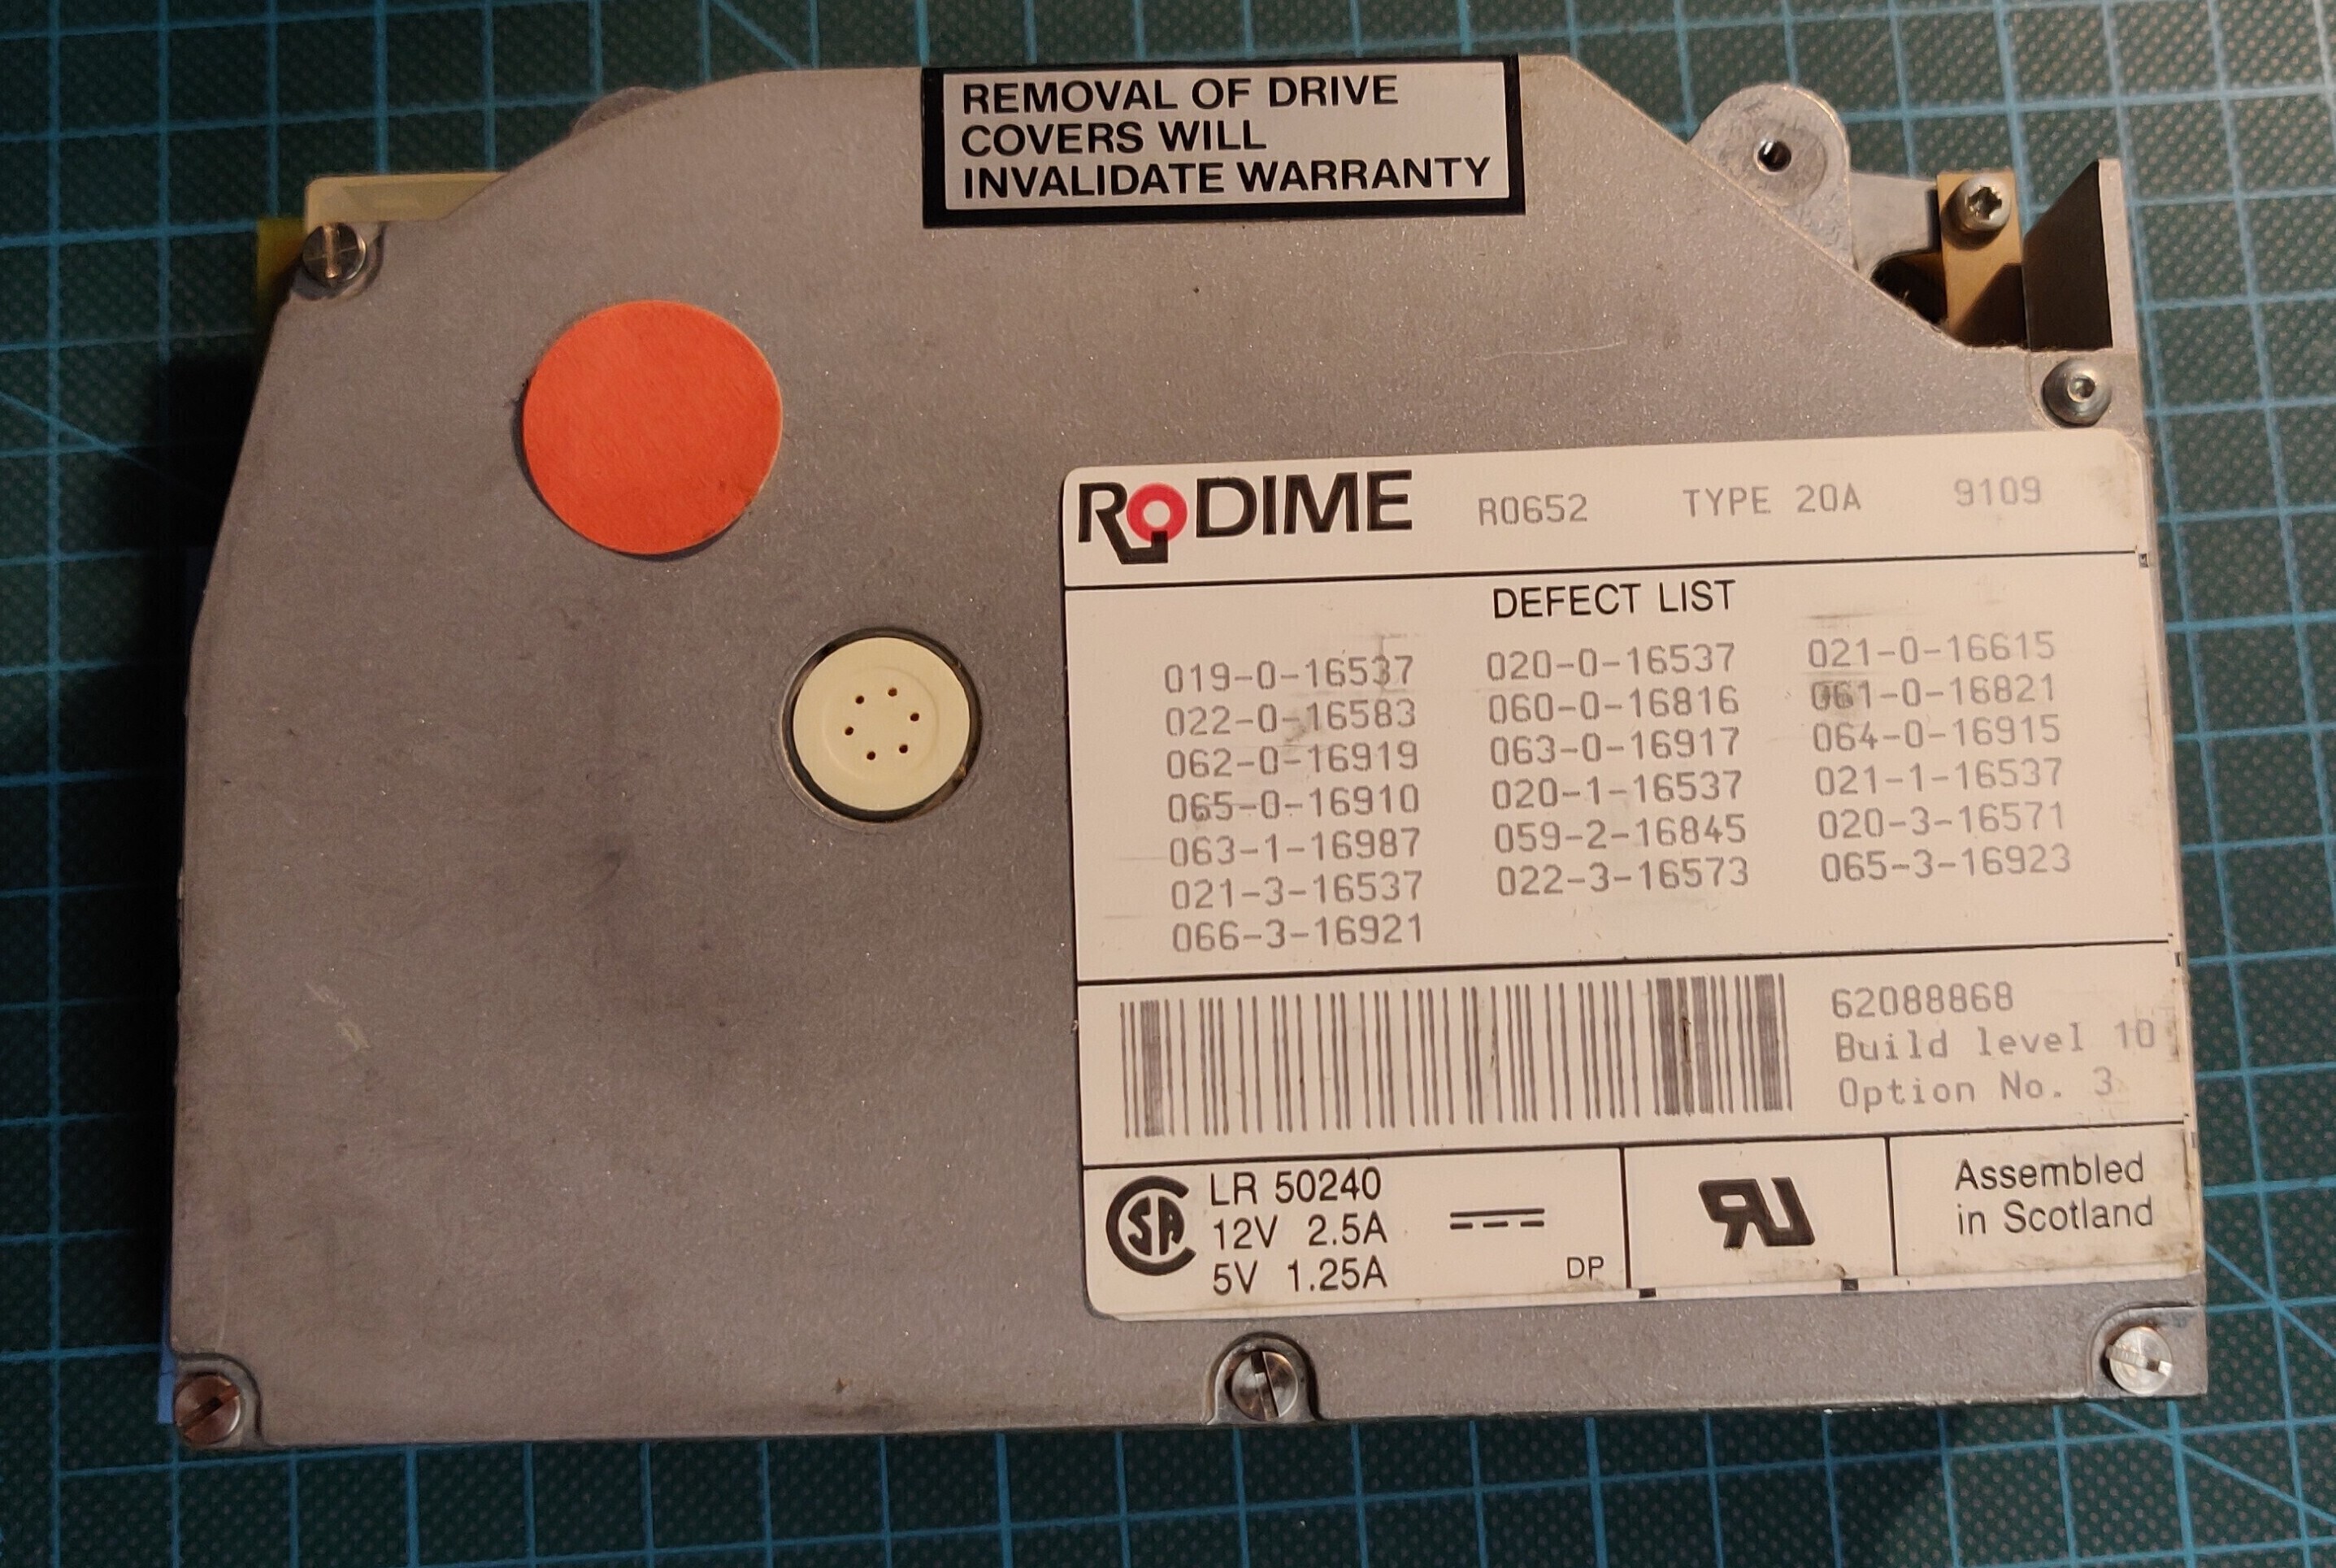
Upon first boot I found that the original hard disk's heads were seized. Unfortunately this hard disk could not be saved:
I found the following replacement hard disk:
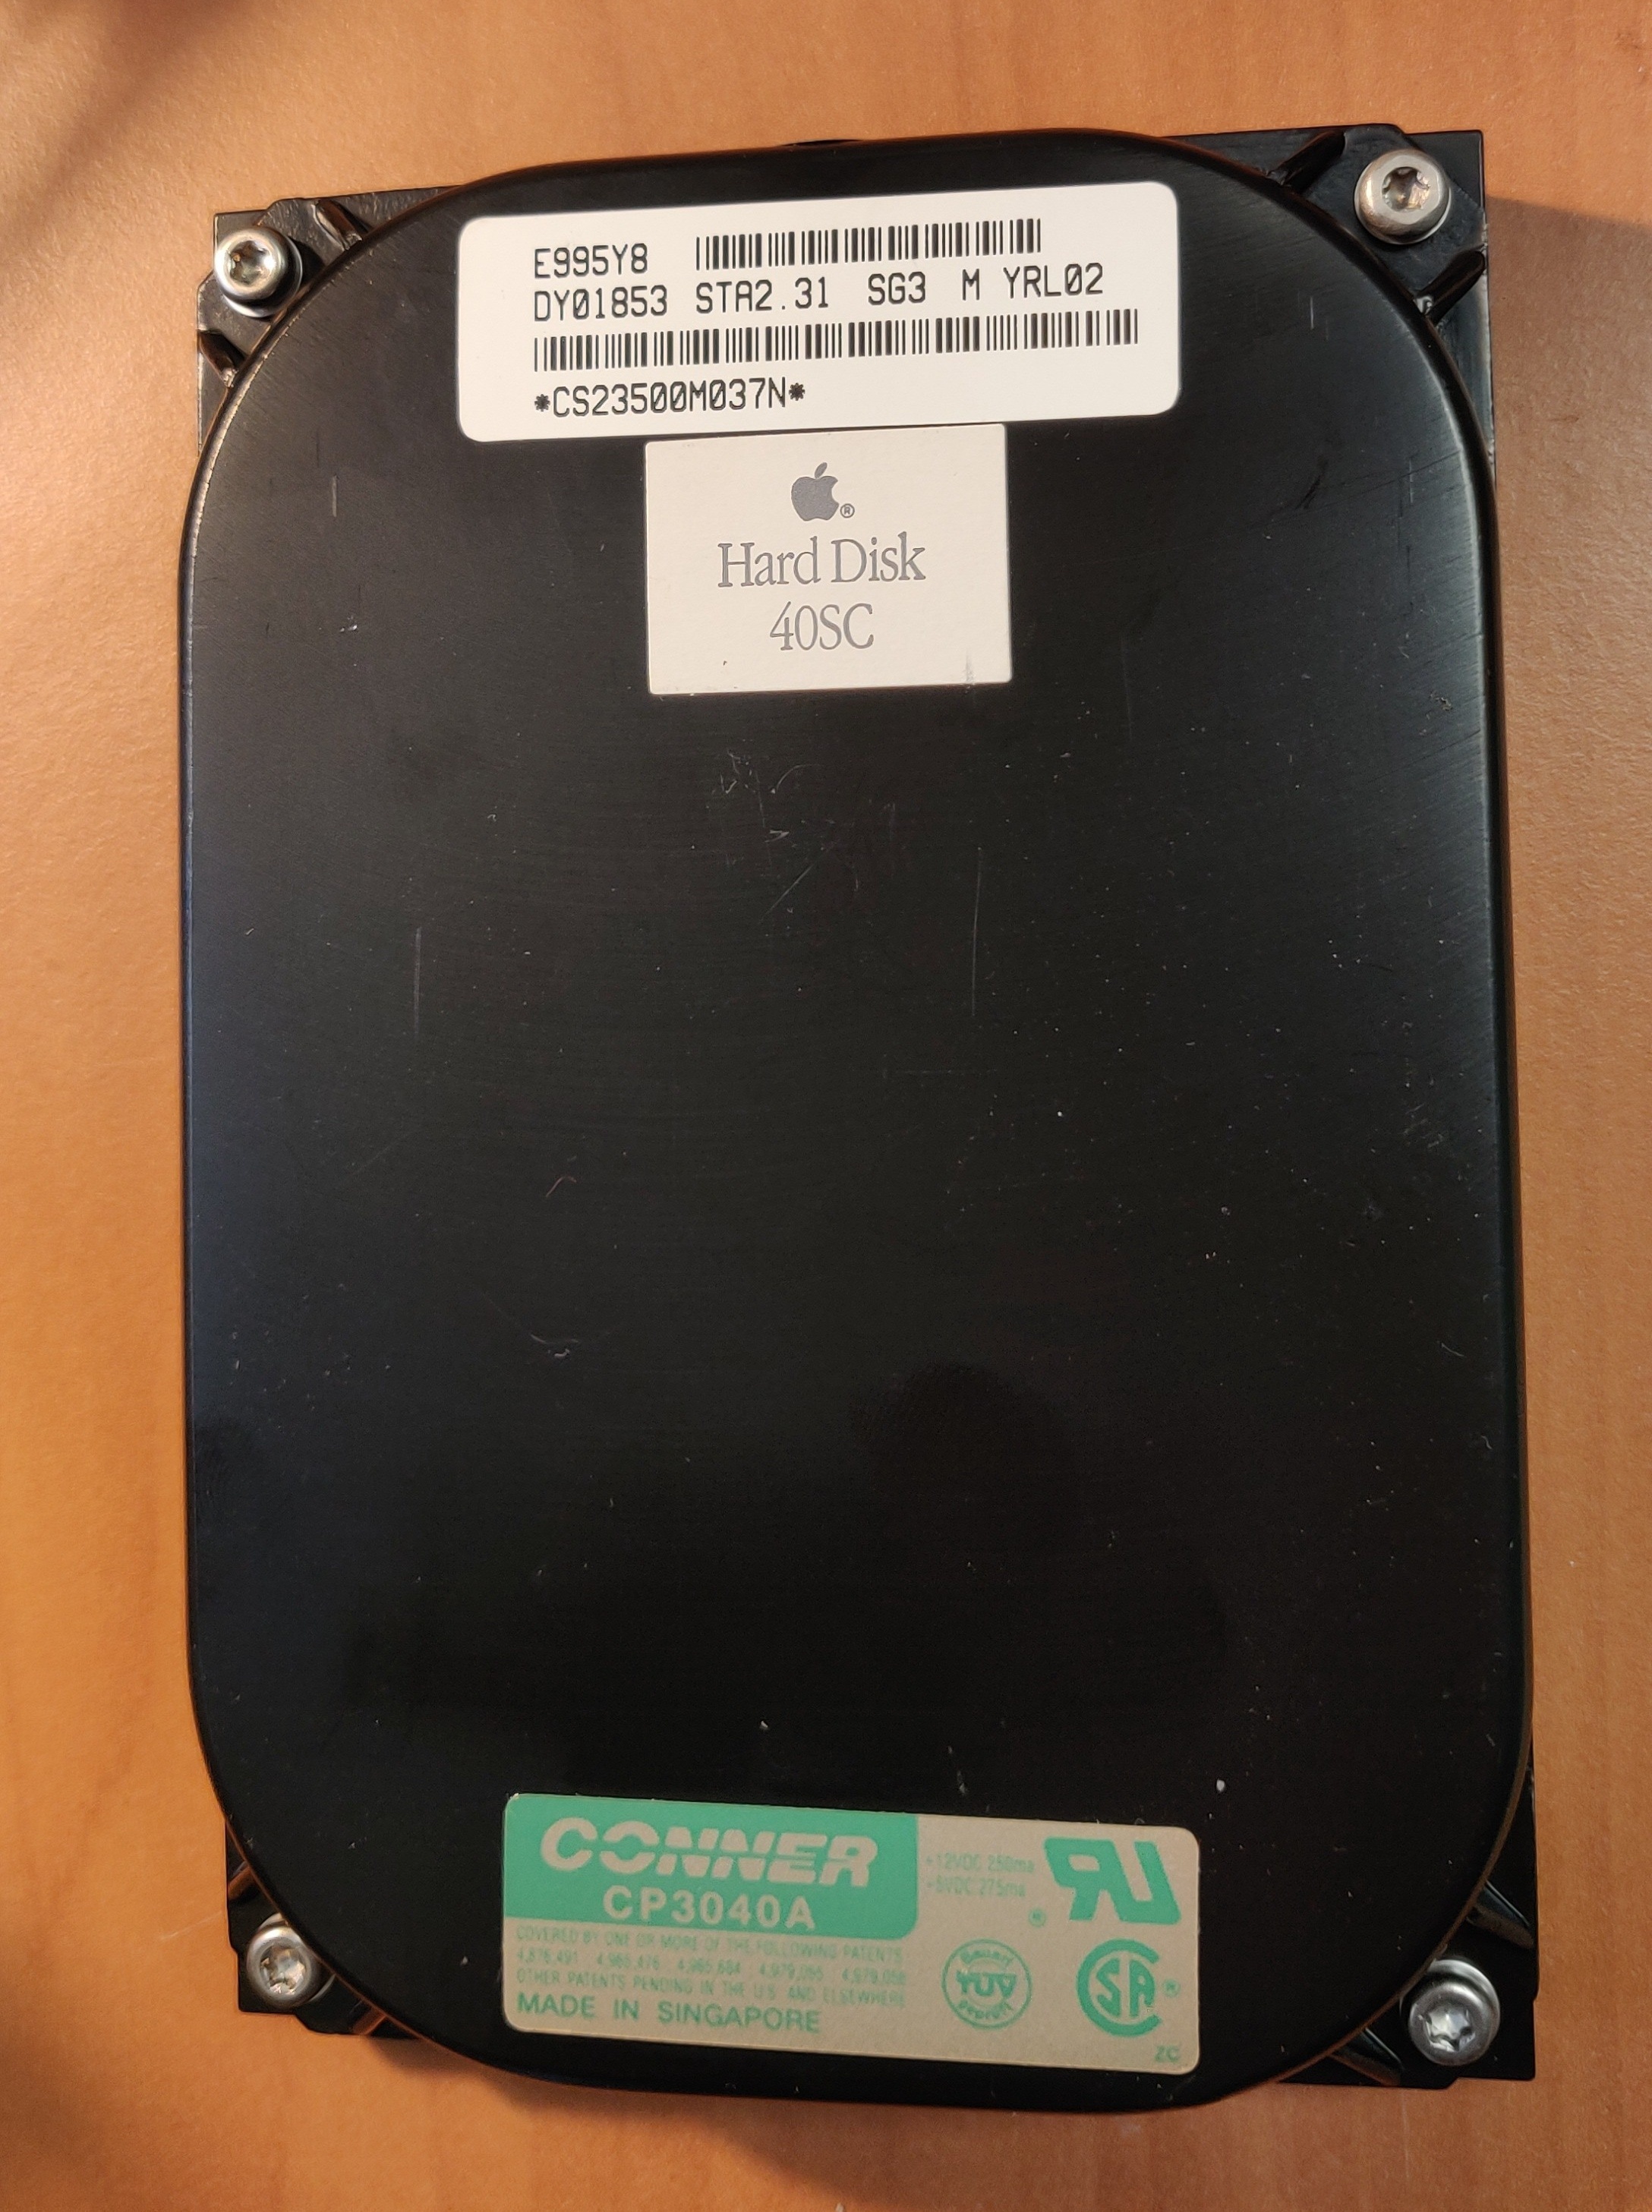
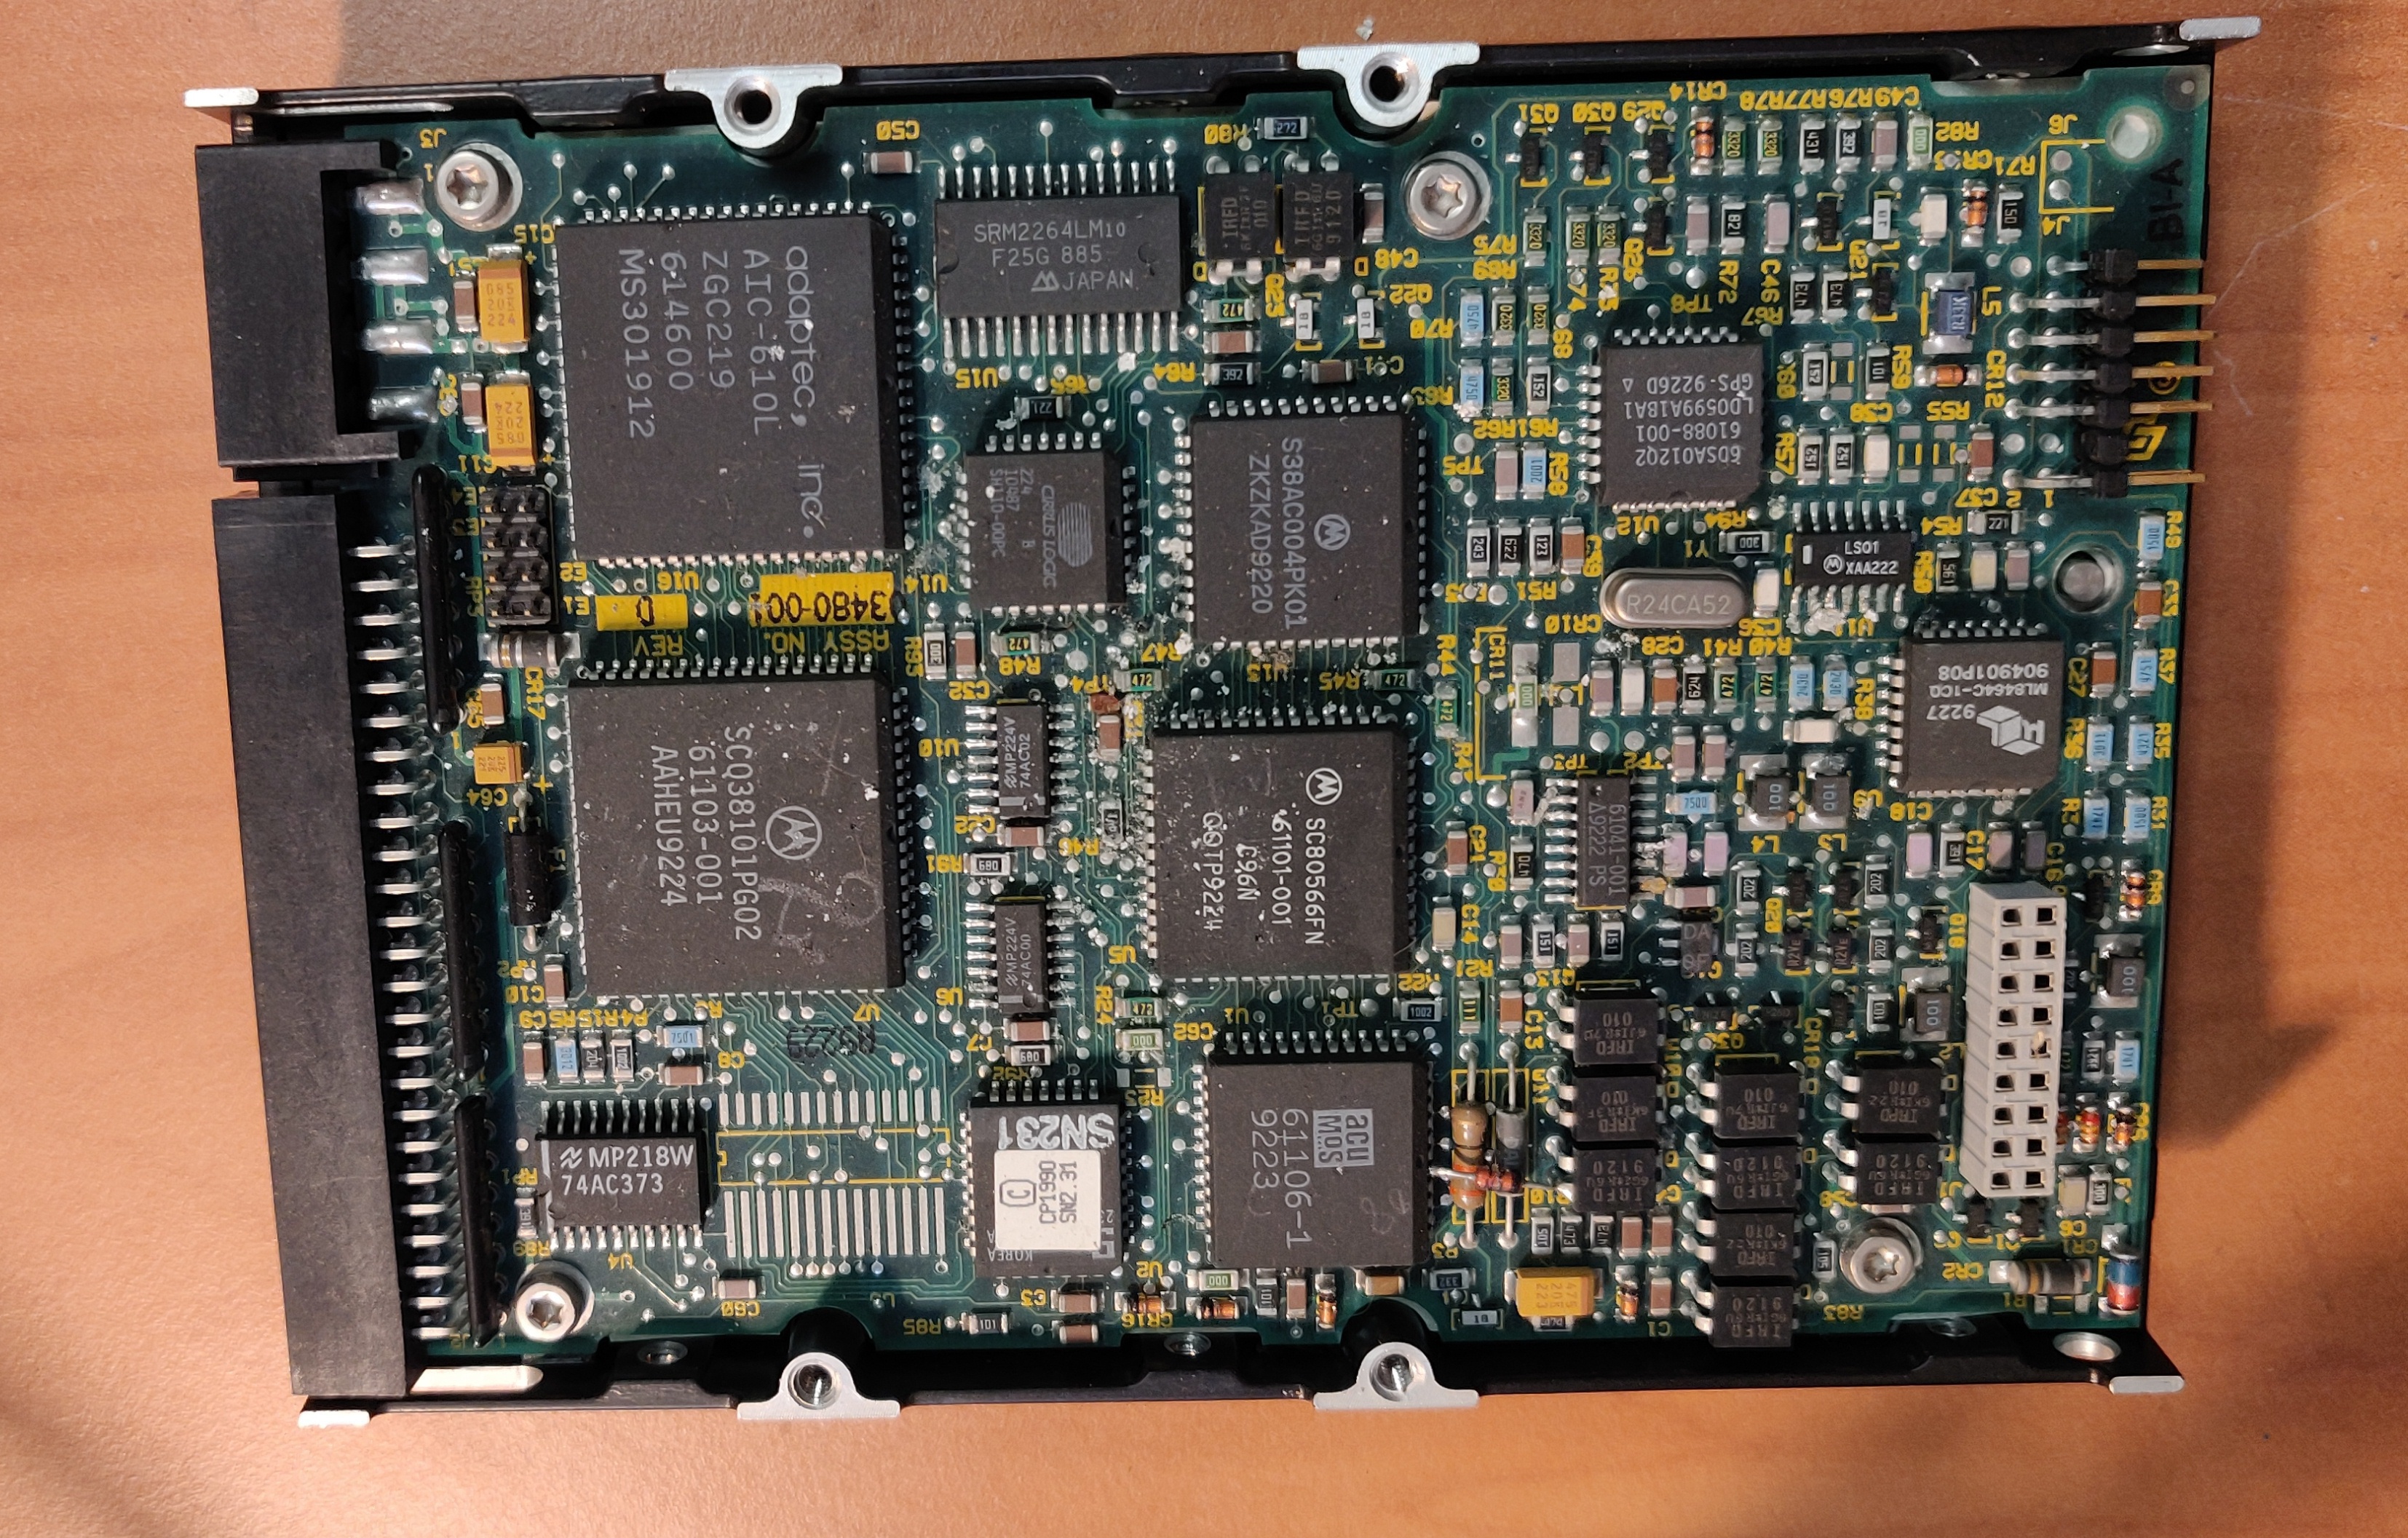
Using the replacement hard disk it booted into a Dutch System 7.0.1 without any issues:

Hard disk activity indicator replacement:
After replacing the hard disk the activity indicator still wouldn't light, I replaced it with a similar style LED with an inline resistor to ensure longevity:
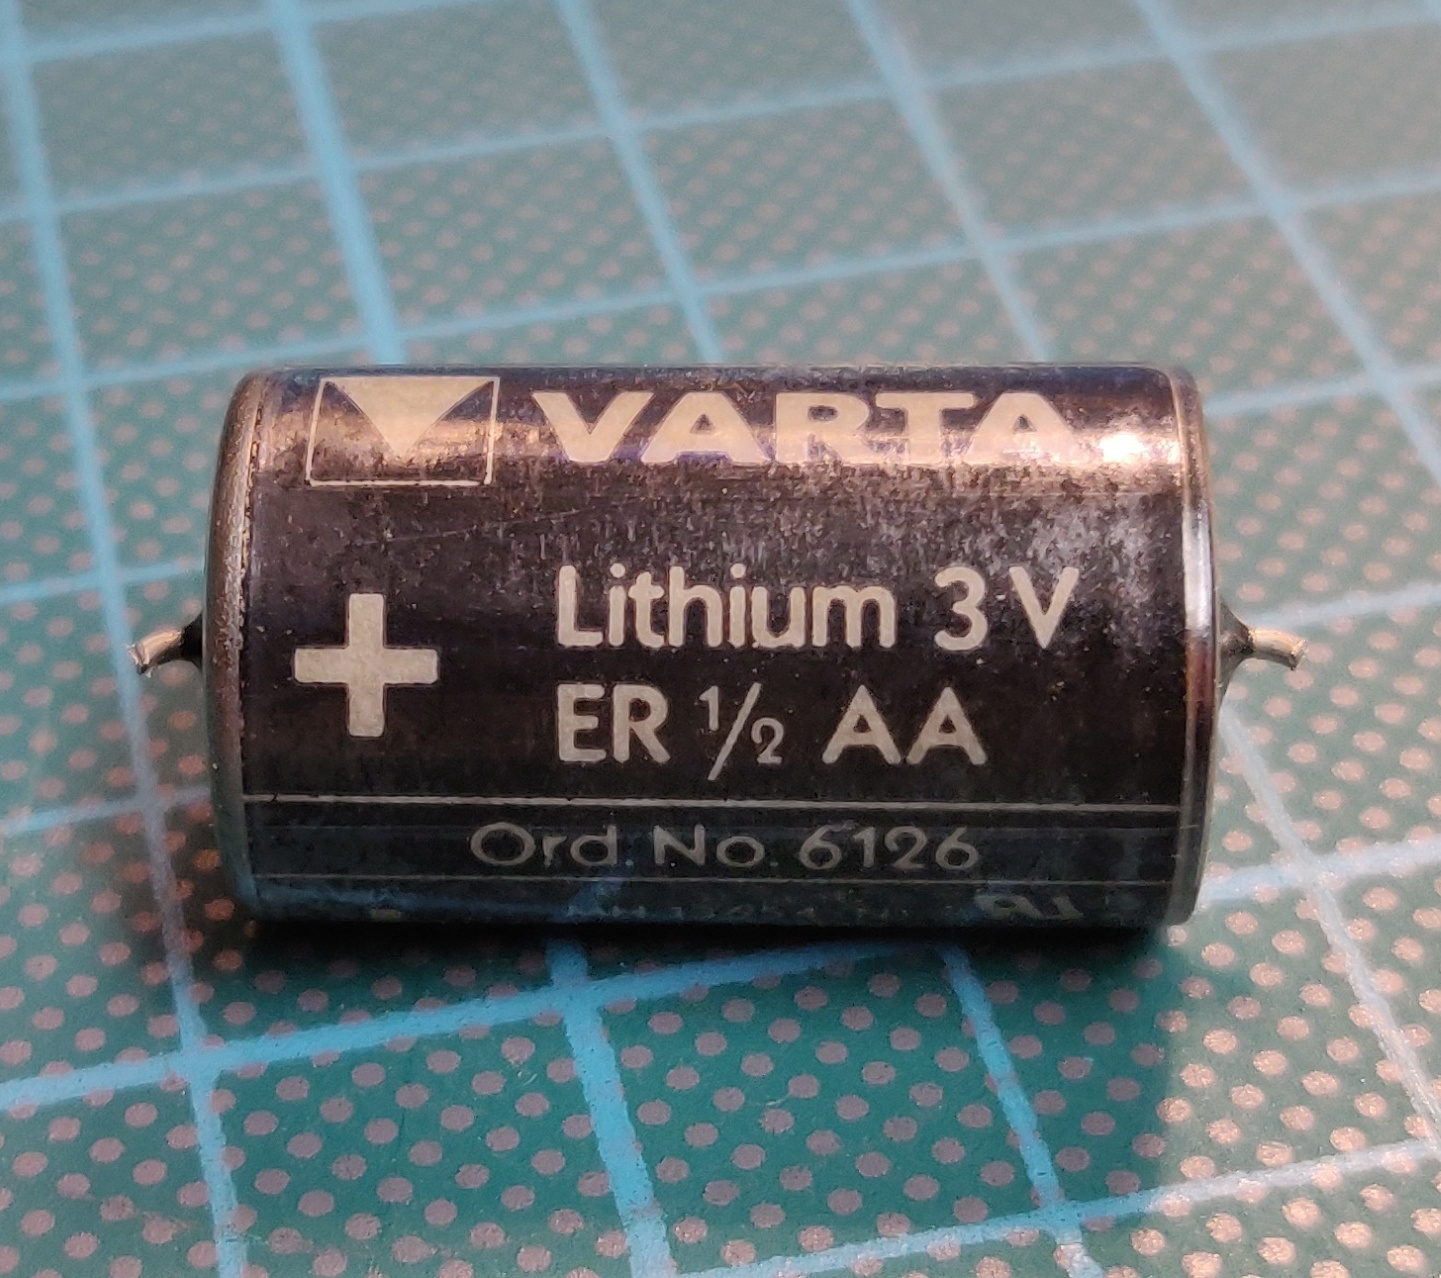
External battery modification
Although the original battery had not yet started to leak, it was already well below 1v. If the battery leaks while installed in the logic board it can cause irepr I replaced it with an externally accessible CR2032 battery. This way it's easy to remove the battery for long term storage and even if it leaks it won't affect the board.
Here is the original battery for reference:
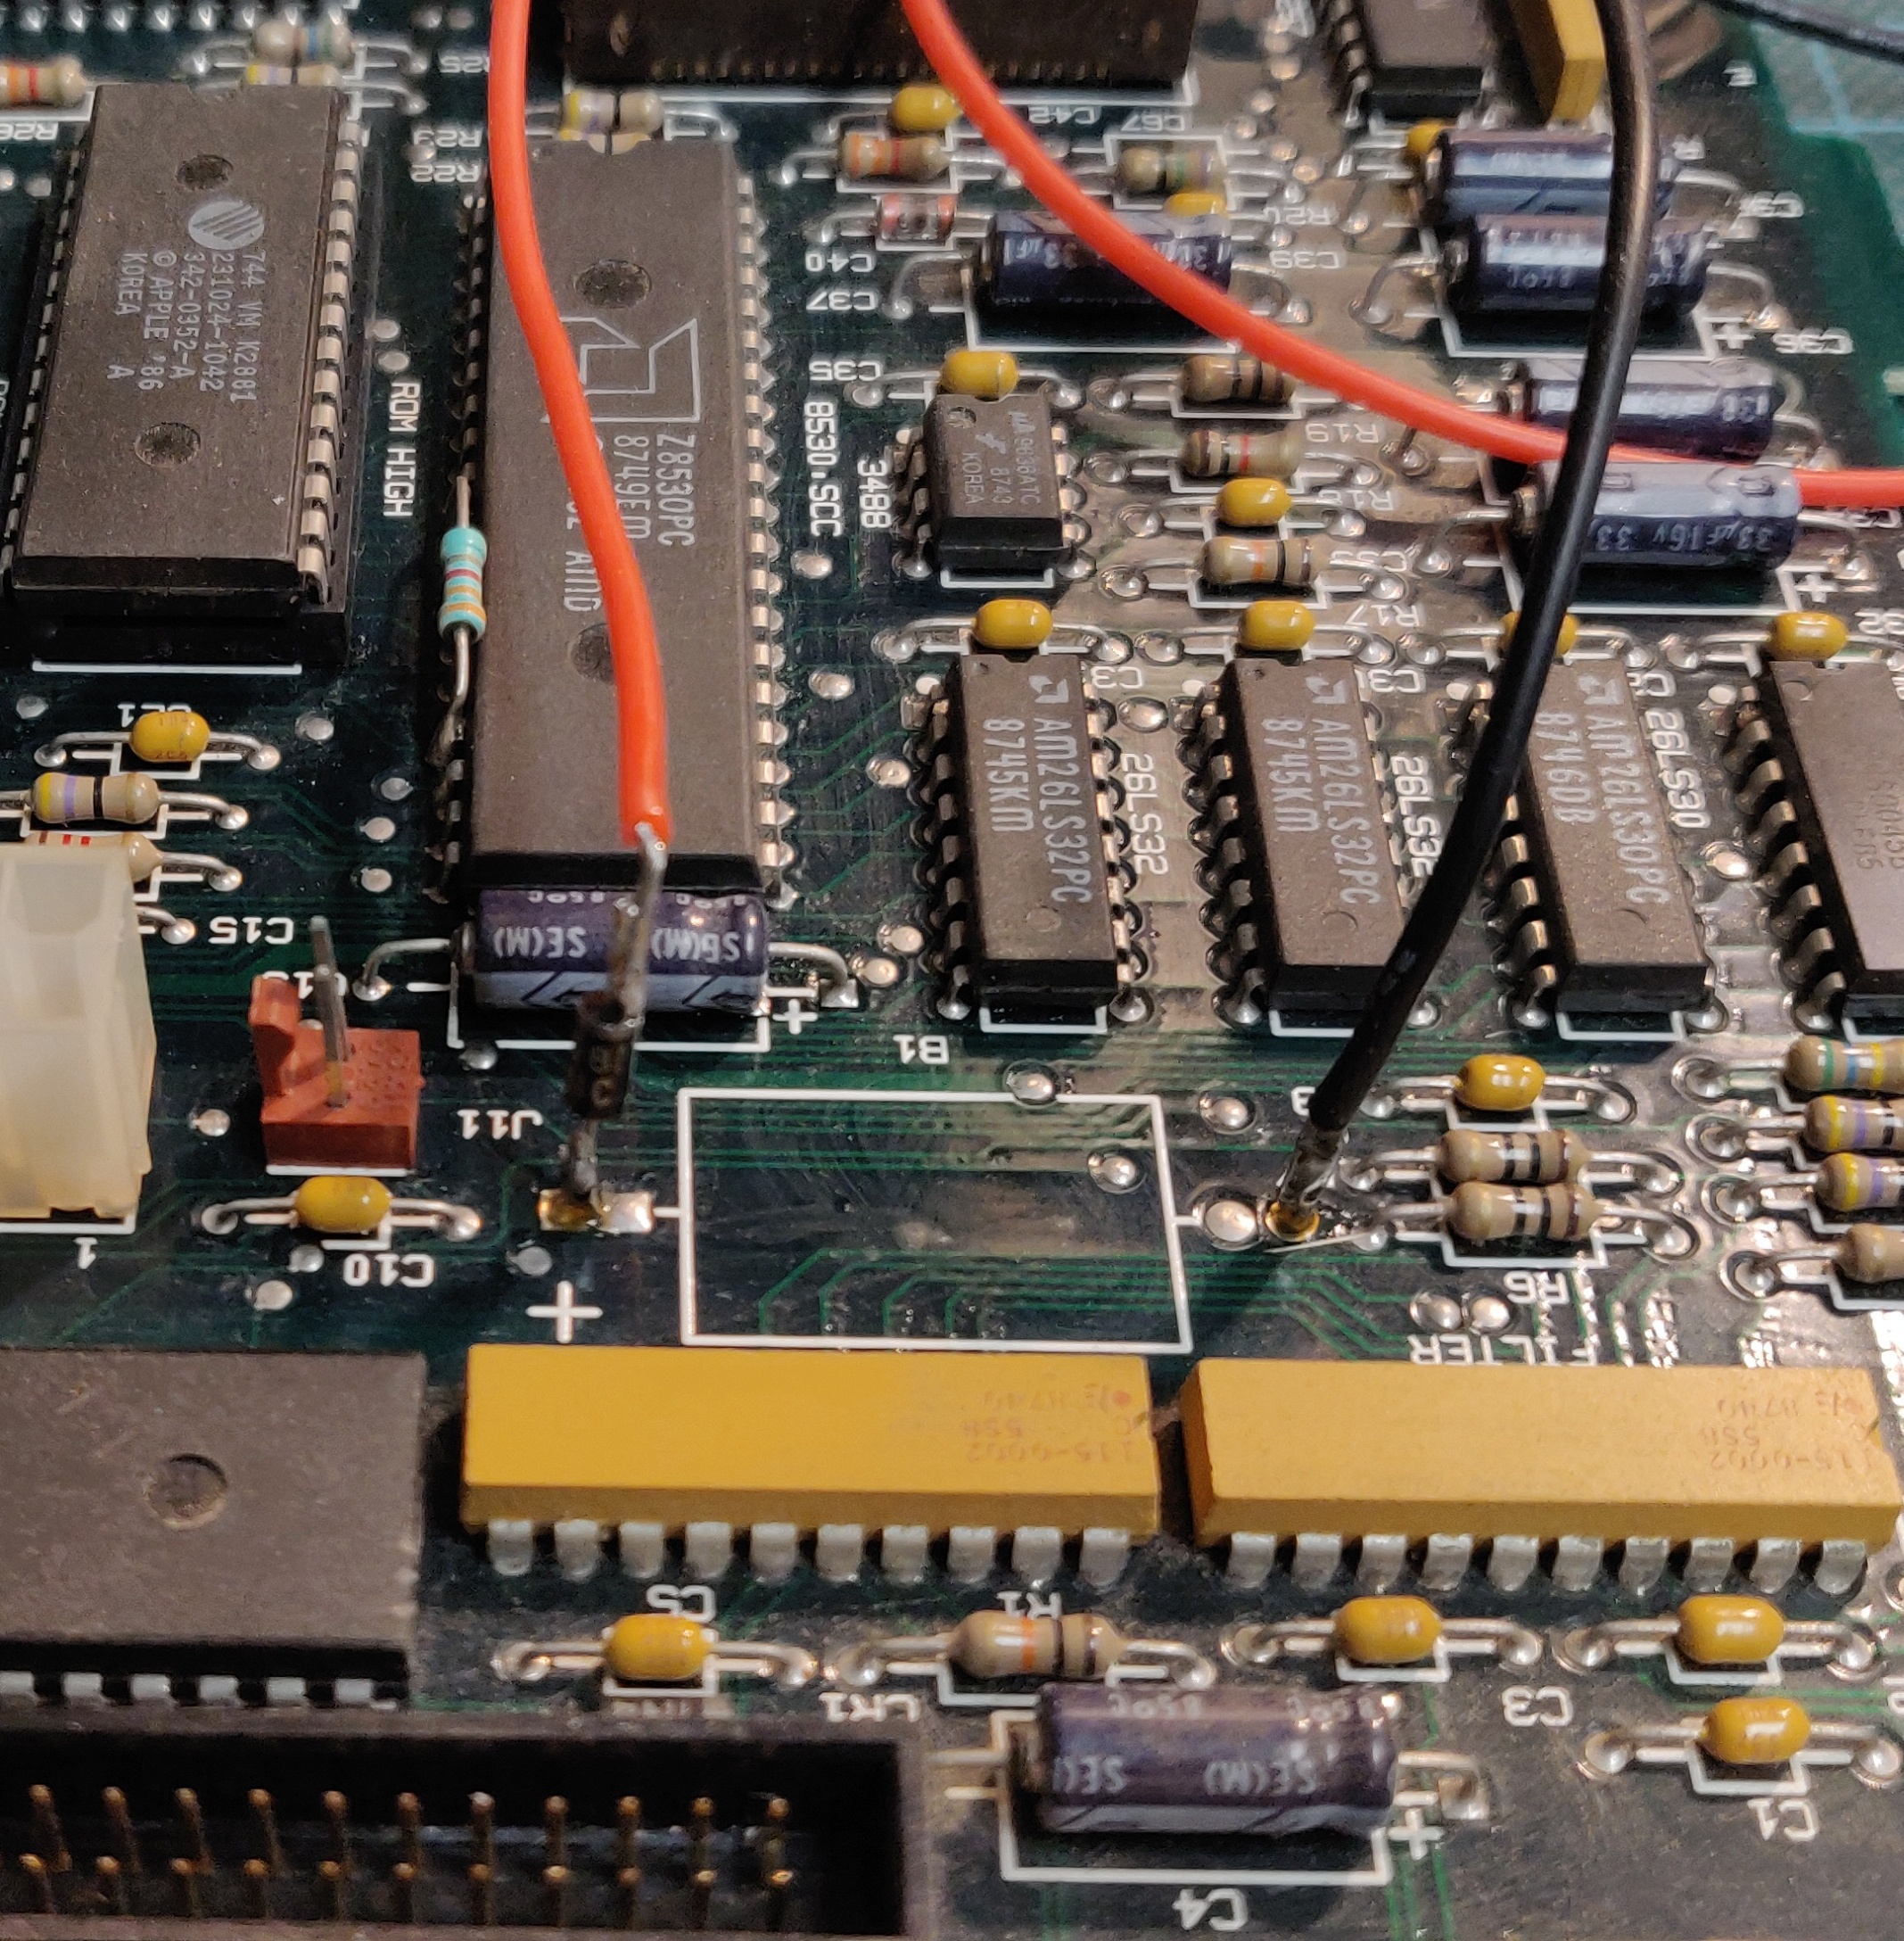
I soldered new wires directly to the clipped battery leads with a Schottky diode inline. Although this Macintosh should not charge the battery, it never hurts to add a bit extra safety. (note: the Schottky diode was later removed because it dropped the voltage to low)
Before adding heat shrink tube and hot glue for strain relief:
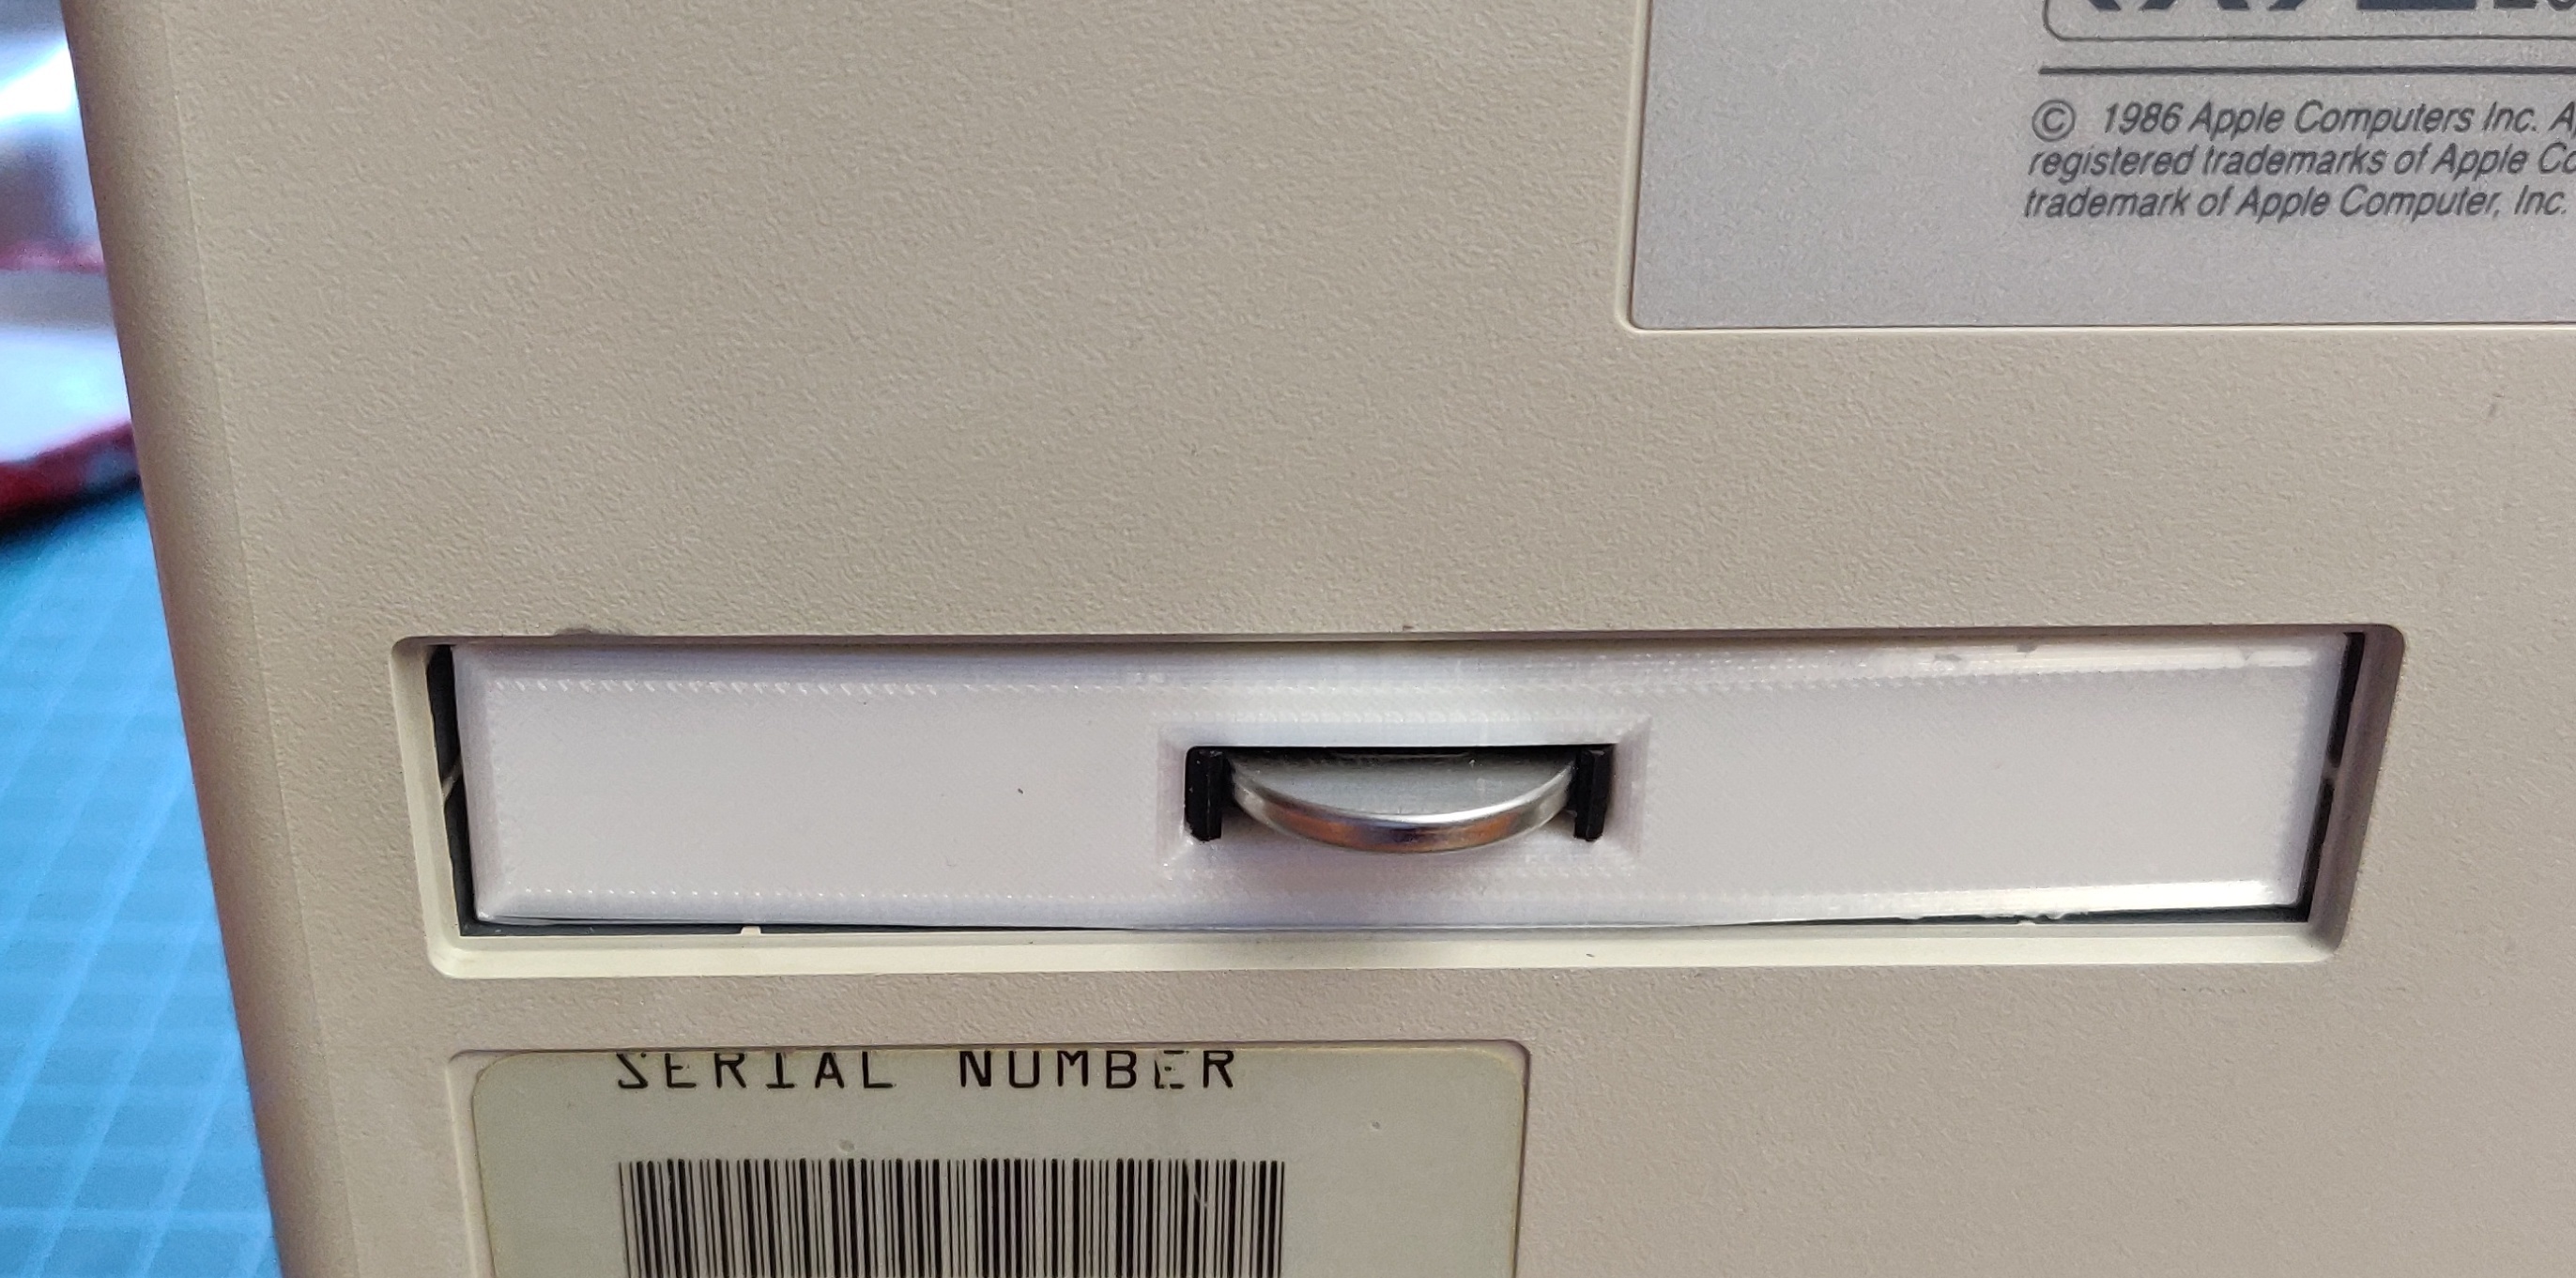
A 3D printed bracket I designed is used to hold a CR2032 battery in the slot left open after the network card was removed:
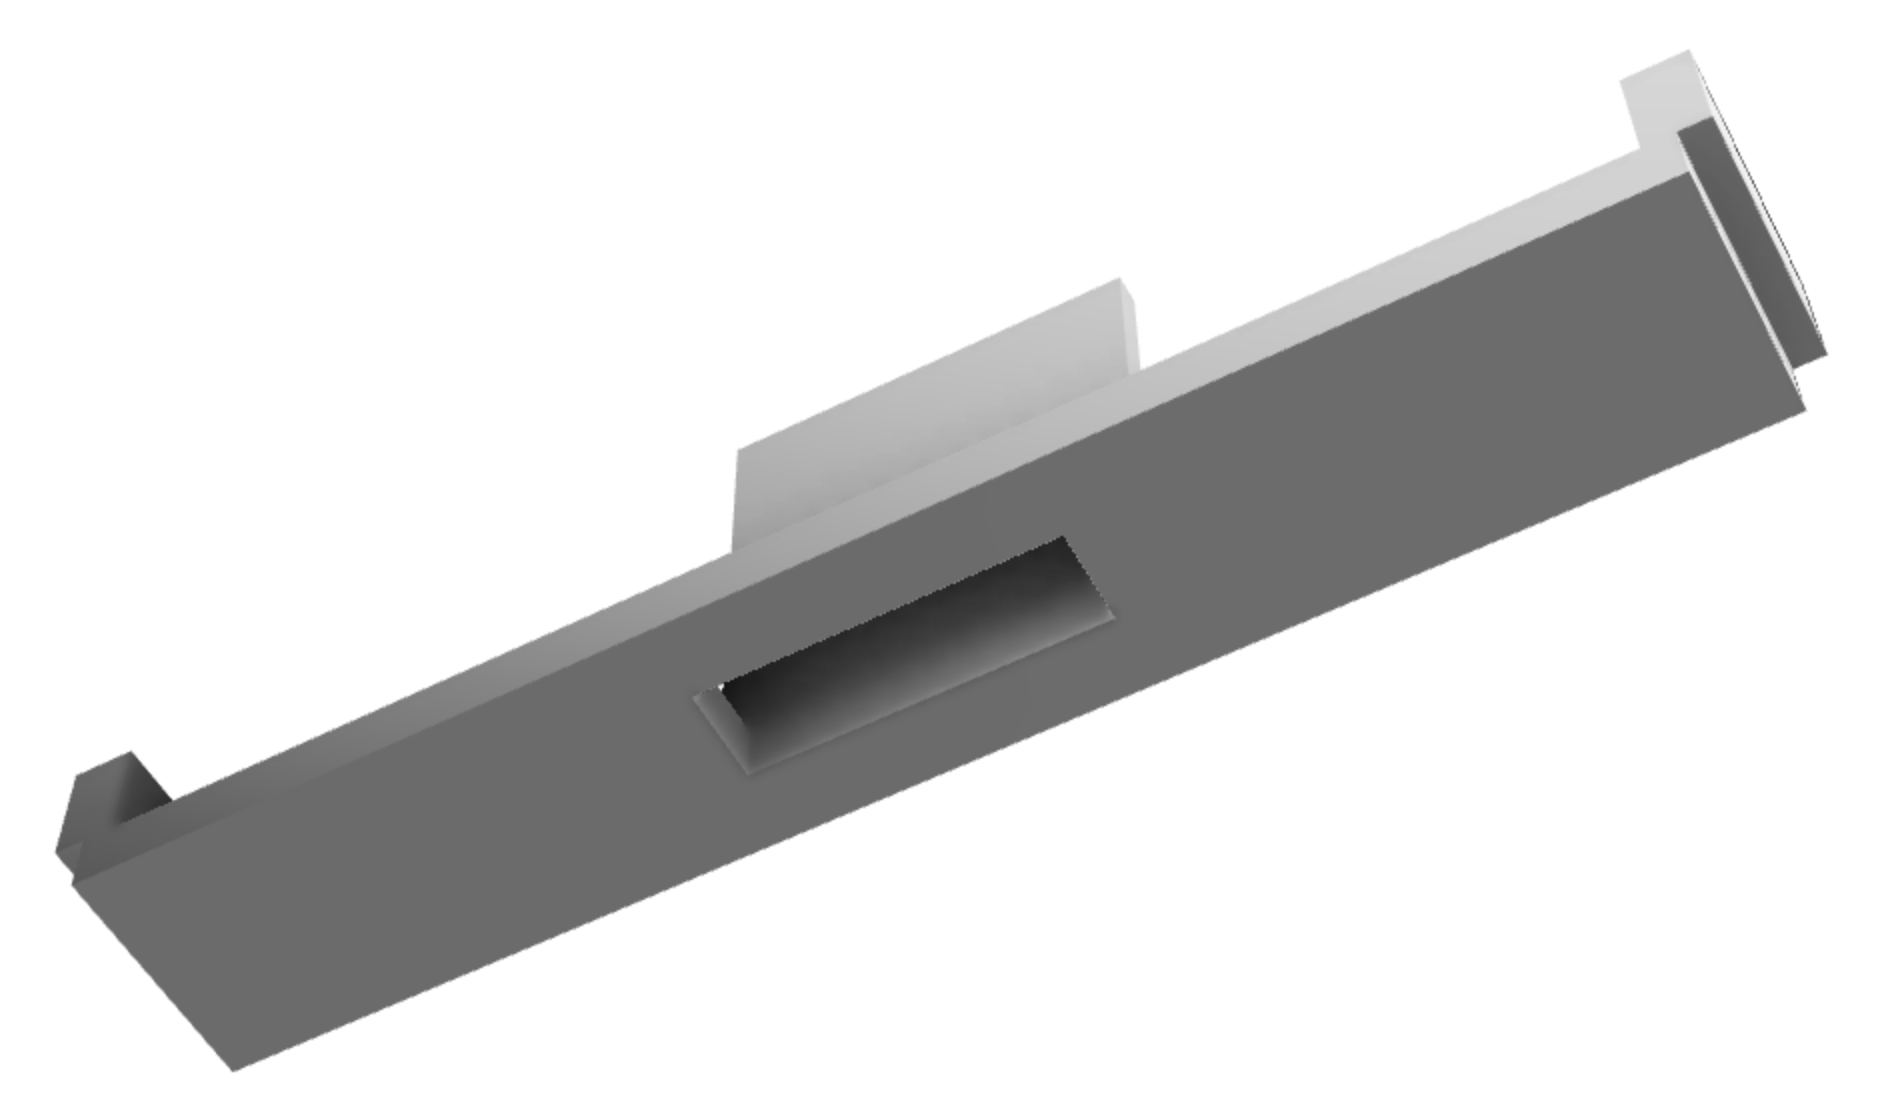
Here is the bracket installed with a CR2032 battery installed:
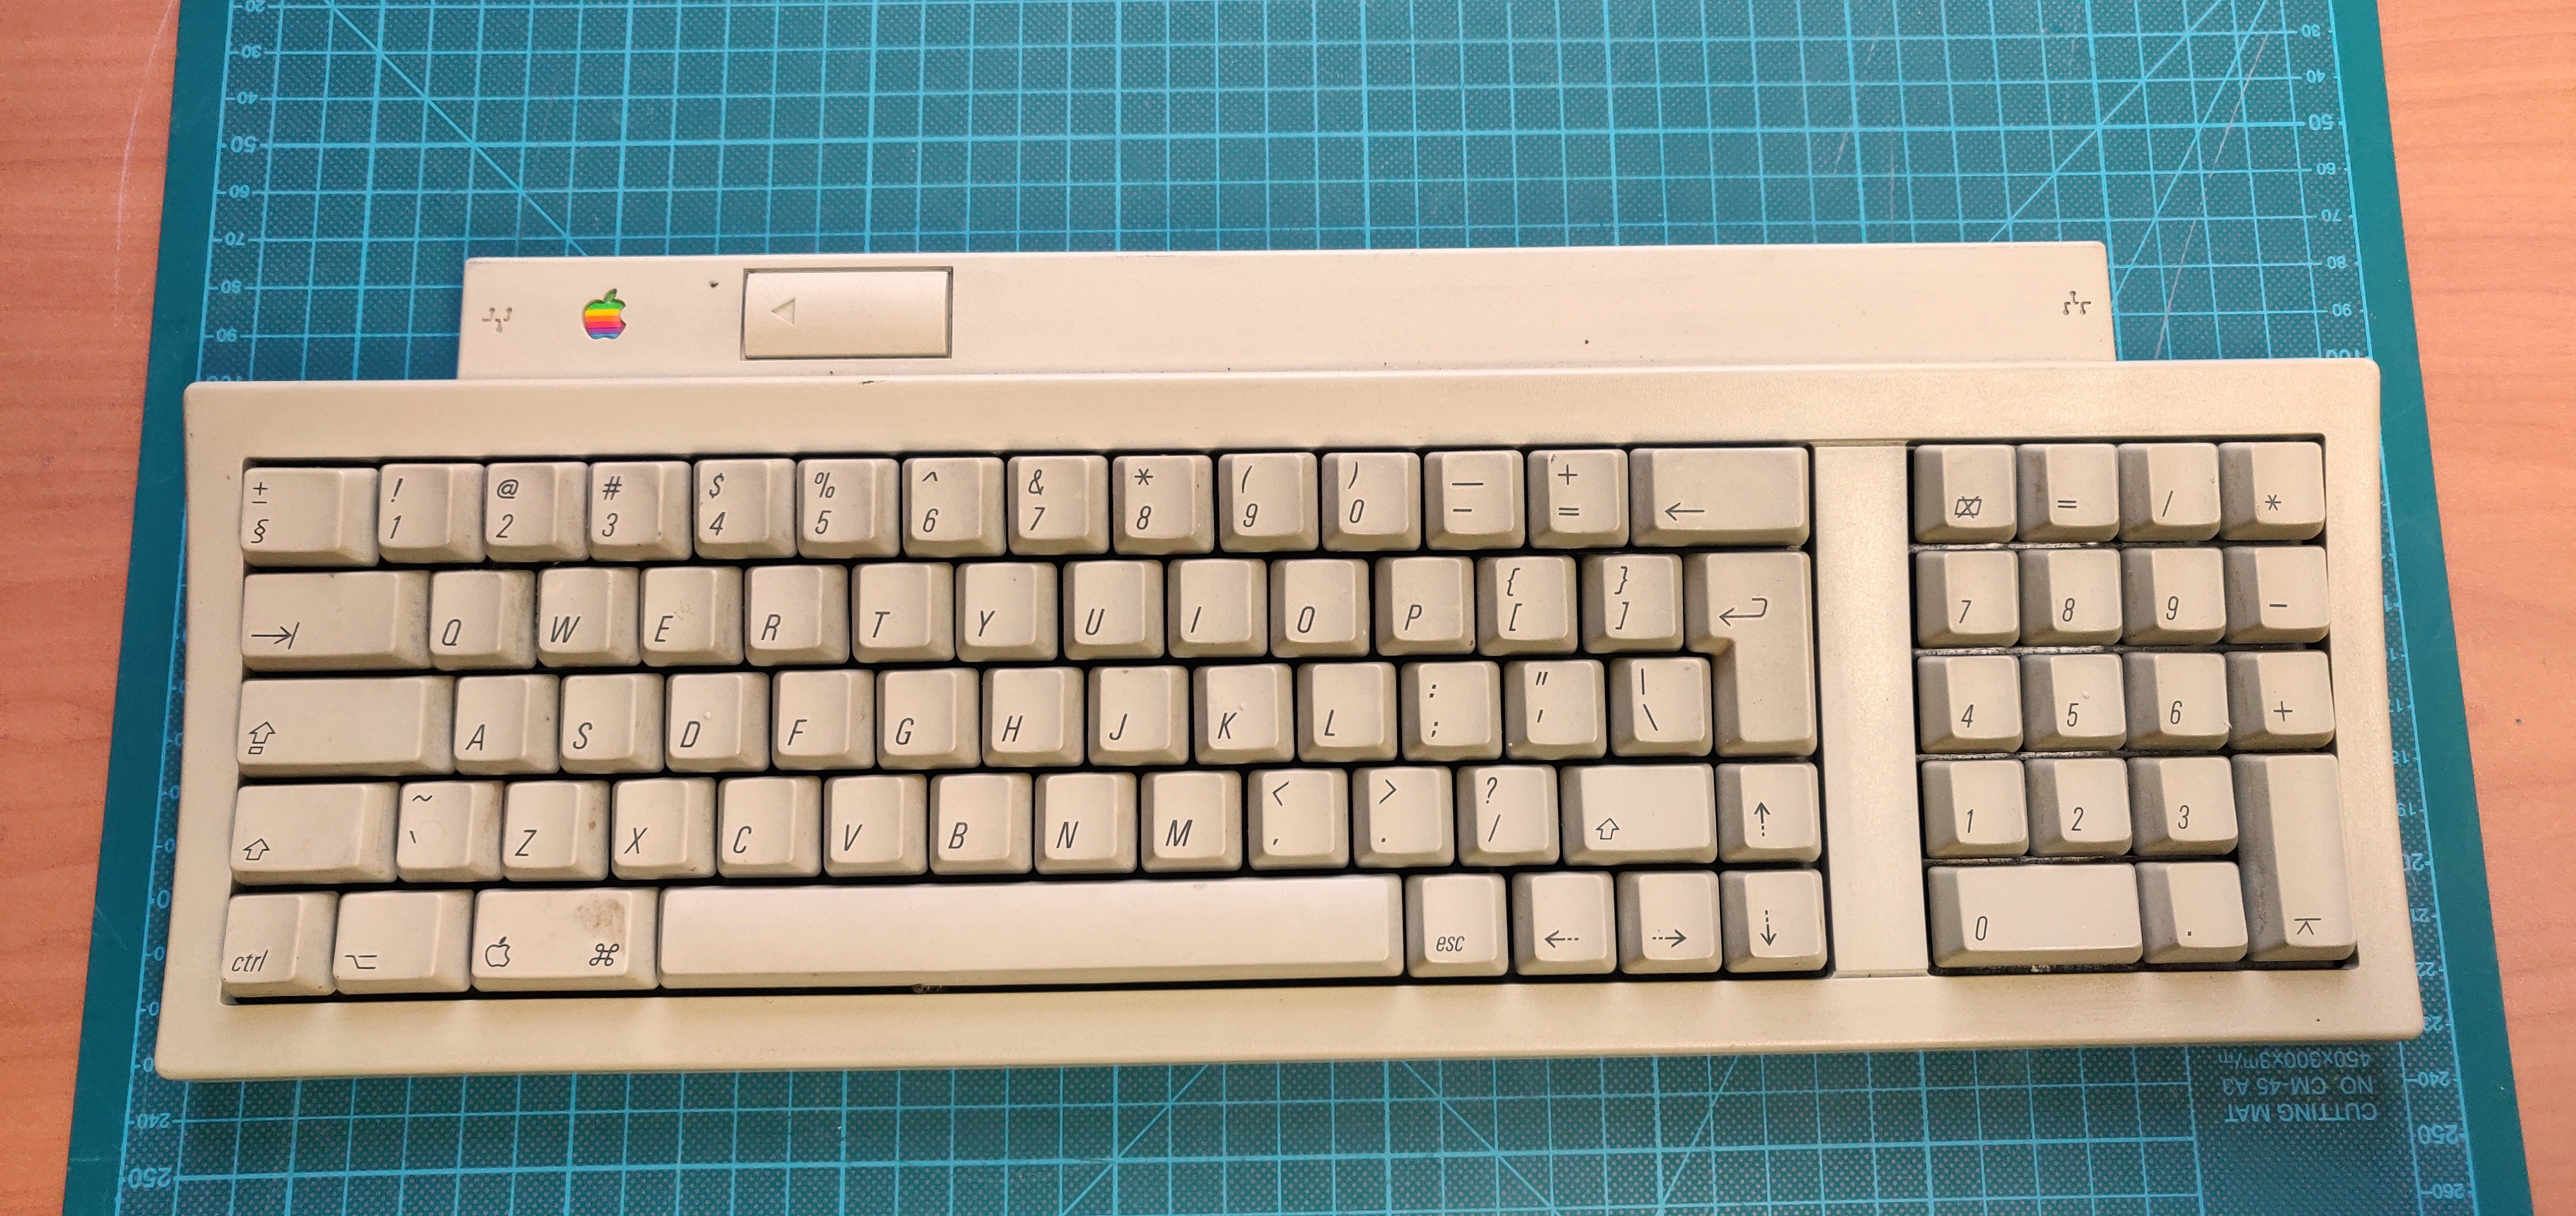
Keyboard
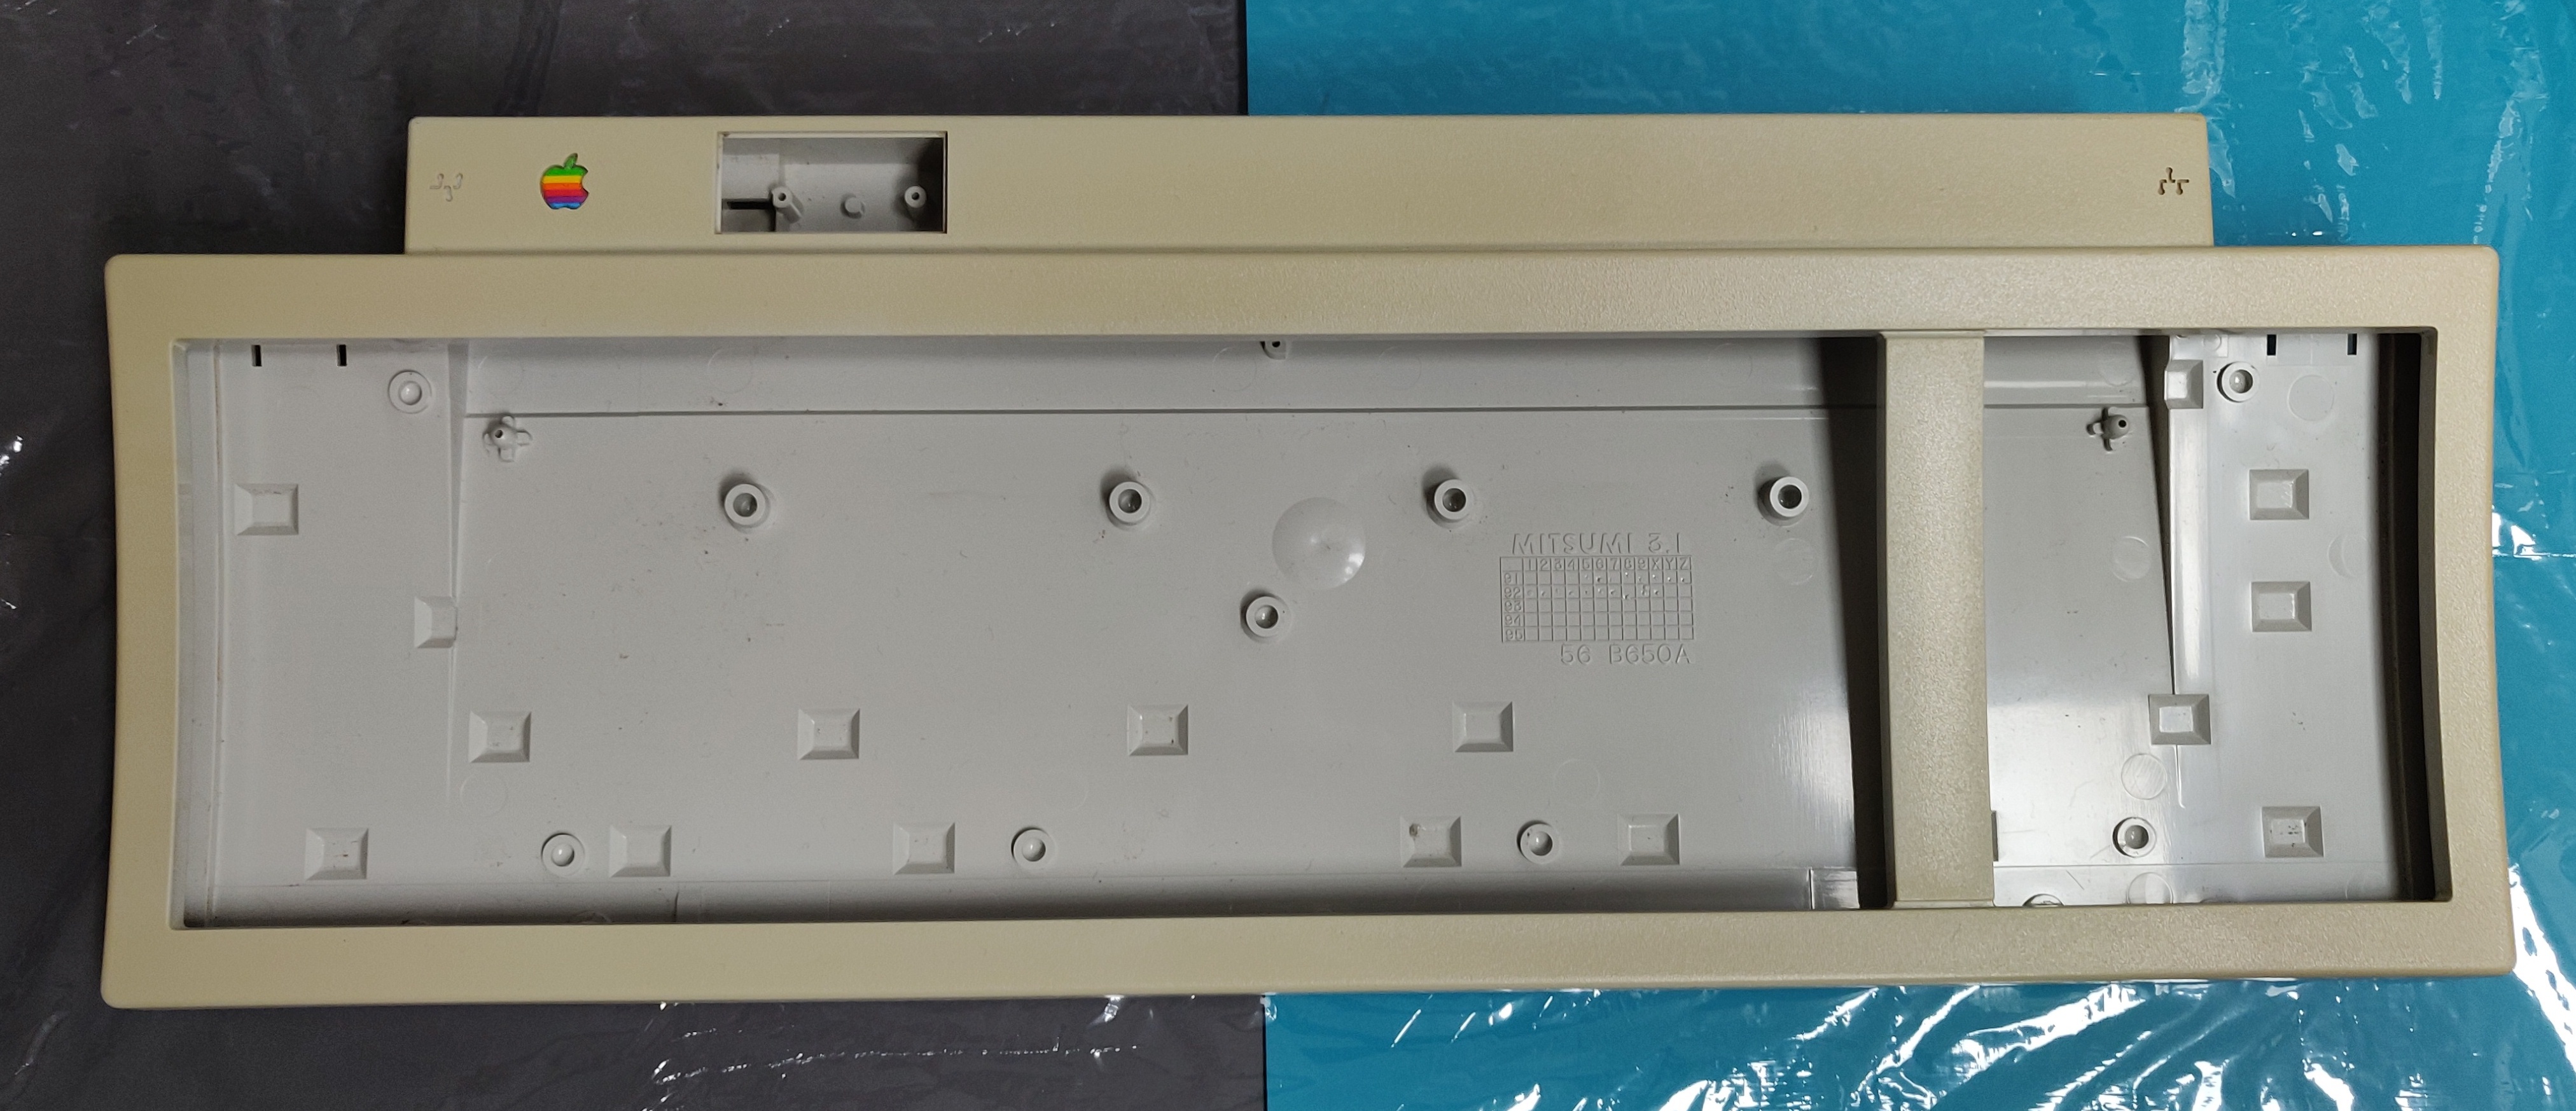
The keyboard was a bit yellowed, but most of all it needed a proper deep clean to get years of dirt out of it.
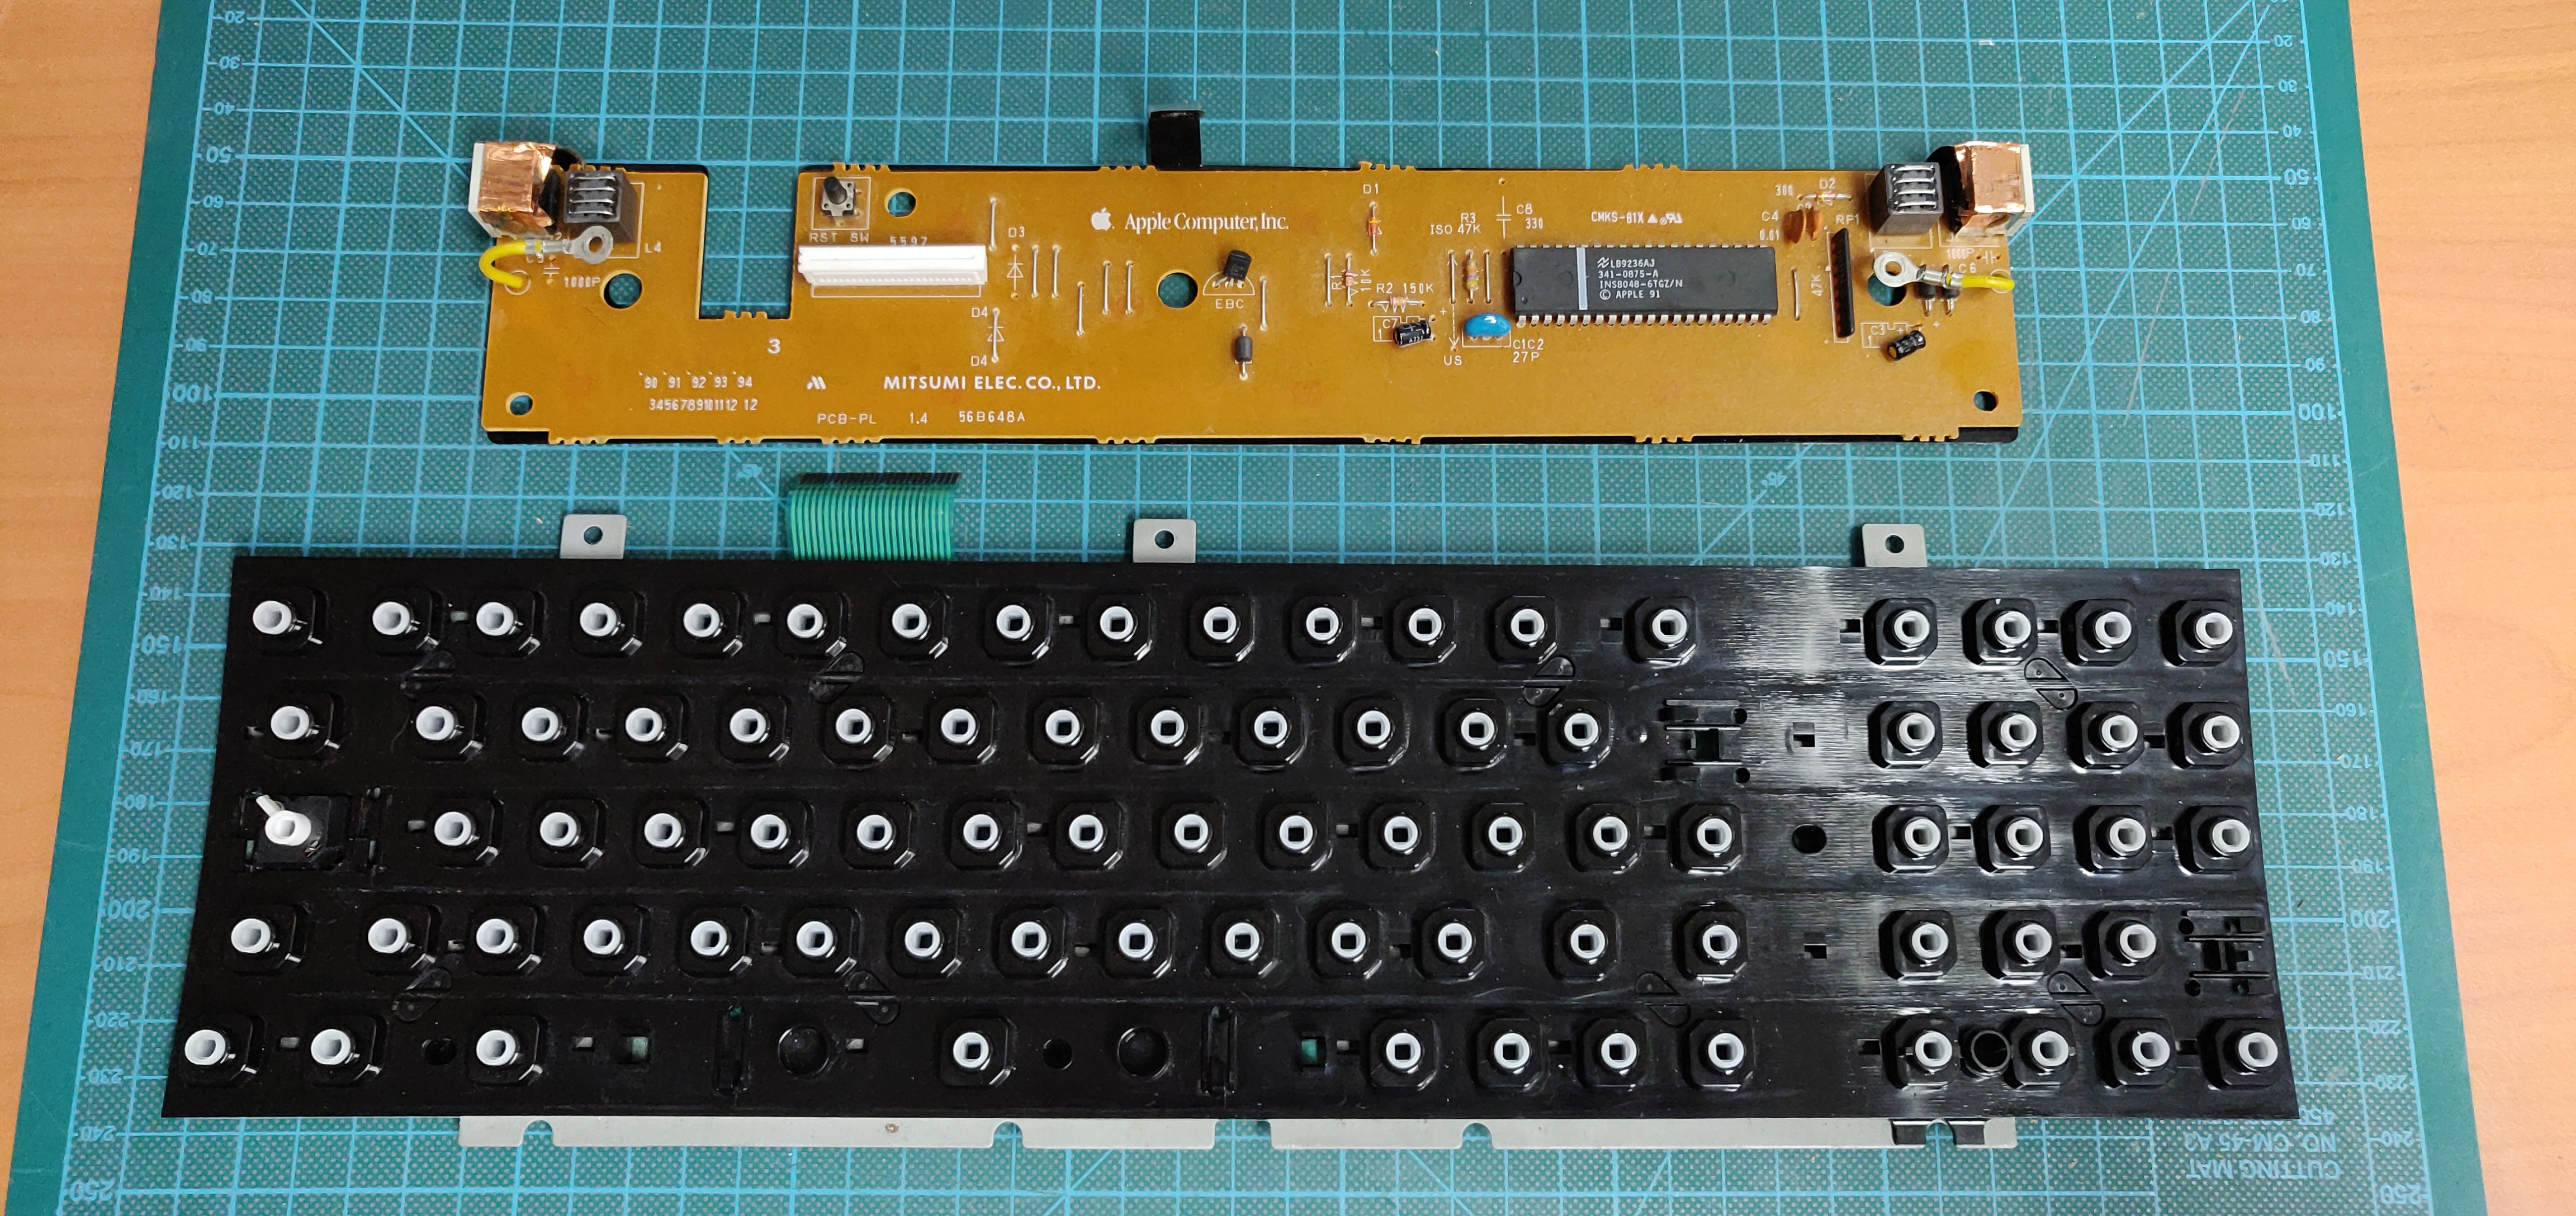
Here is a picture after fully disassembling and cleaning the keyboard.
Next was removing the yellowing of the plastic, on this particular keyboard both the keys and the case were quite discoloured.
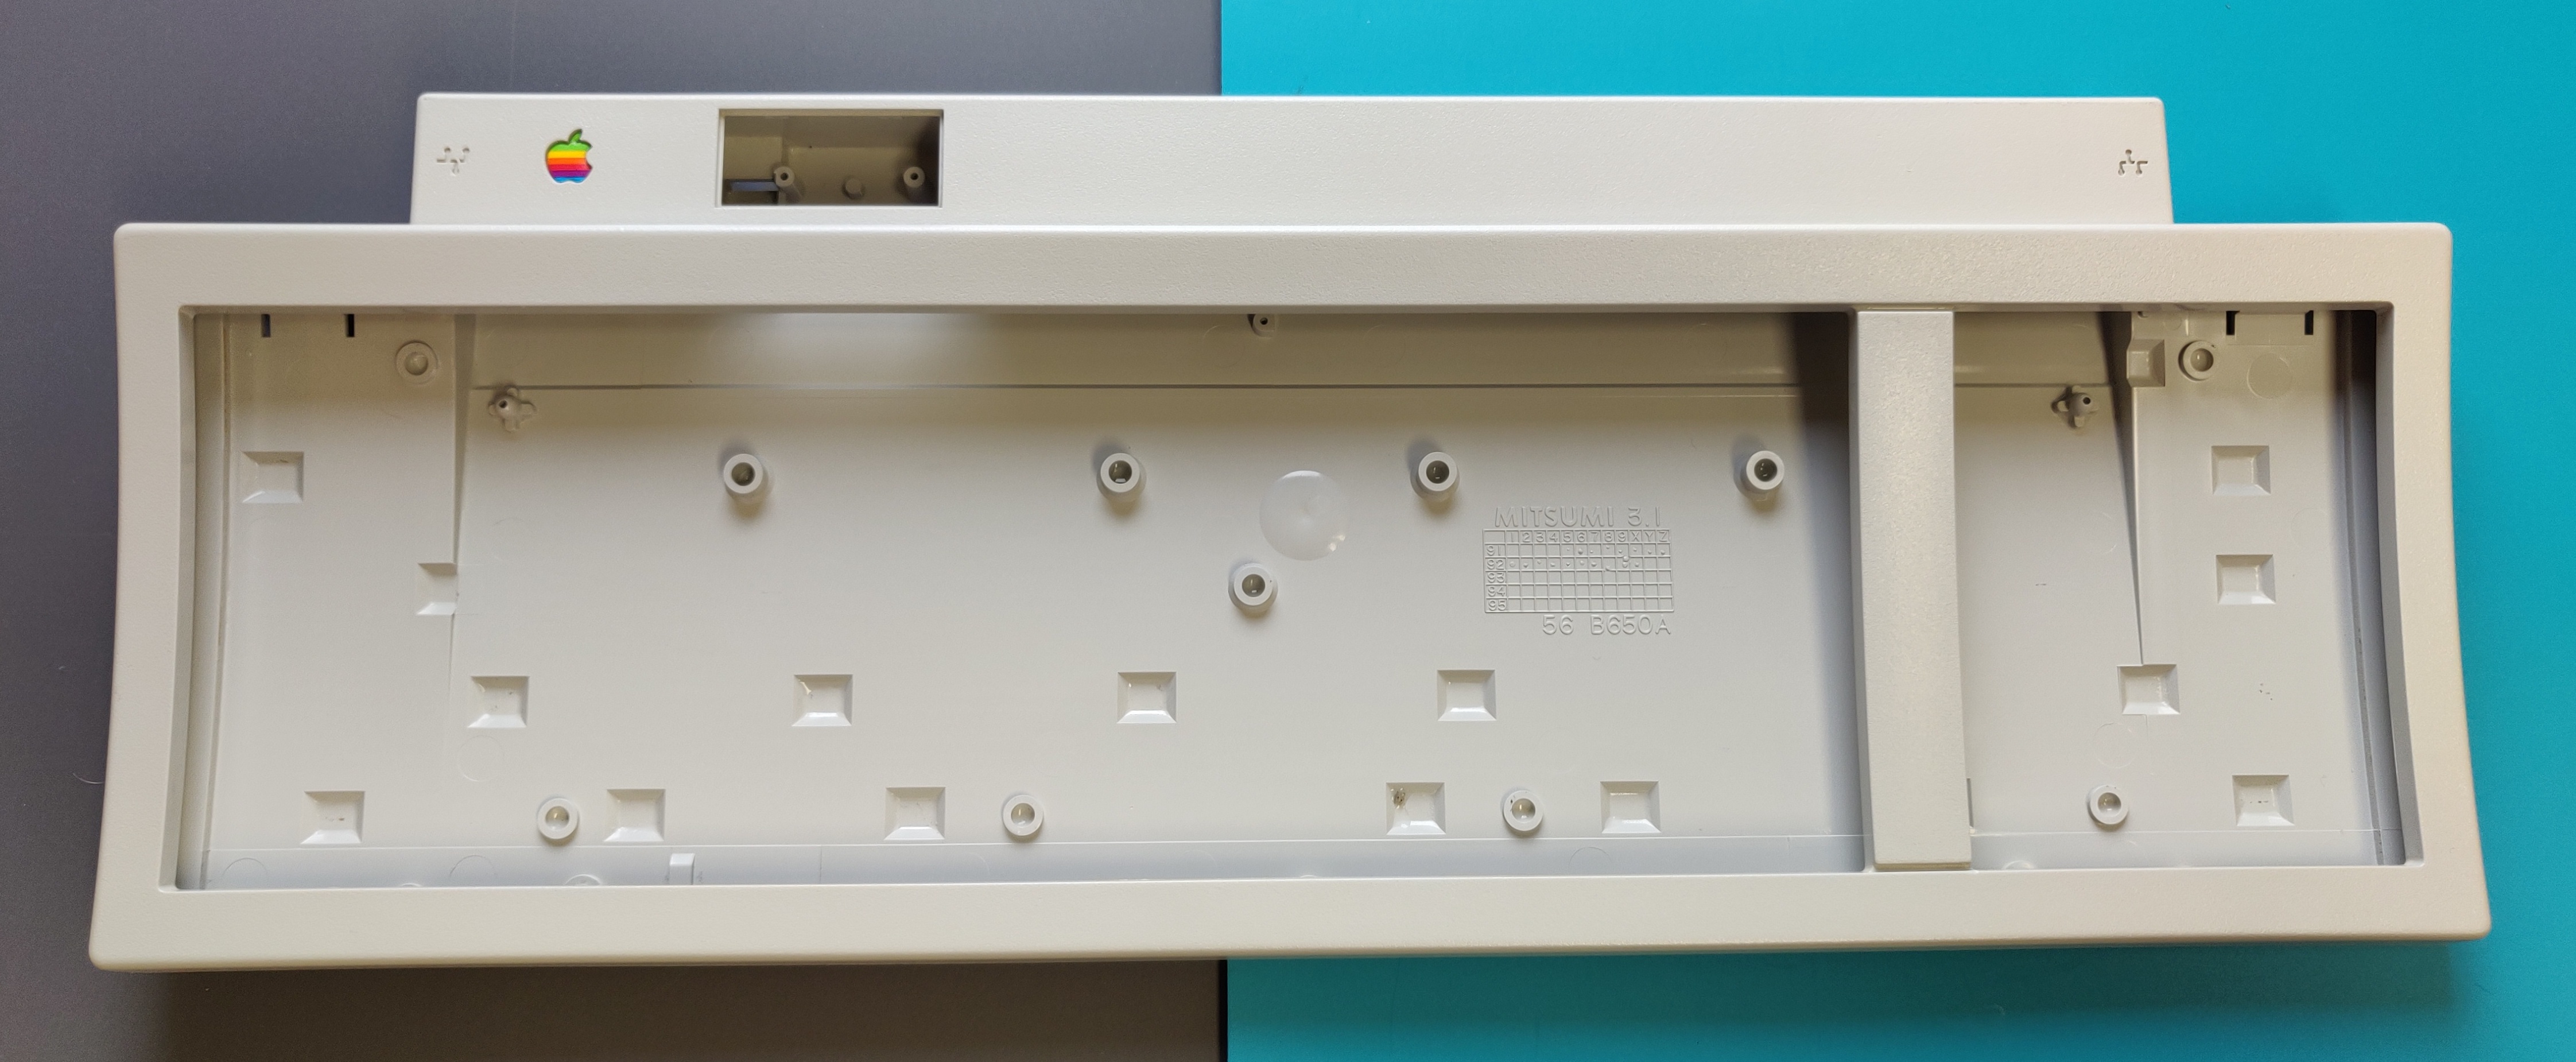
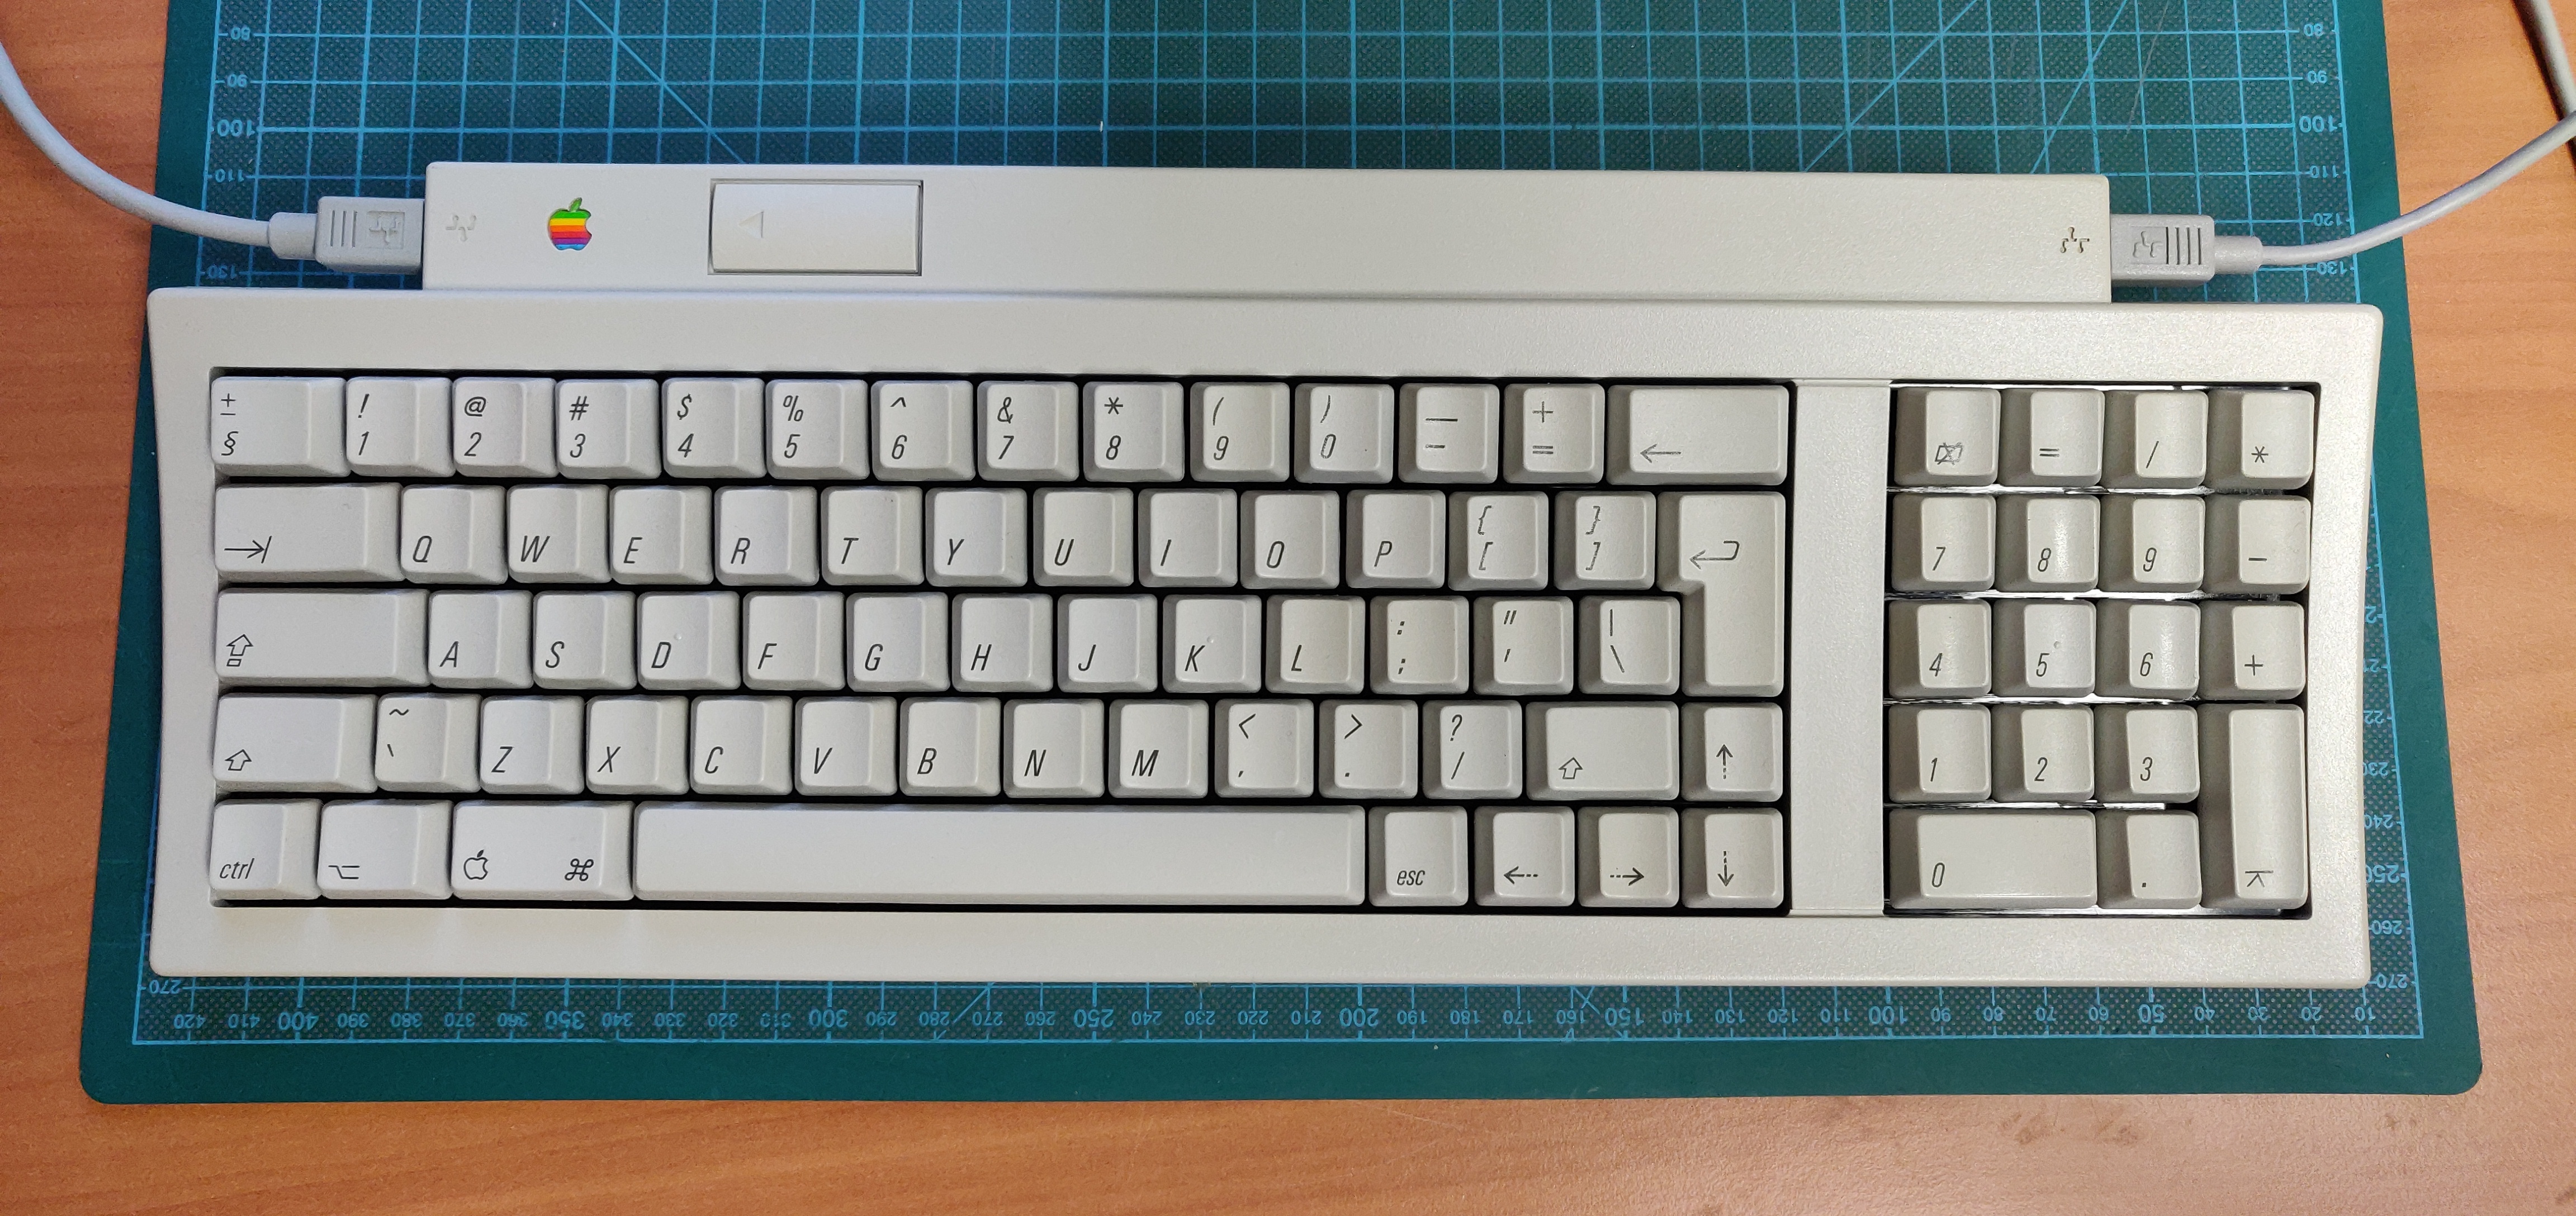
And then the keyboard in all of its clean platinum glory.
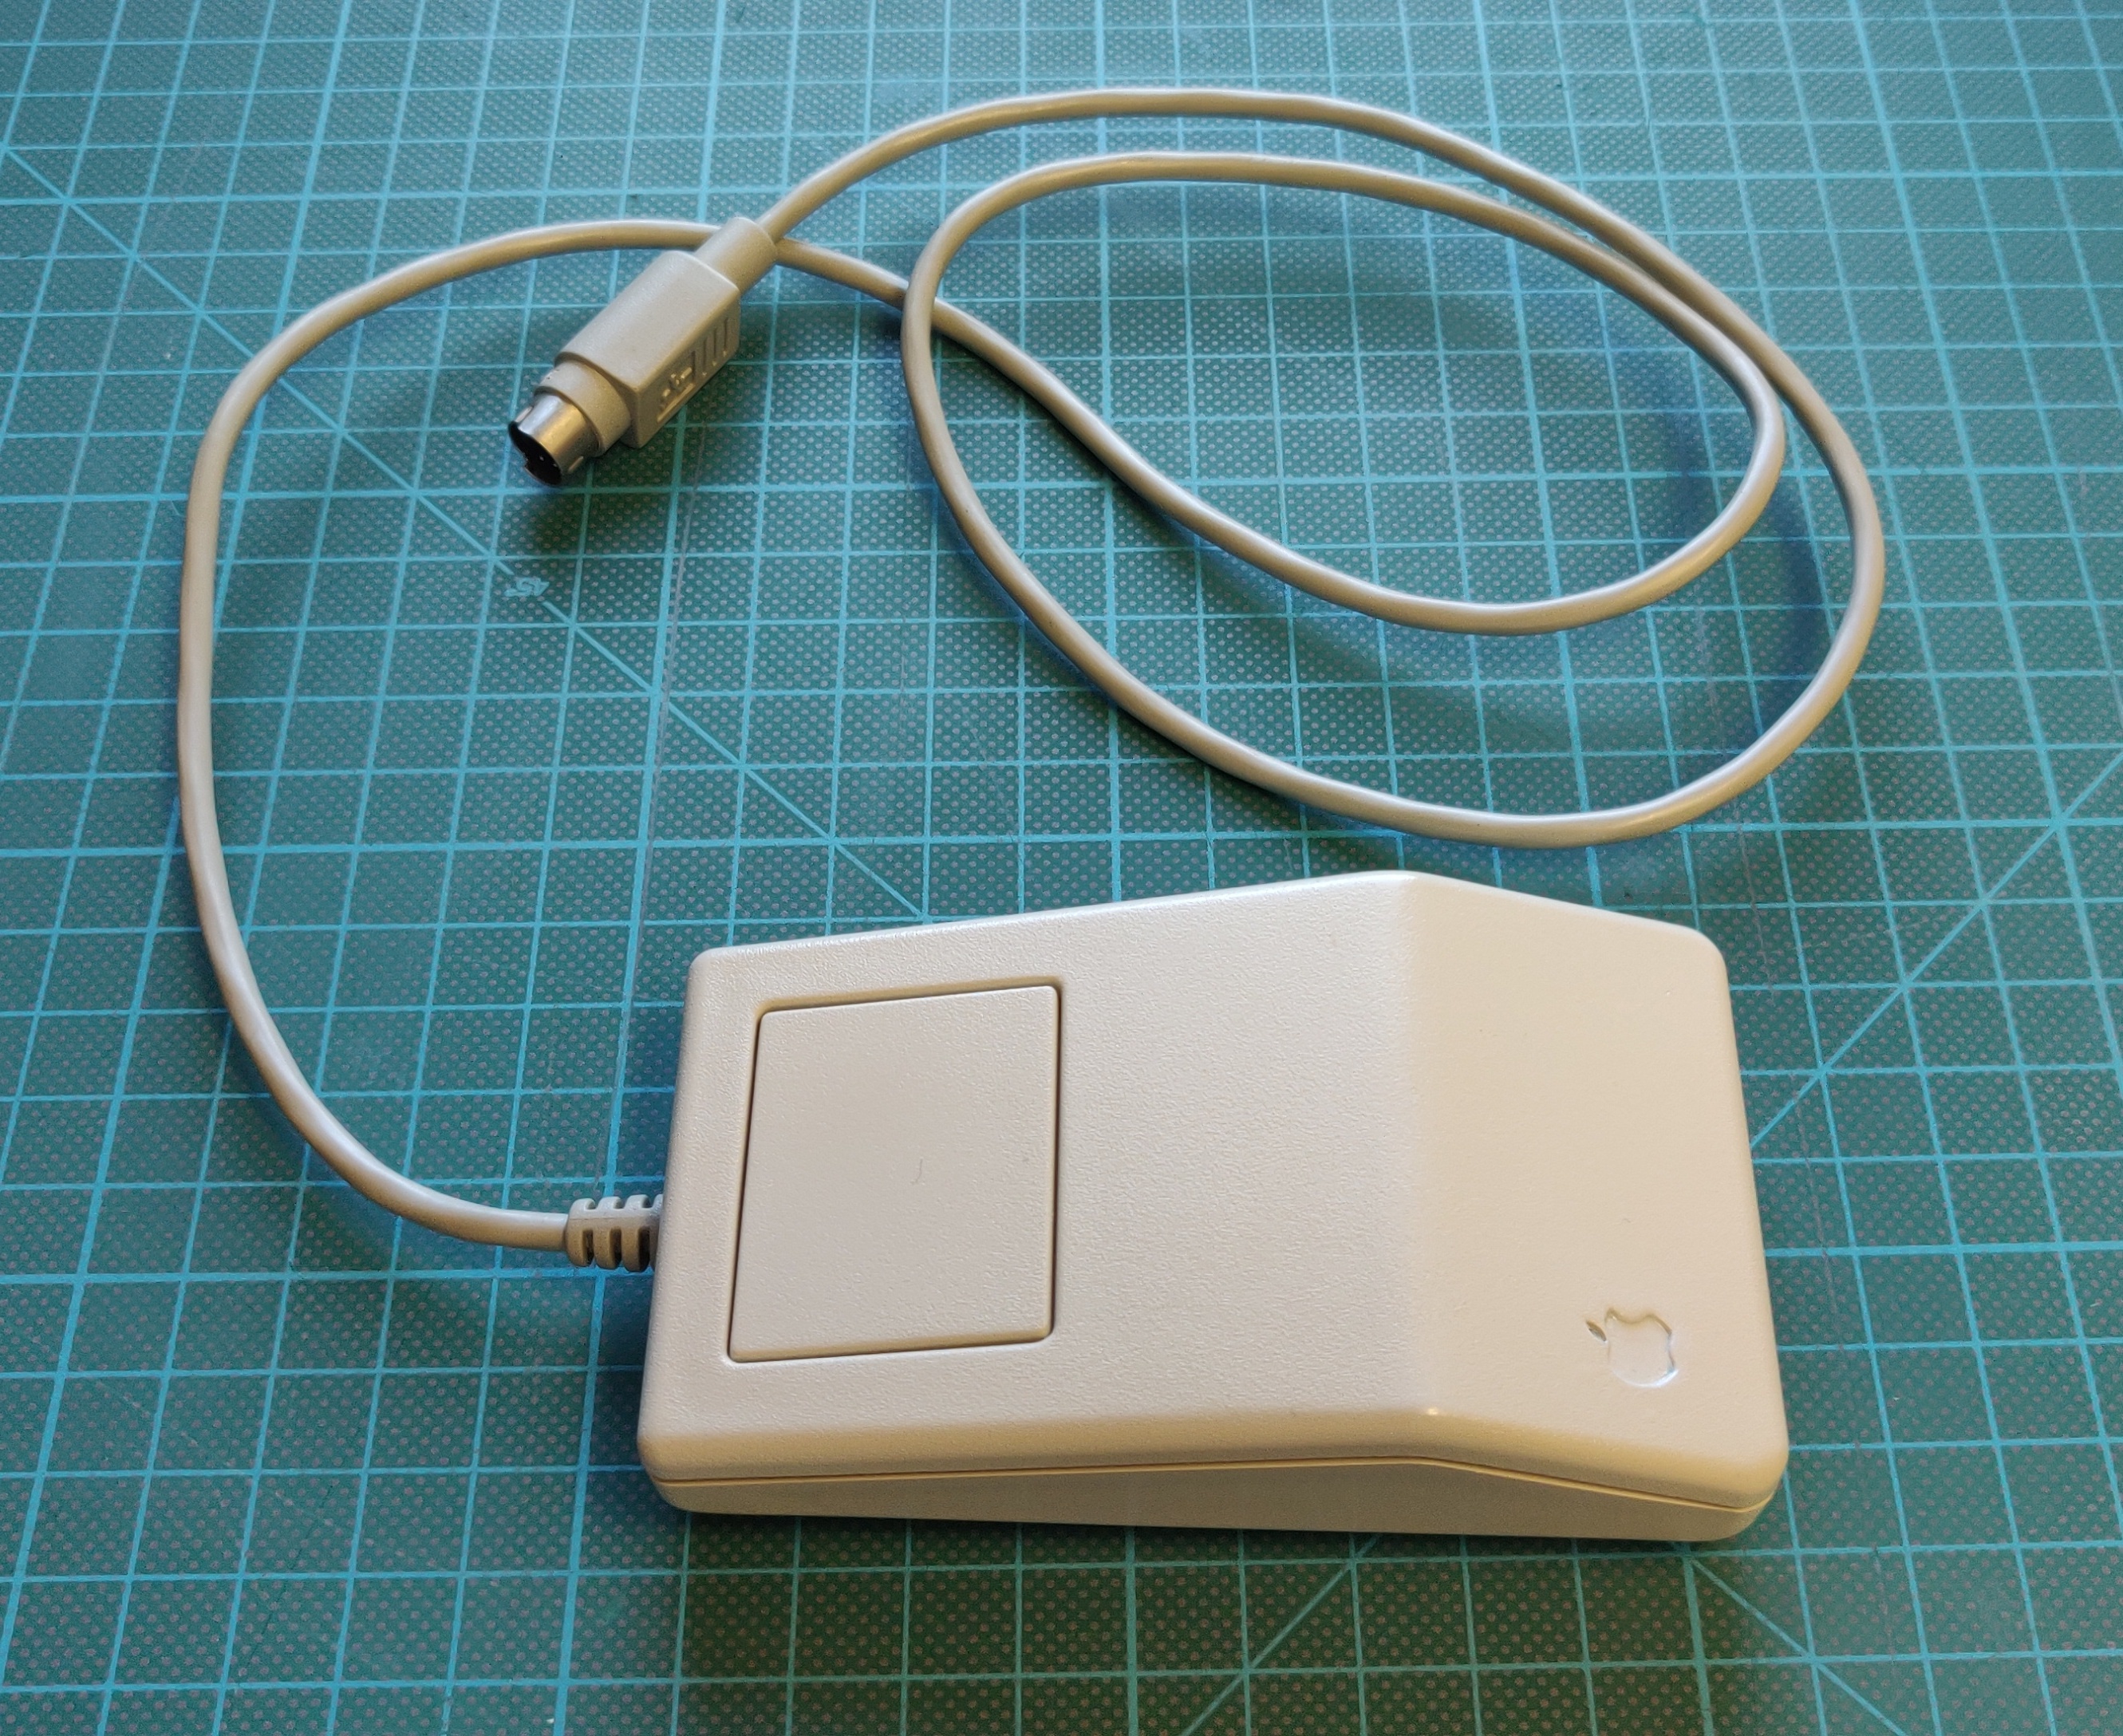
Mouse
This mouse had a faulty micro switch which stopped the button from functioning properly and springing back. Luckily the same microswitches are still used today, and it was easily swapped out.
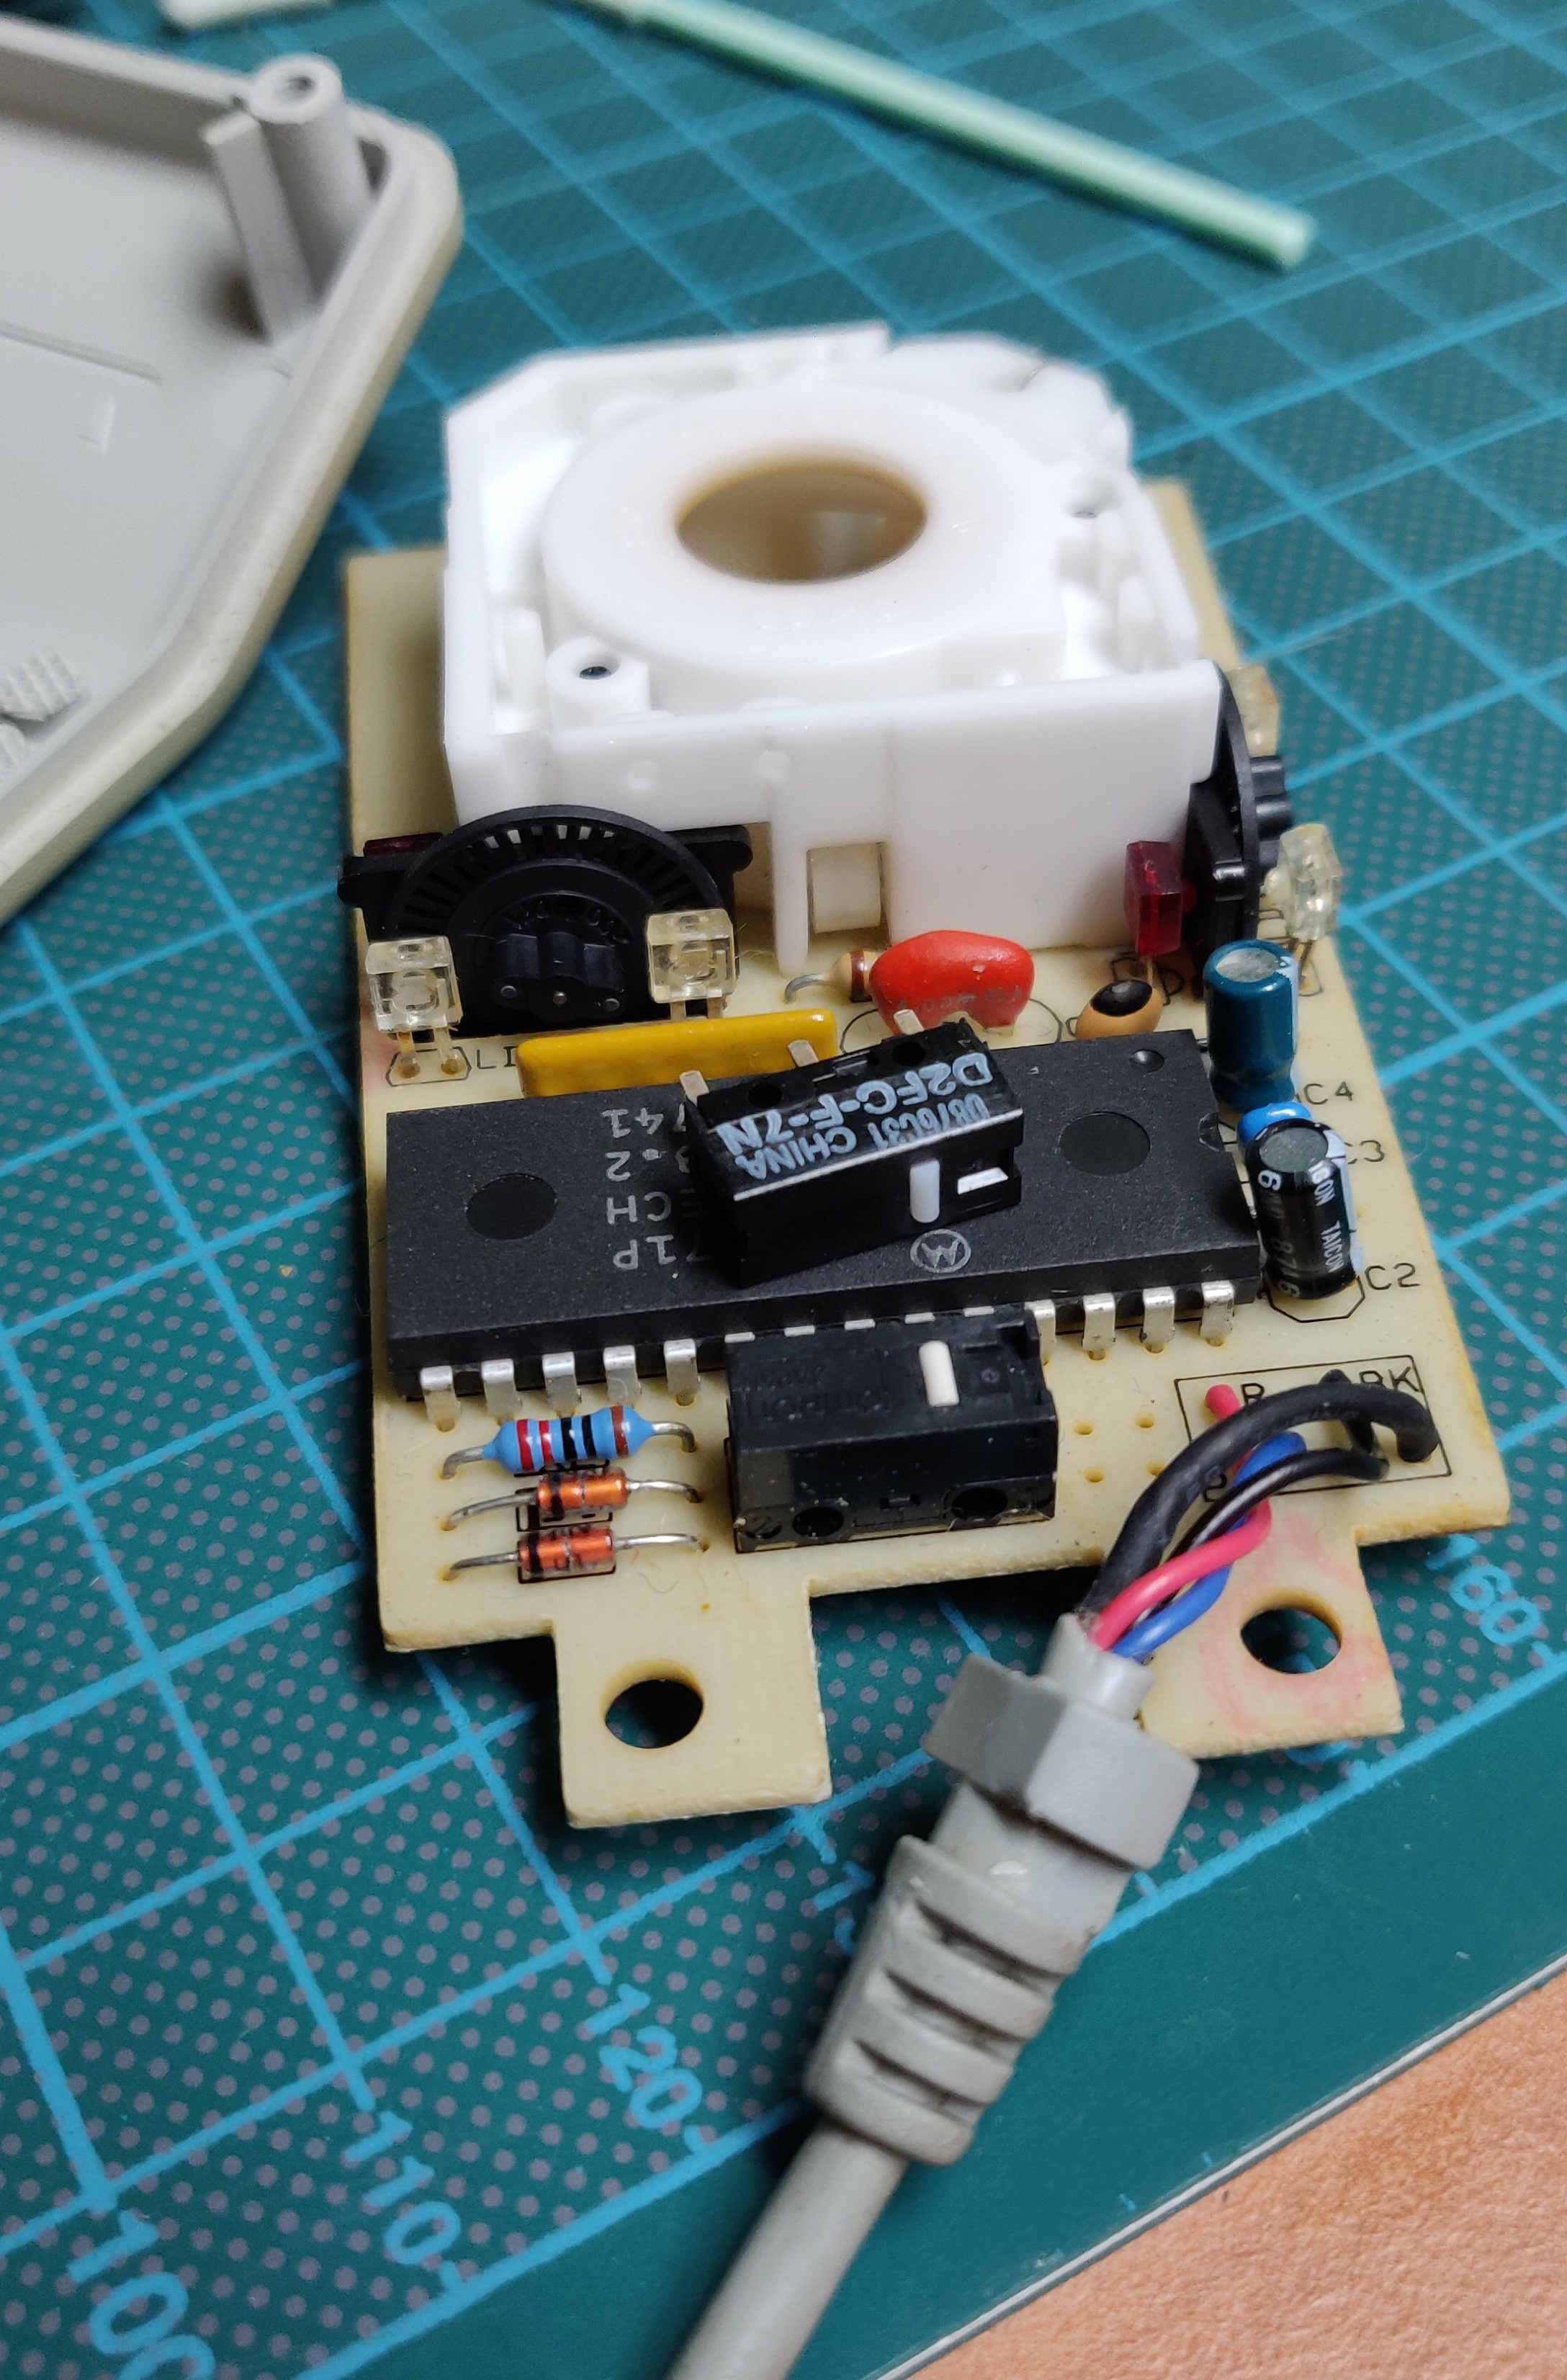
After fully cleaning and de-yellowing: