Macintosh Plus A
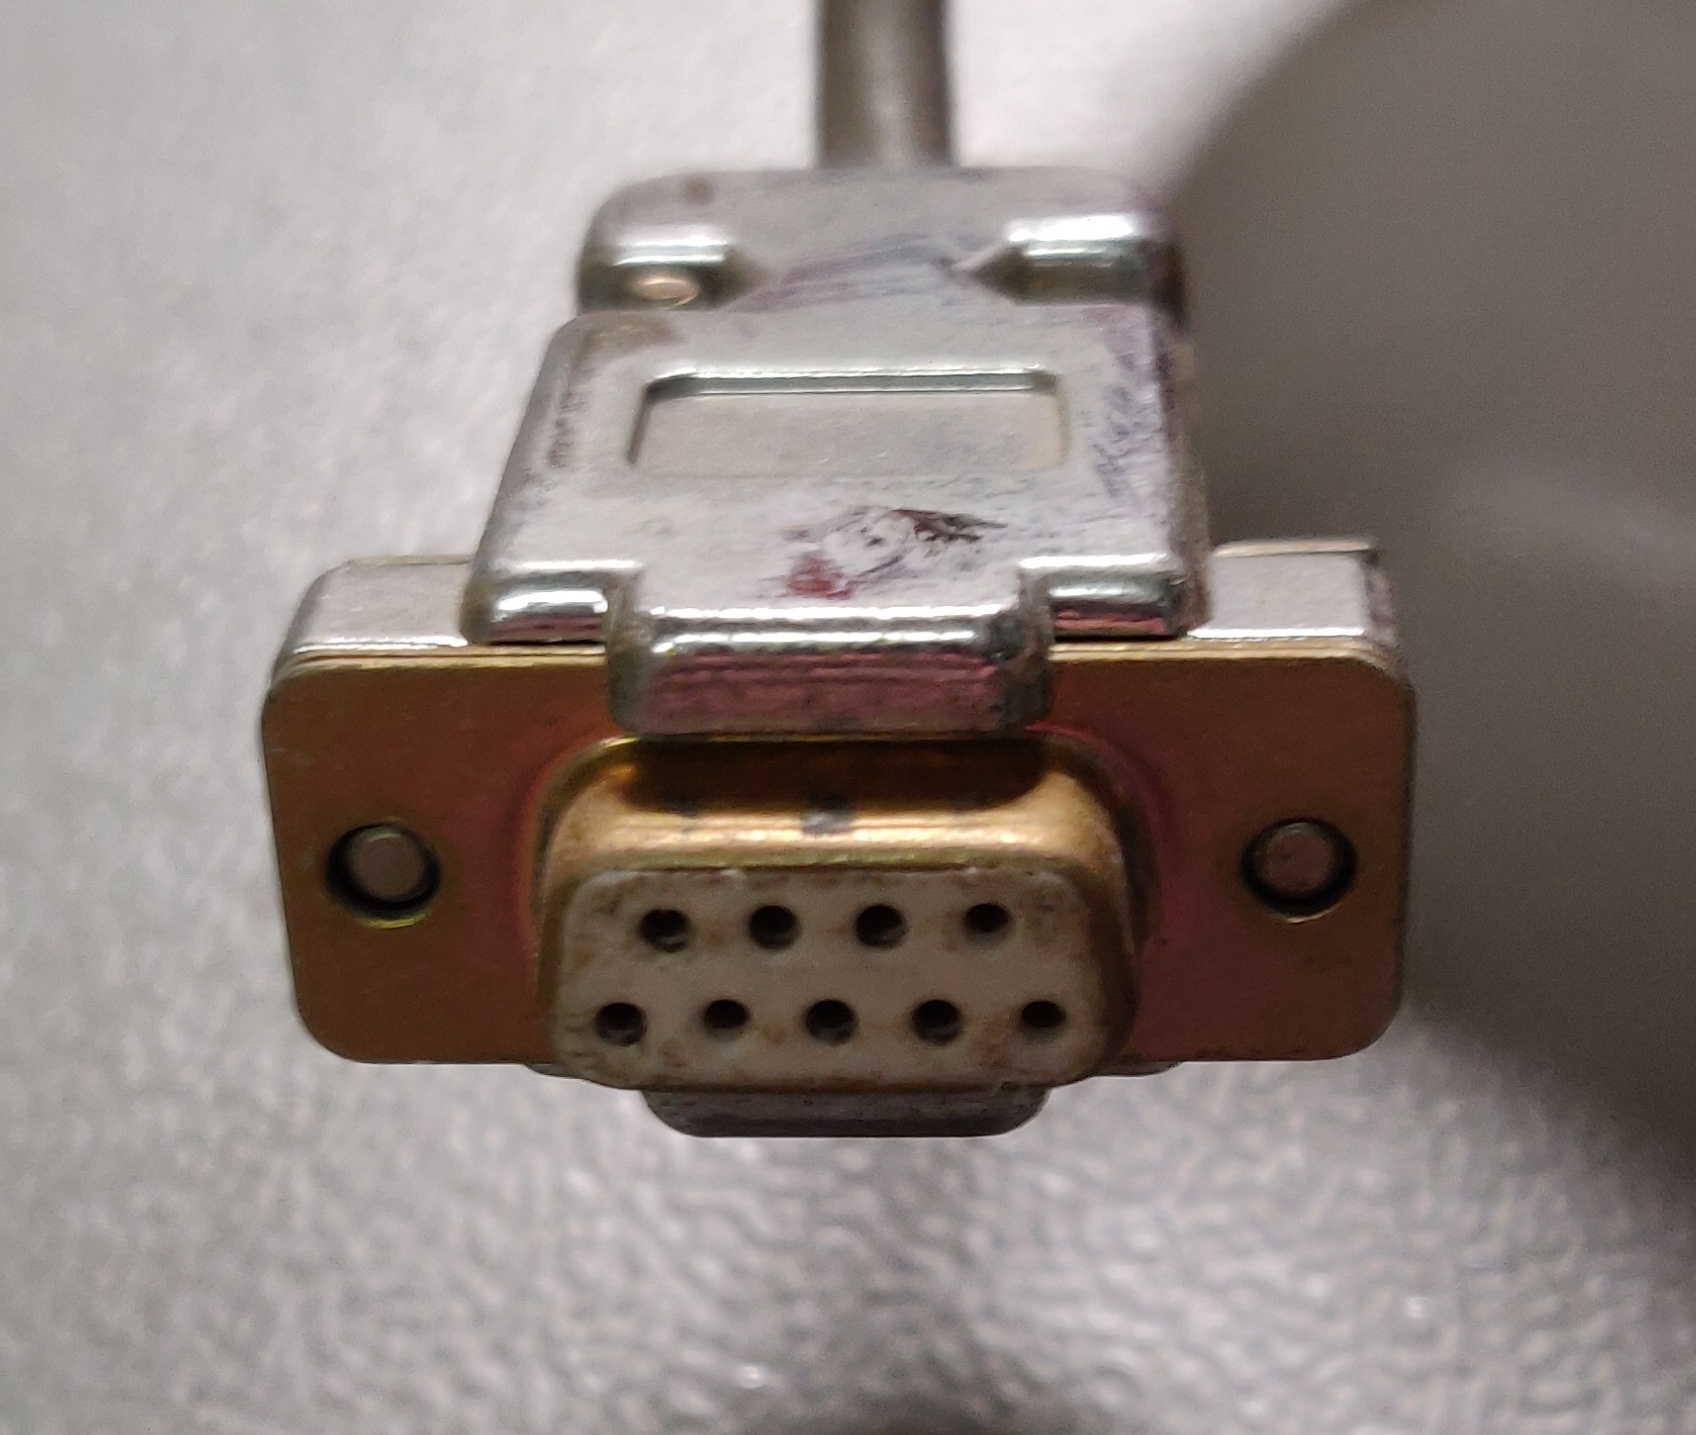
I purchased this Apple Macintosh Plus through a local online marketplace together with another Plus as untested. When I picked it up I found a cable with a DB-9 connector hanging from the back which immediately spiked my interest.
Work done:
- Repair trace which was cut to allow the installation of the expansion board
- Test the computer without the expansion board
Planned work:
- Test the computer with the expansion board
- Clean the computer, keyboard and mouse
- Clean and service the floppy drive
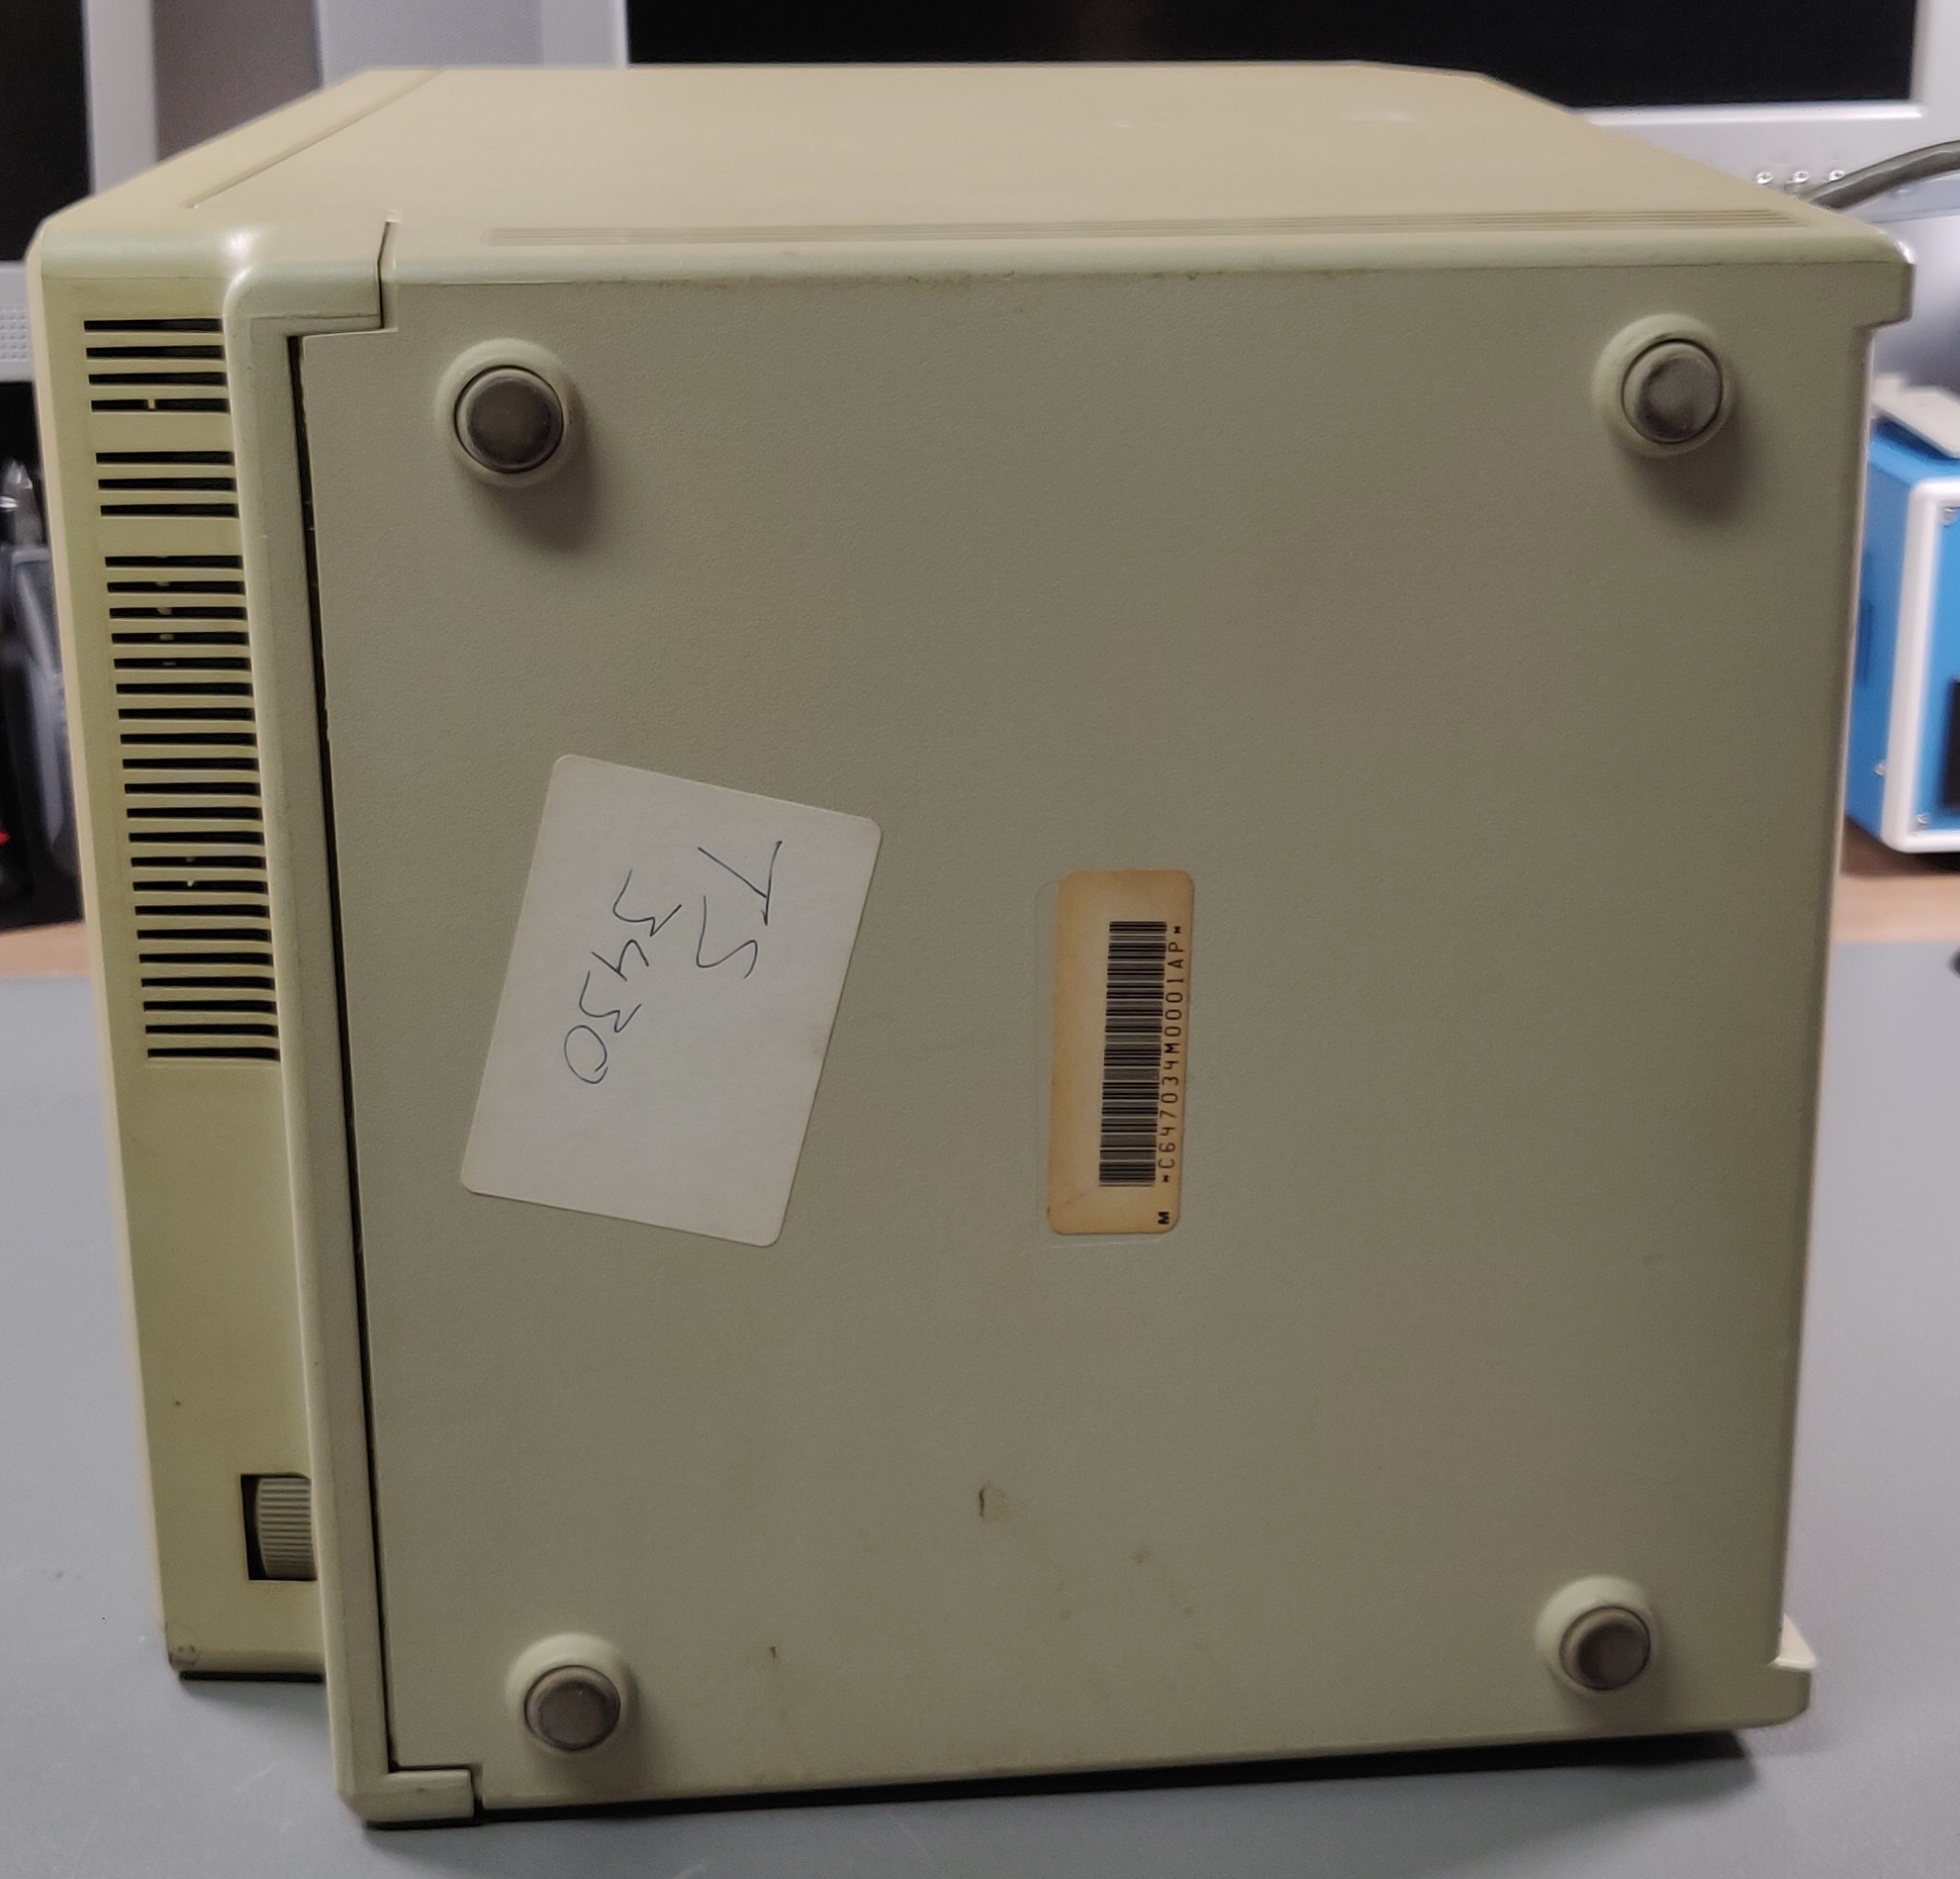
Exterior inspection:
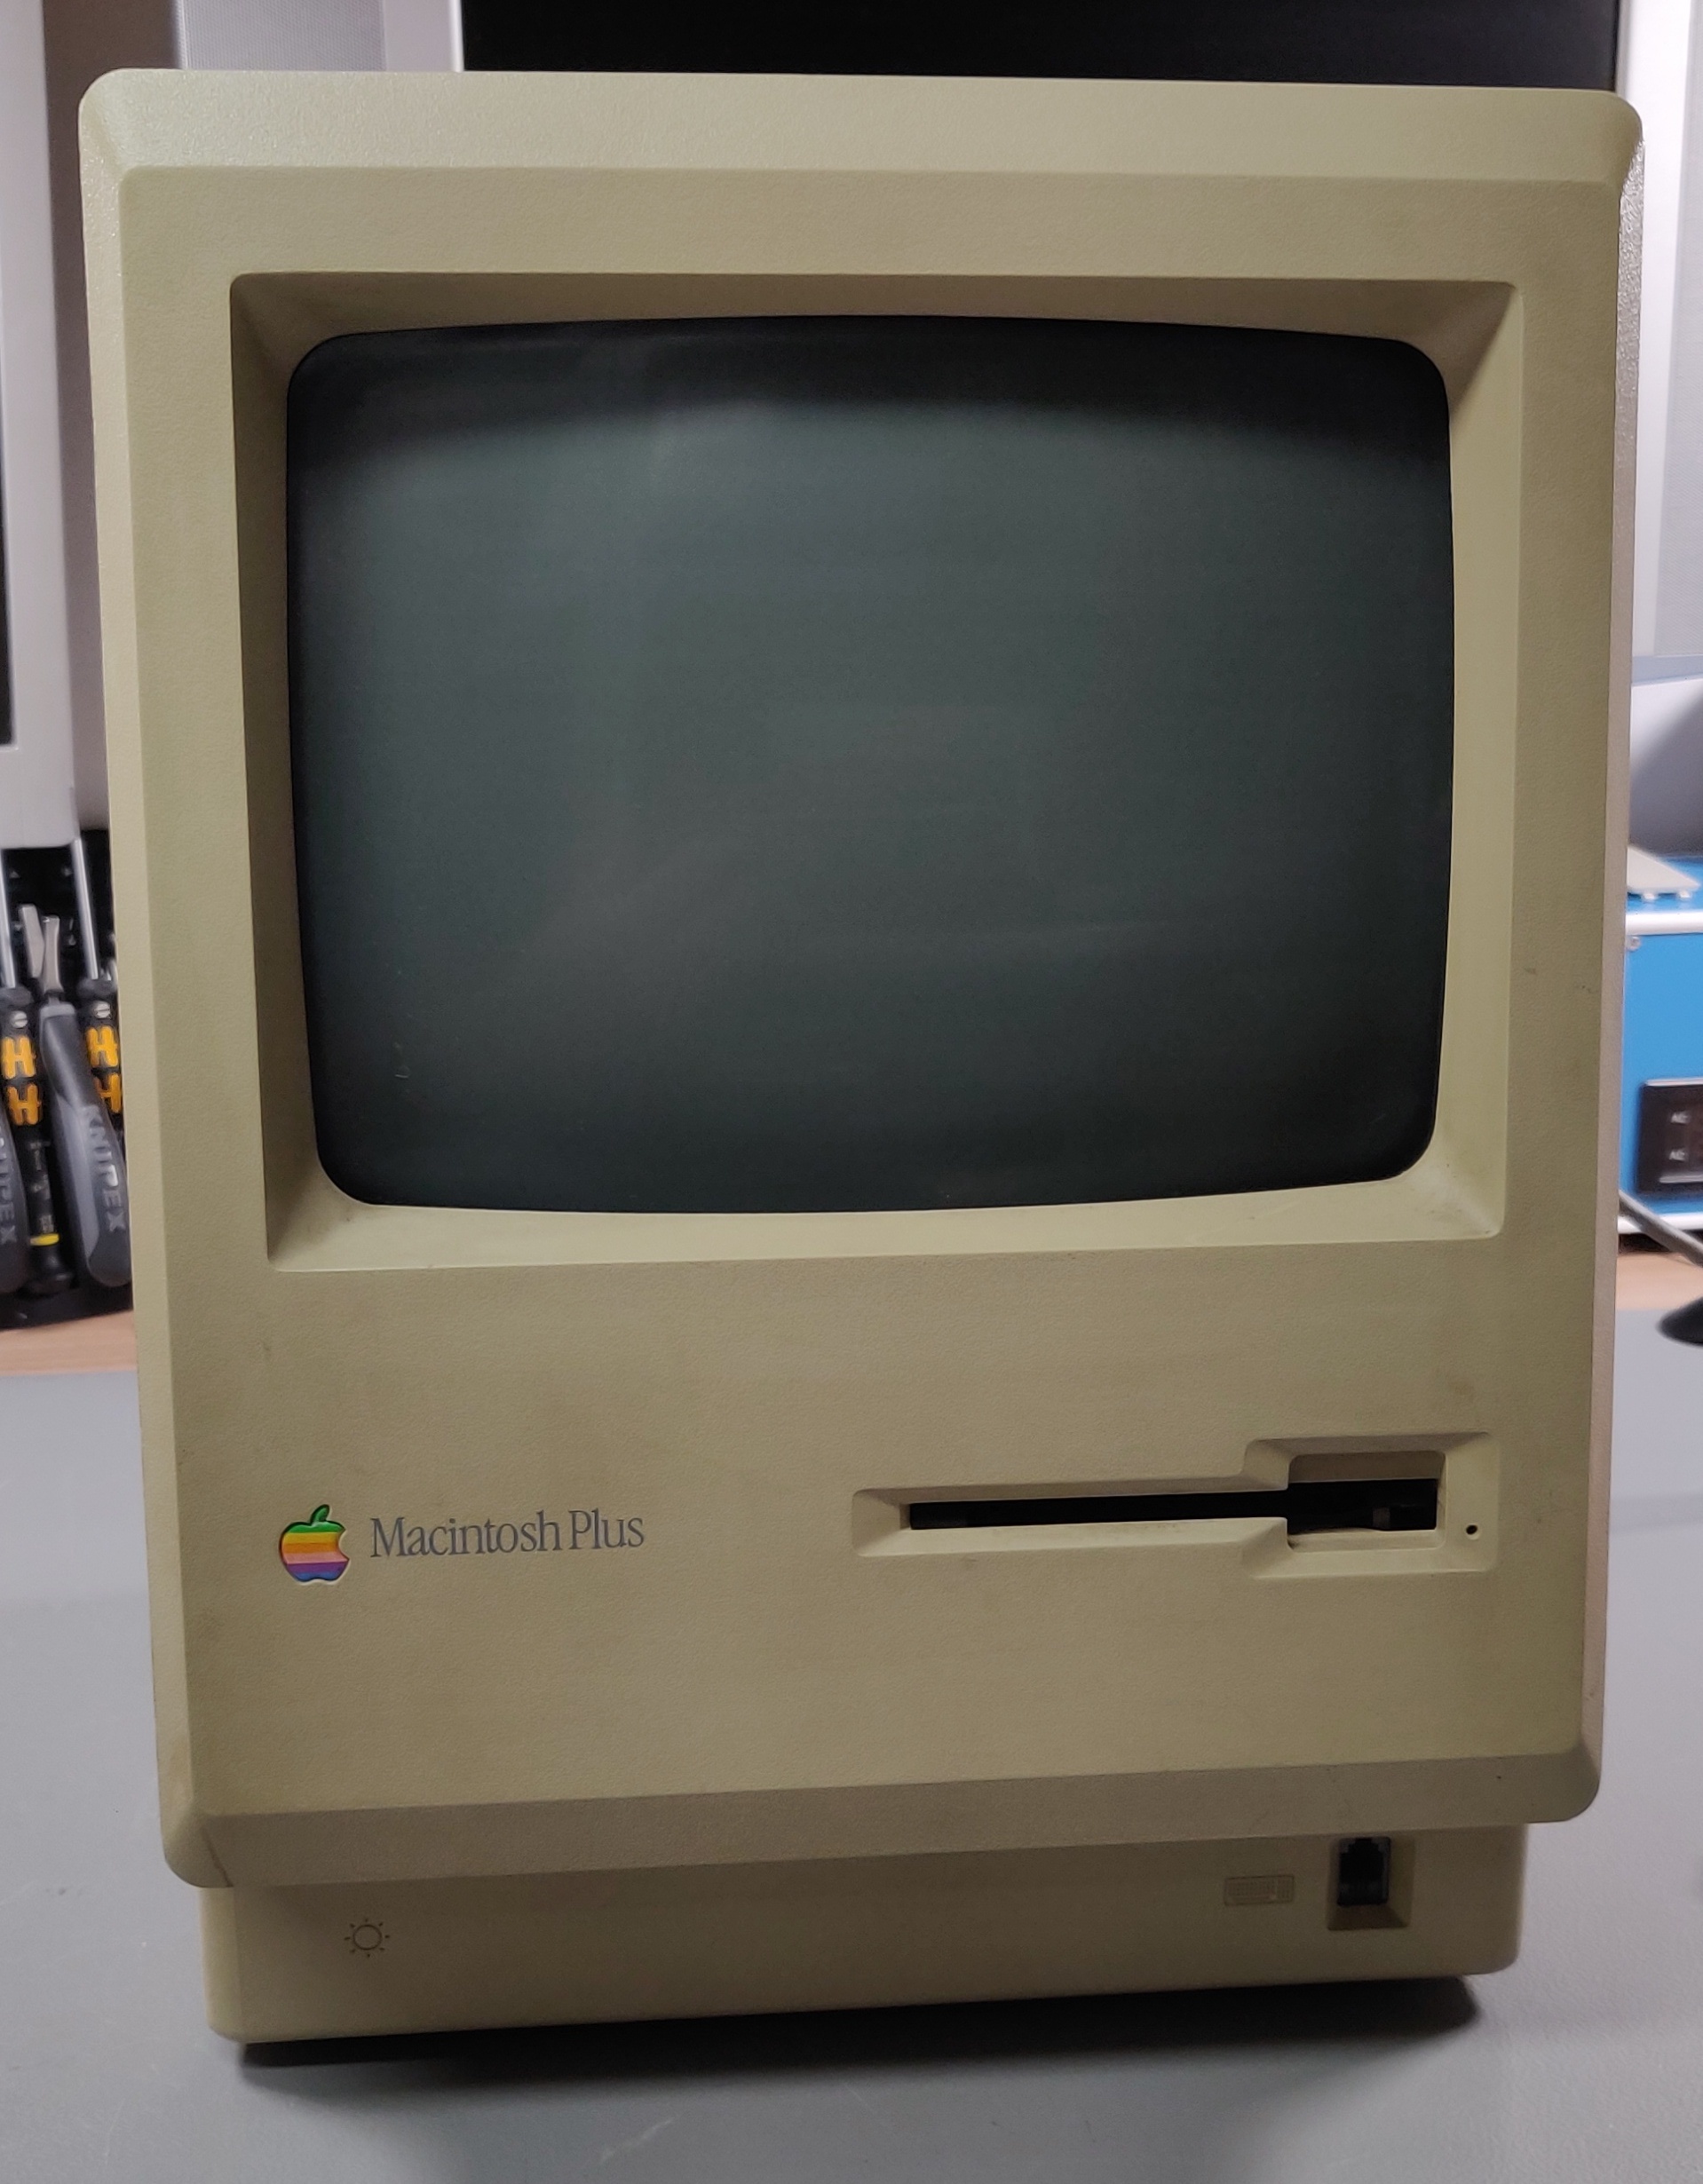
The case was very dirty, but otherwise in reasonable shape:
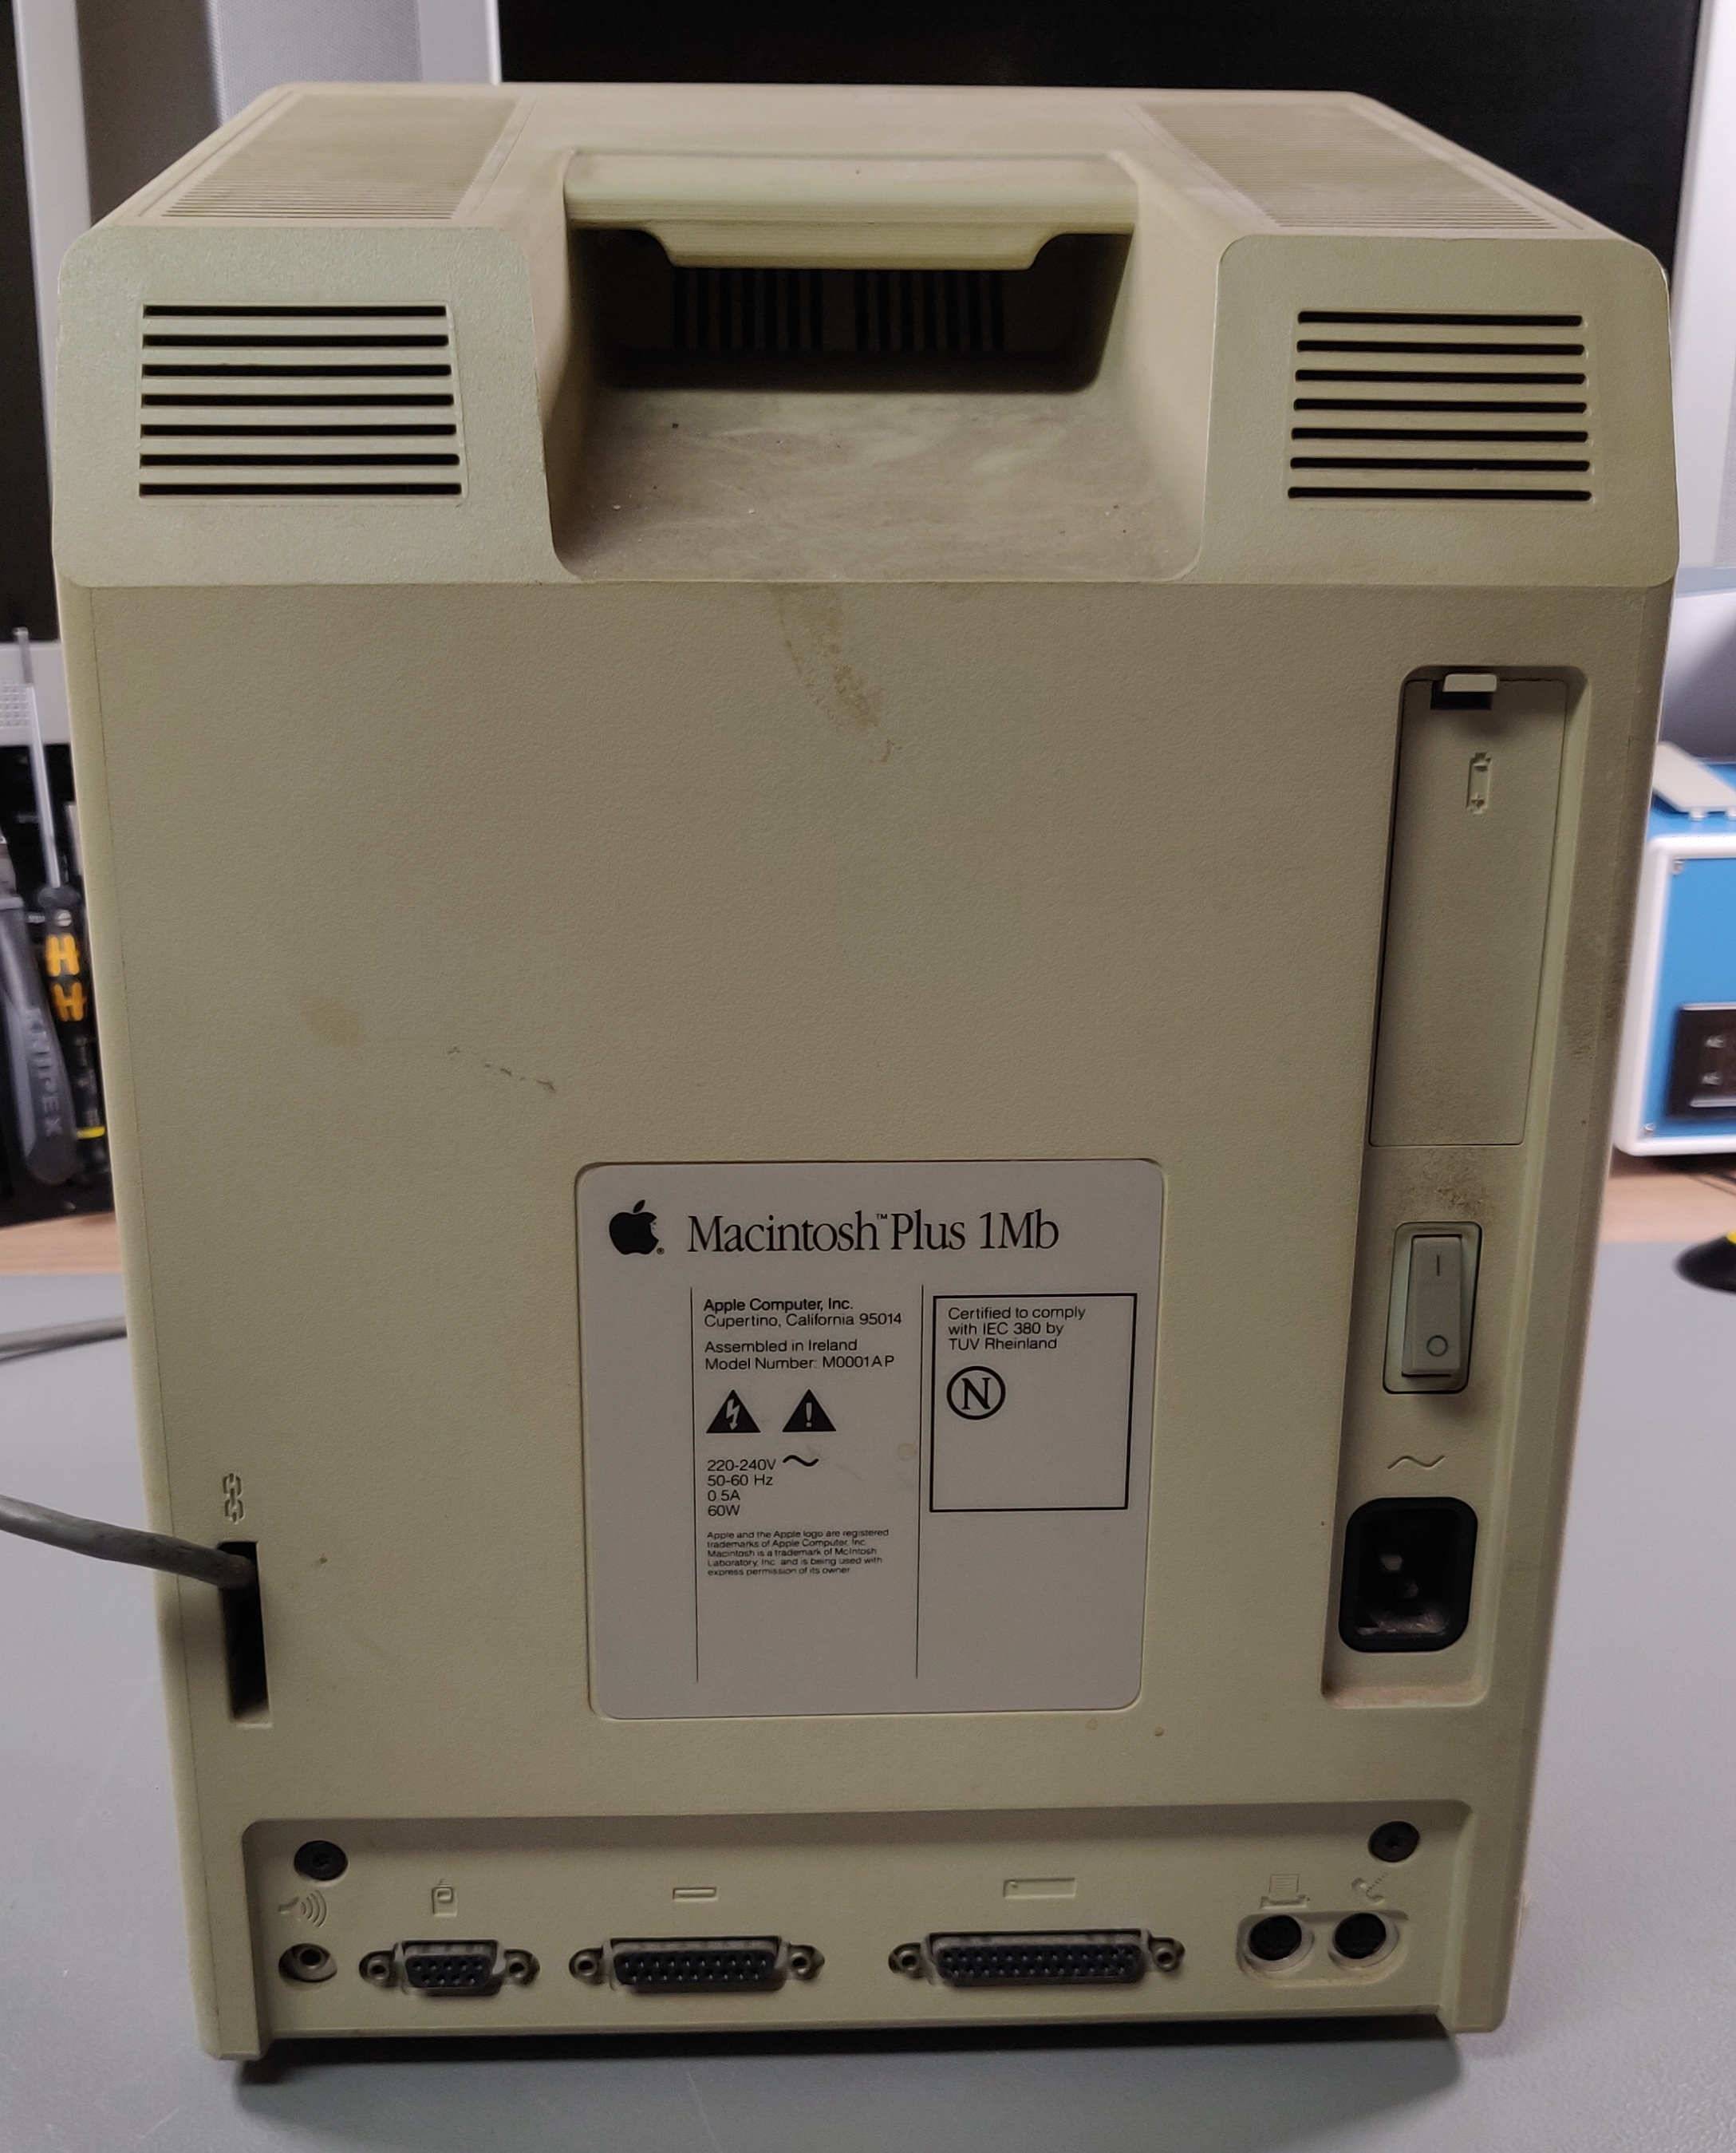
Here is a picture of the mystery connector on the back:
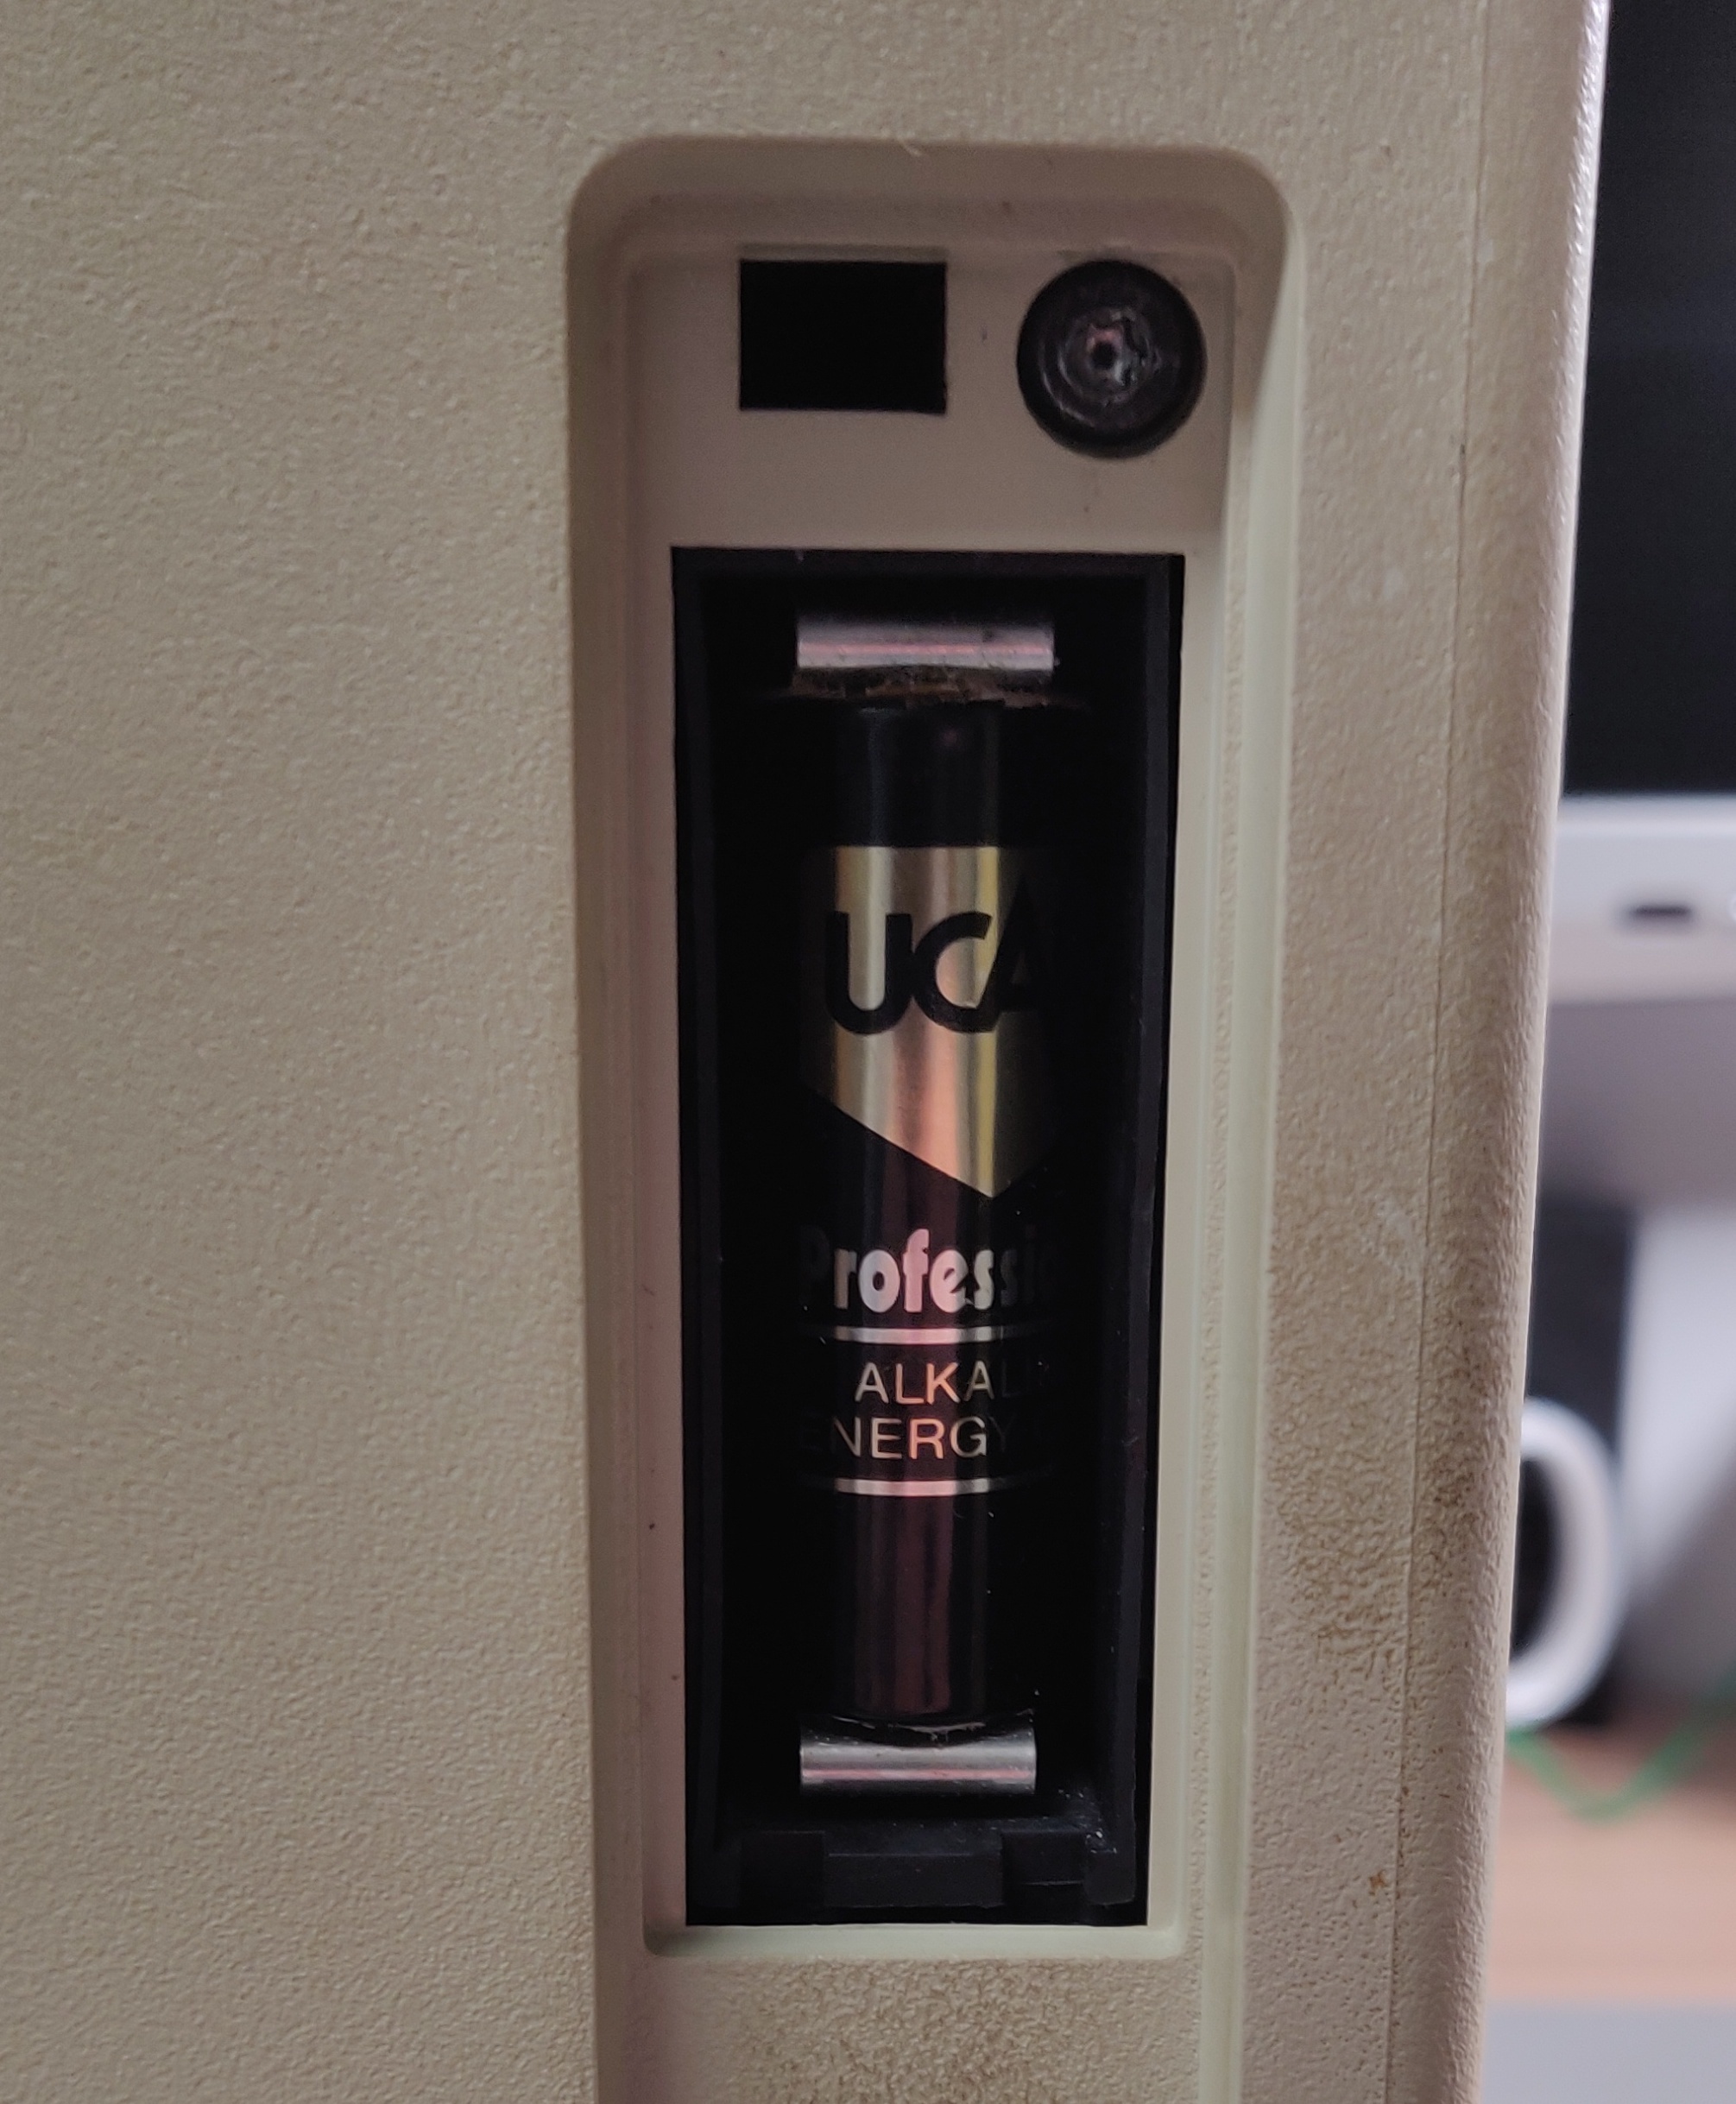
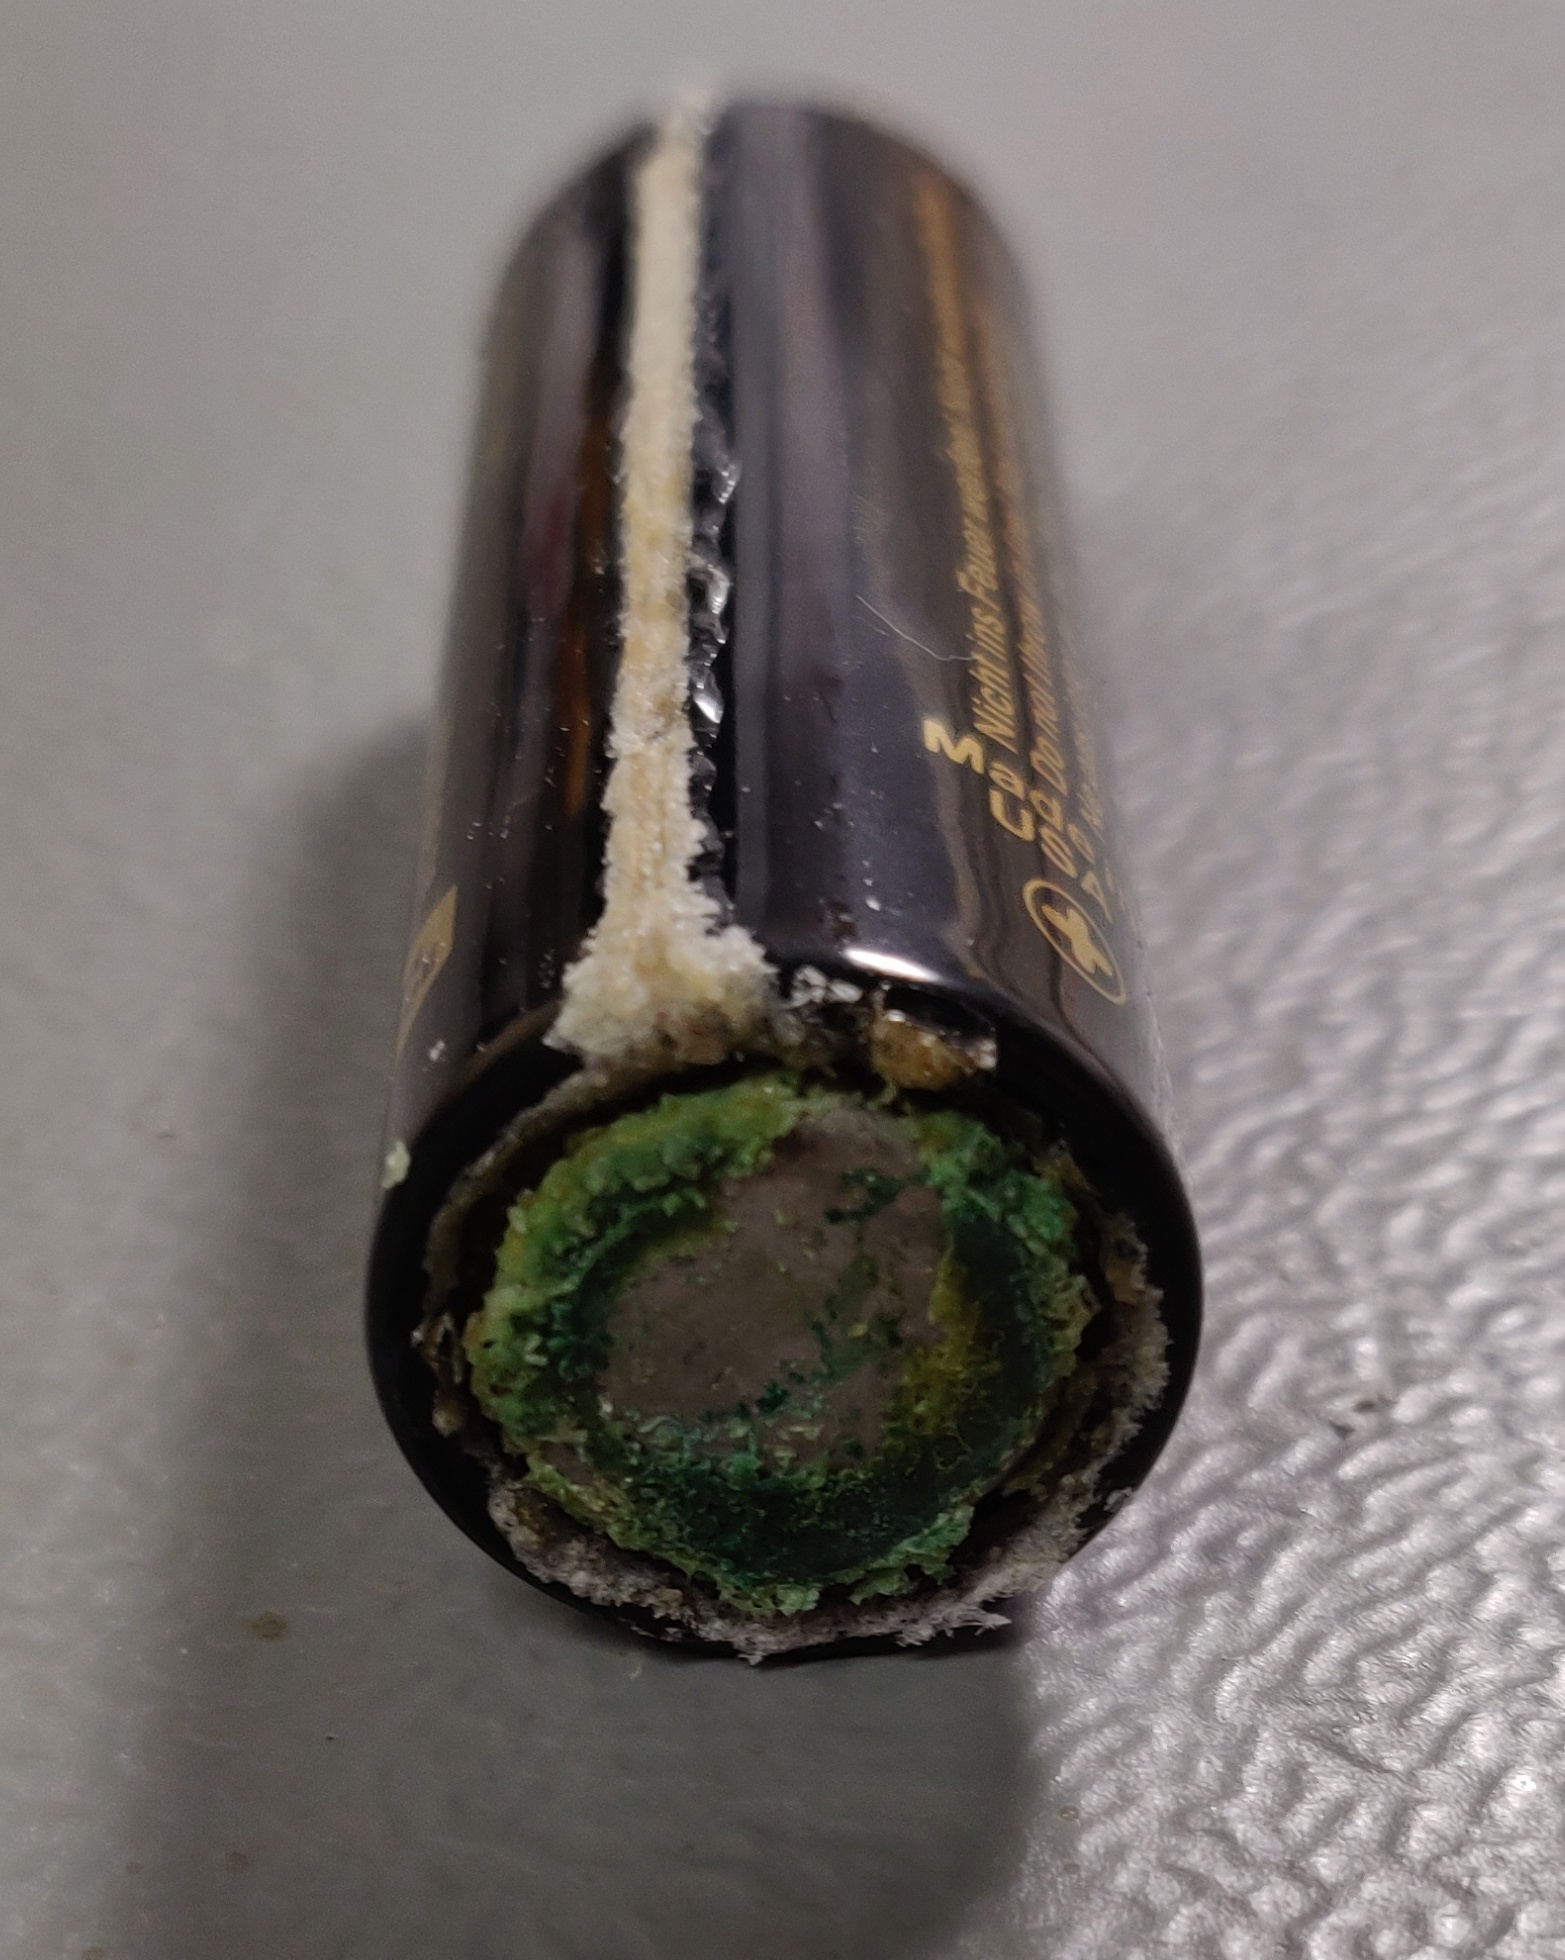
Unfortunately, there was a battery installed which had started leaking already. But the damage was very minor, with just some corrosion on the battery contacts:
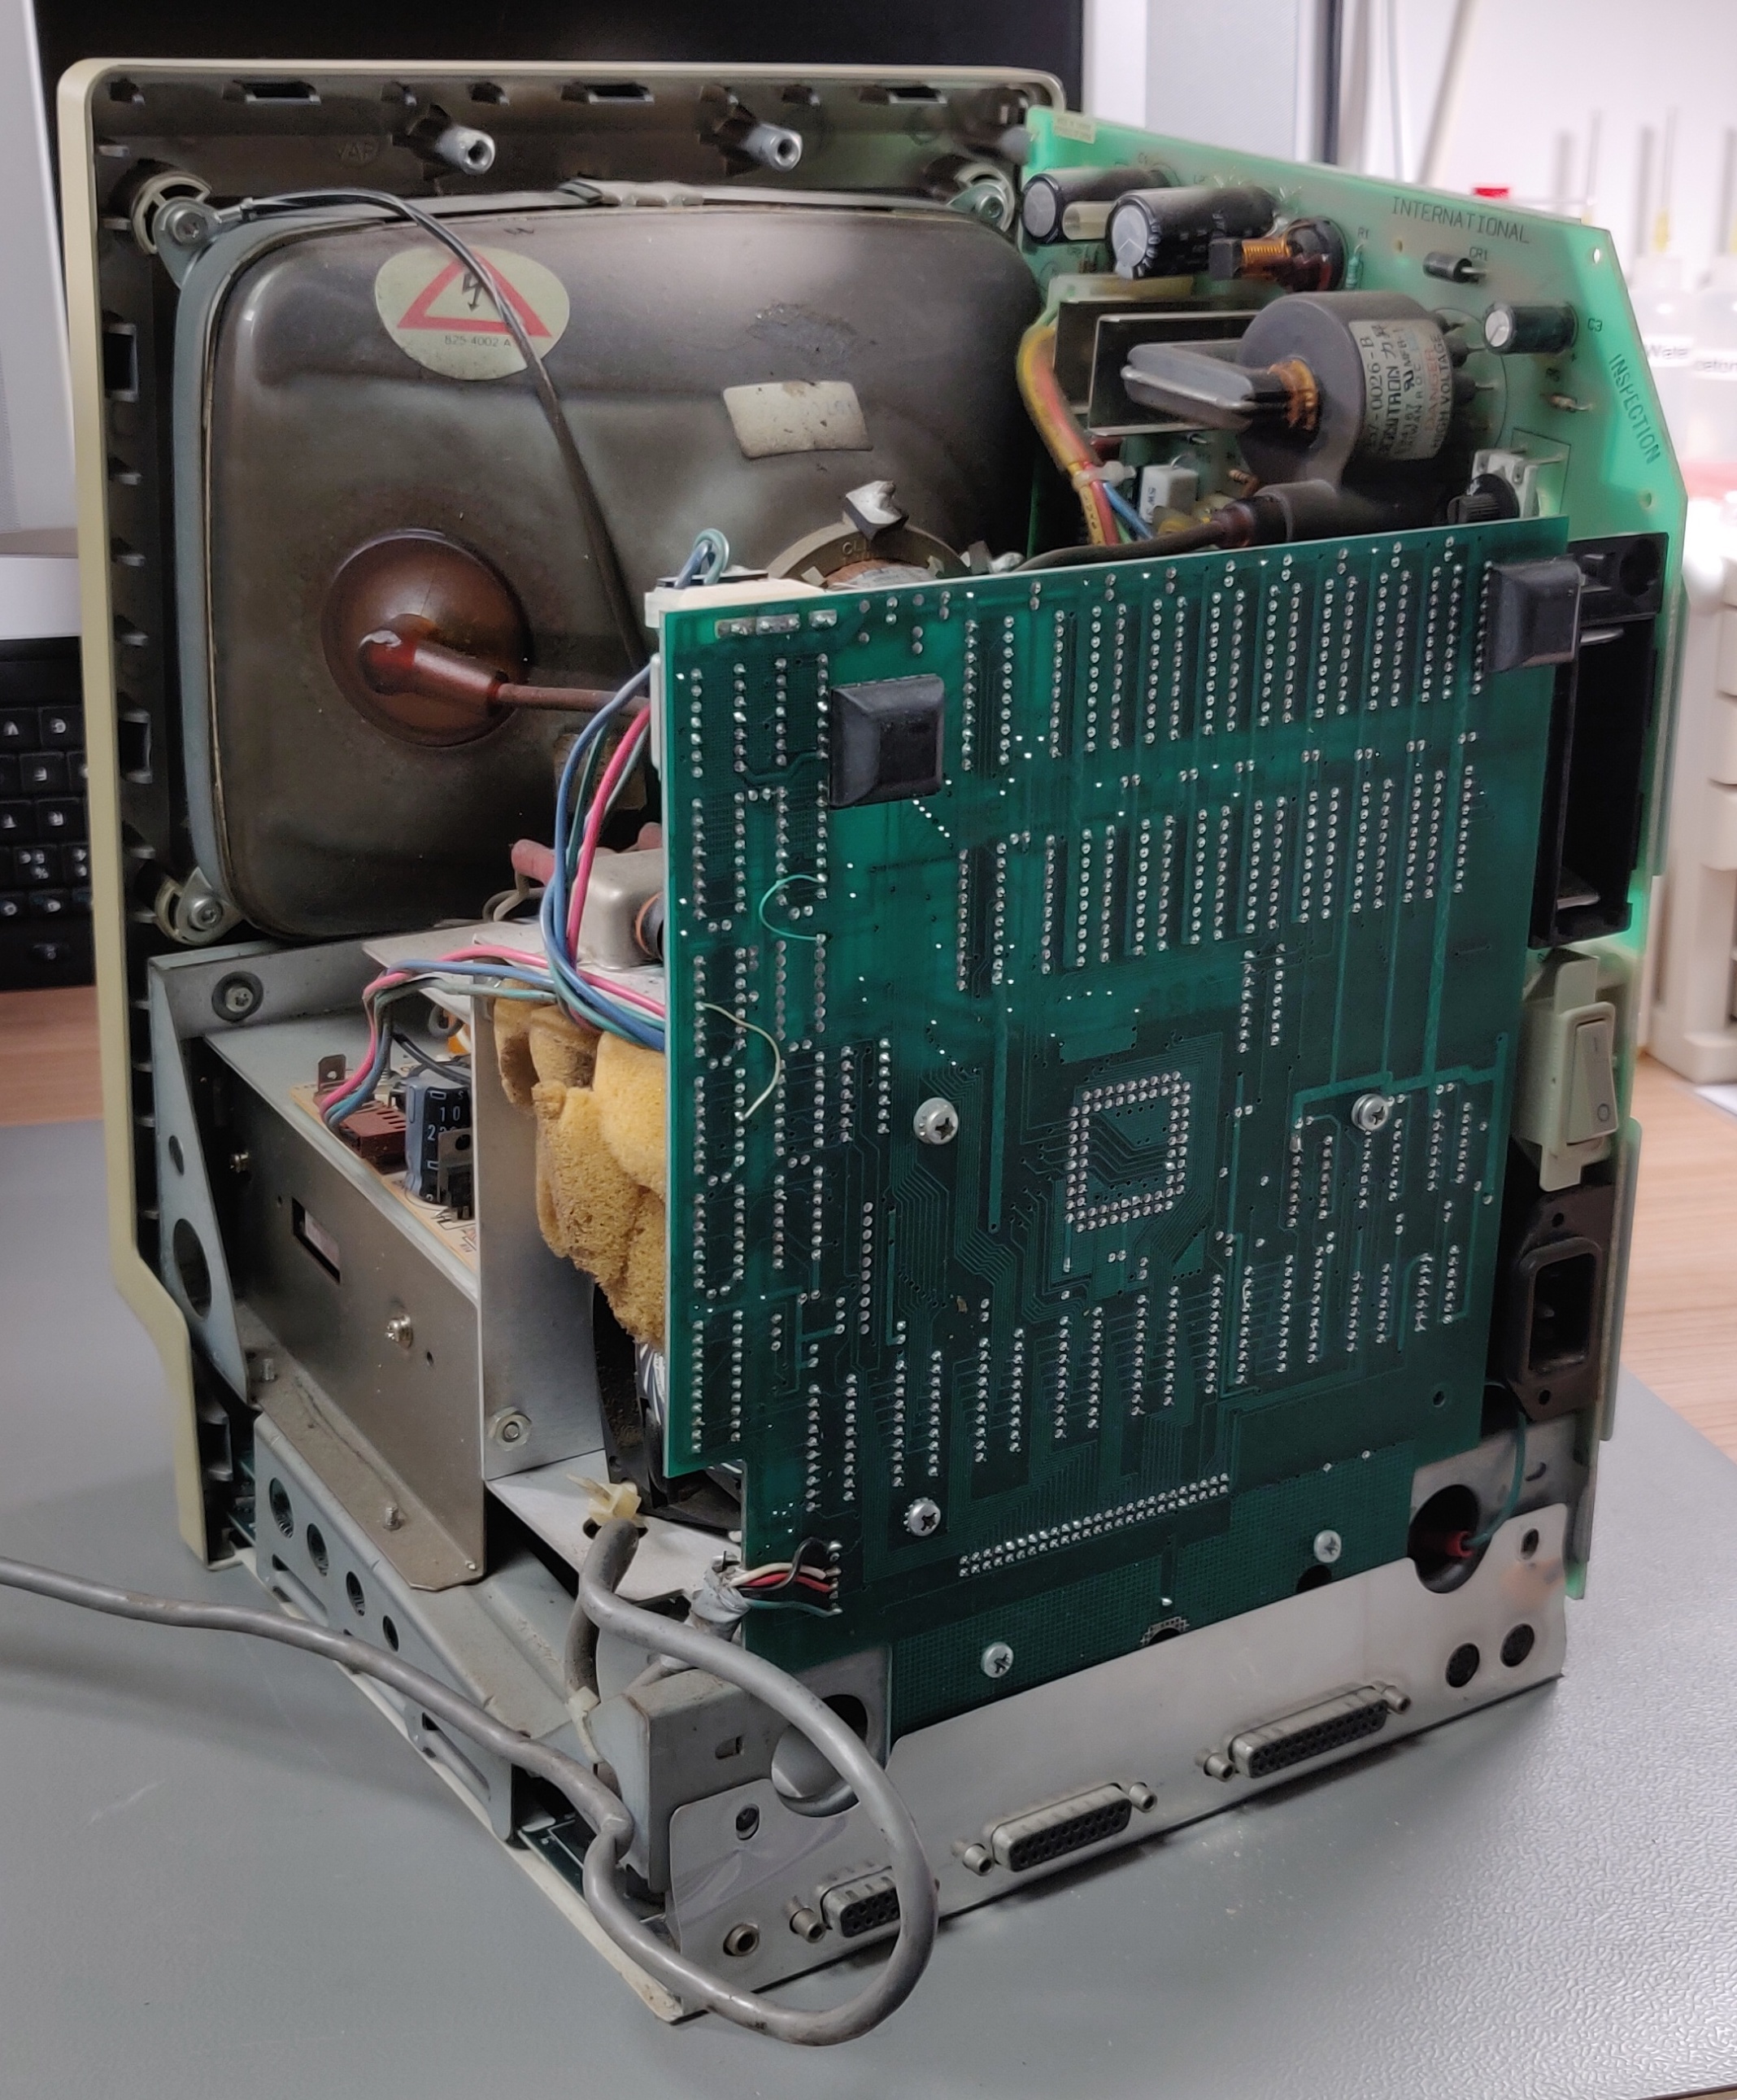
Interior inspection:
At this point, I could no longer contain my curiosity and had to have a peek inside. What I found was a very large board installed on the back of the computer with an additional power supply:
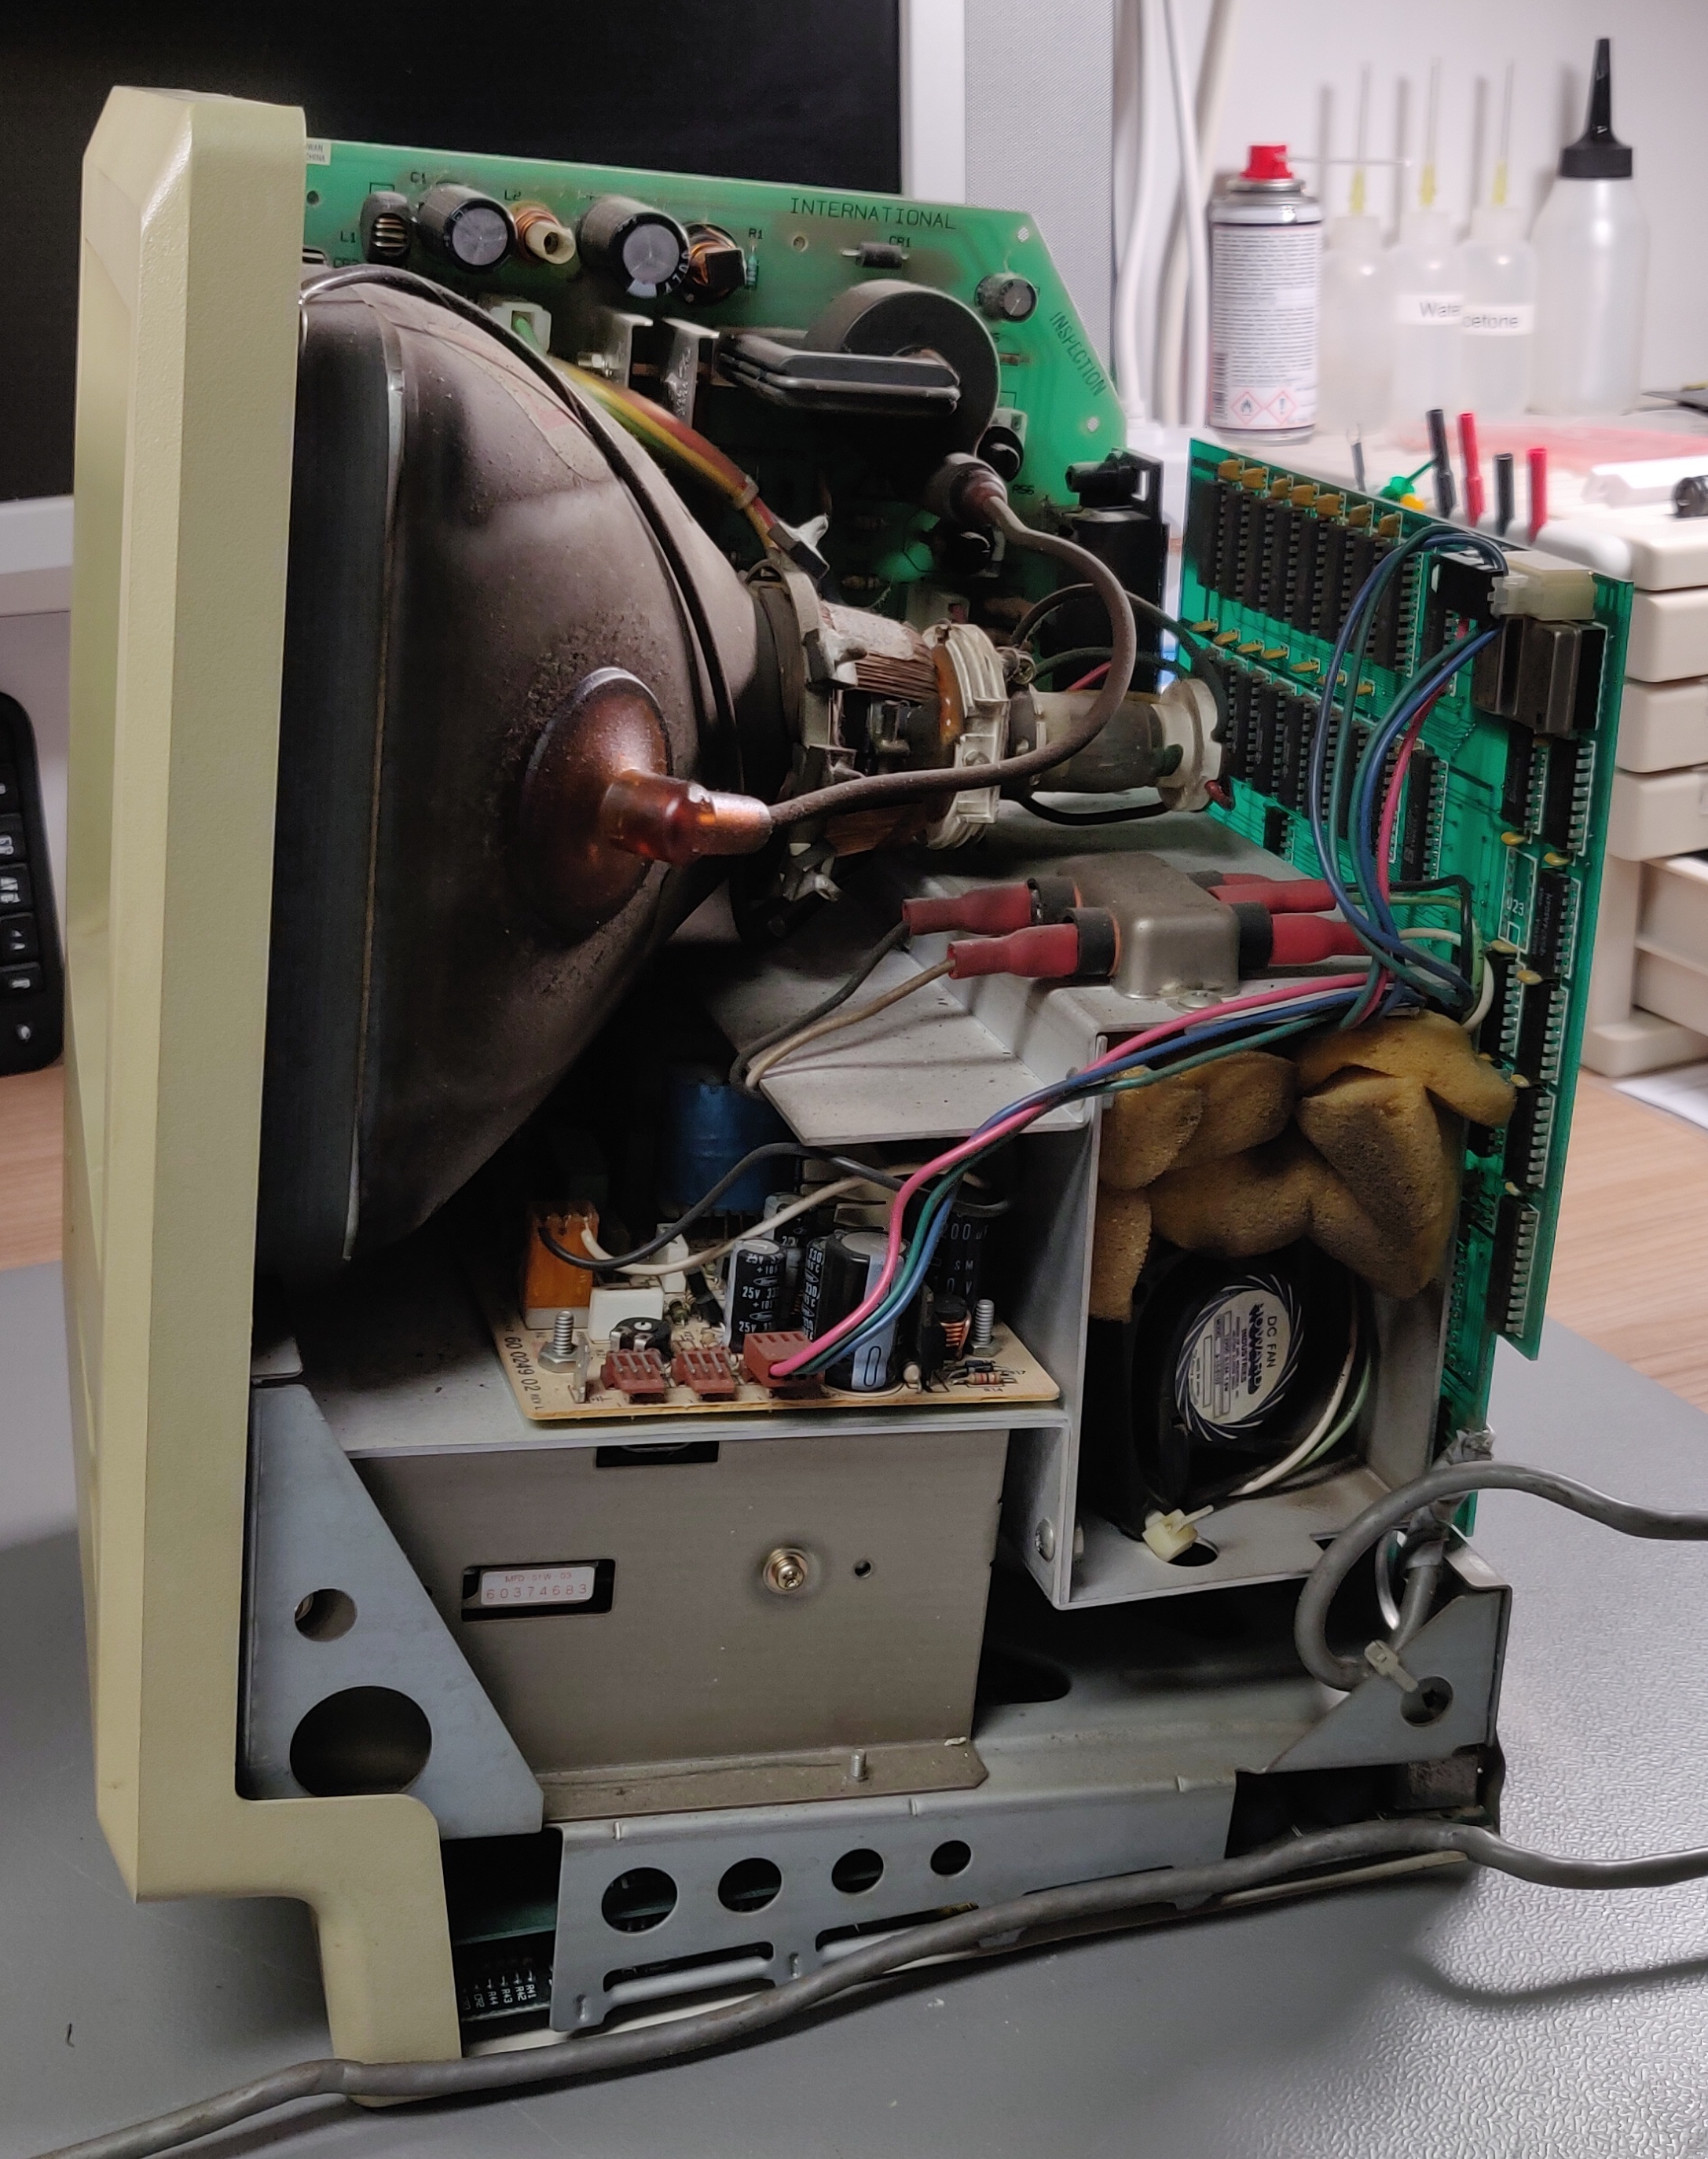
The backboard was connected through a ribbon cable to a more 'traditional' expansion board placed on top of the logic board:

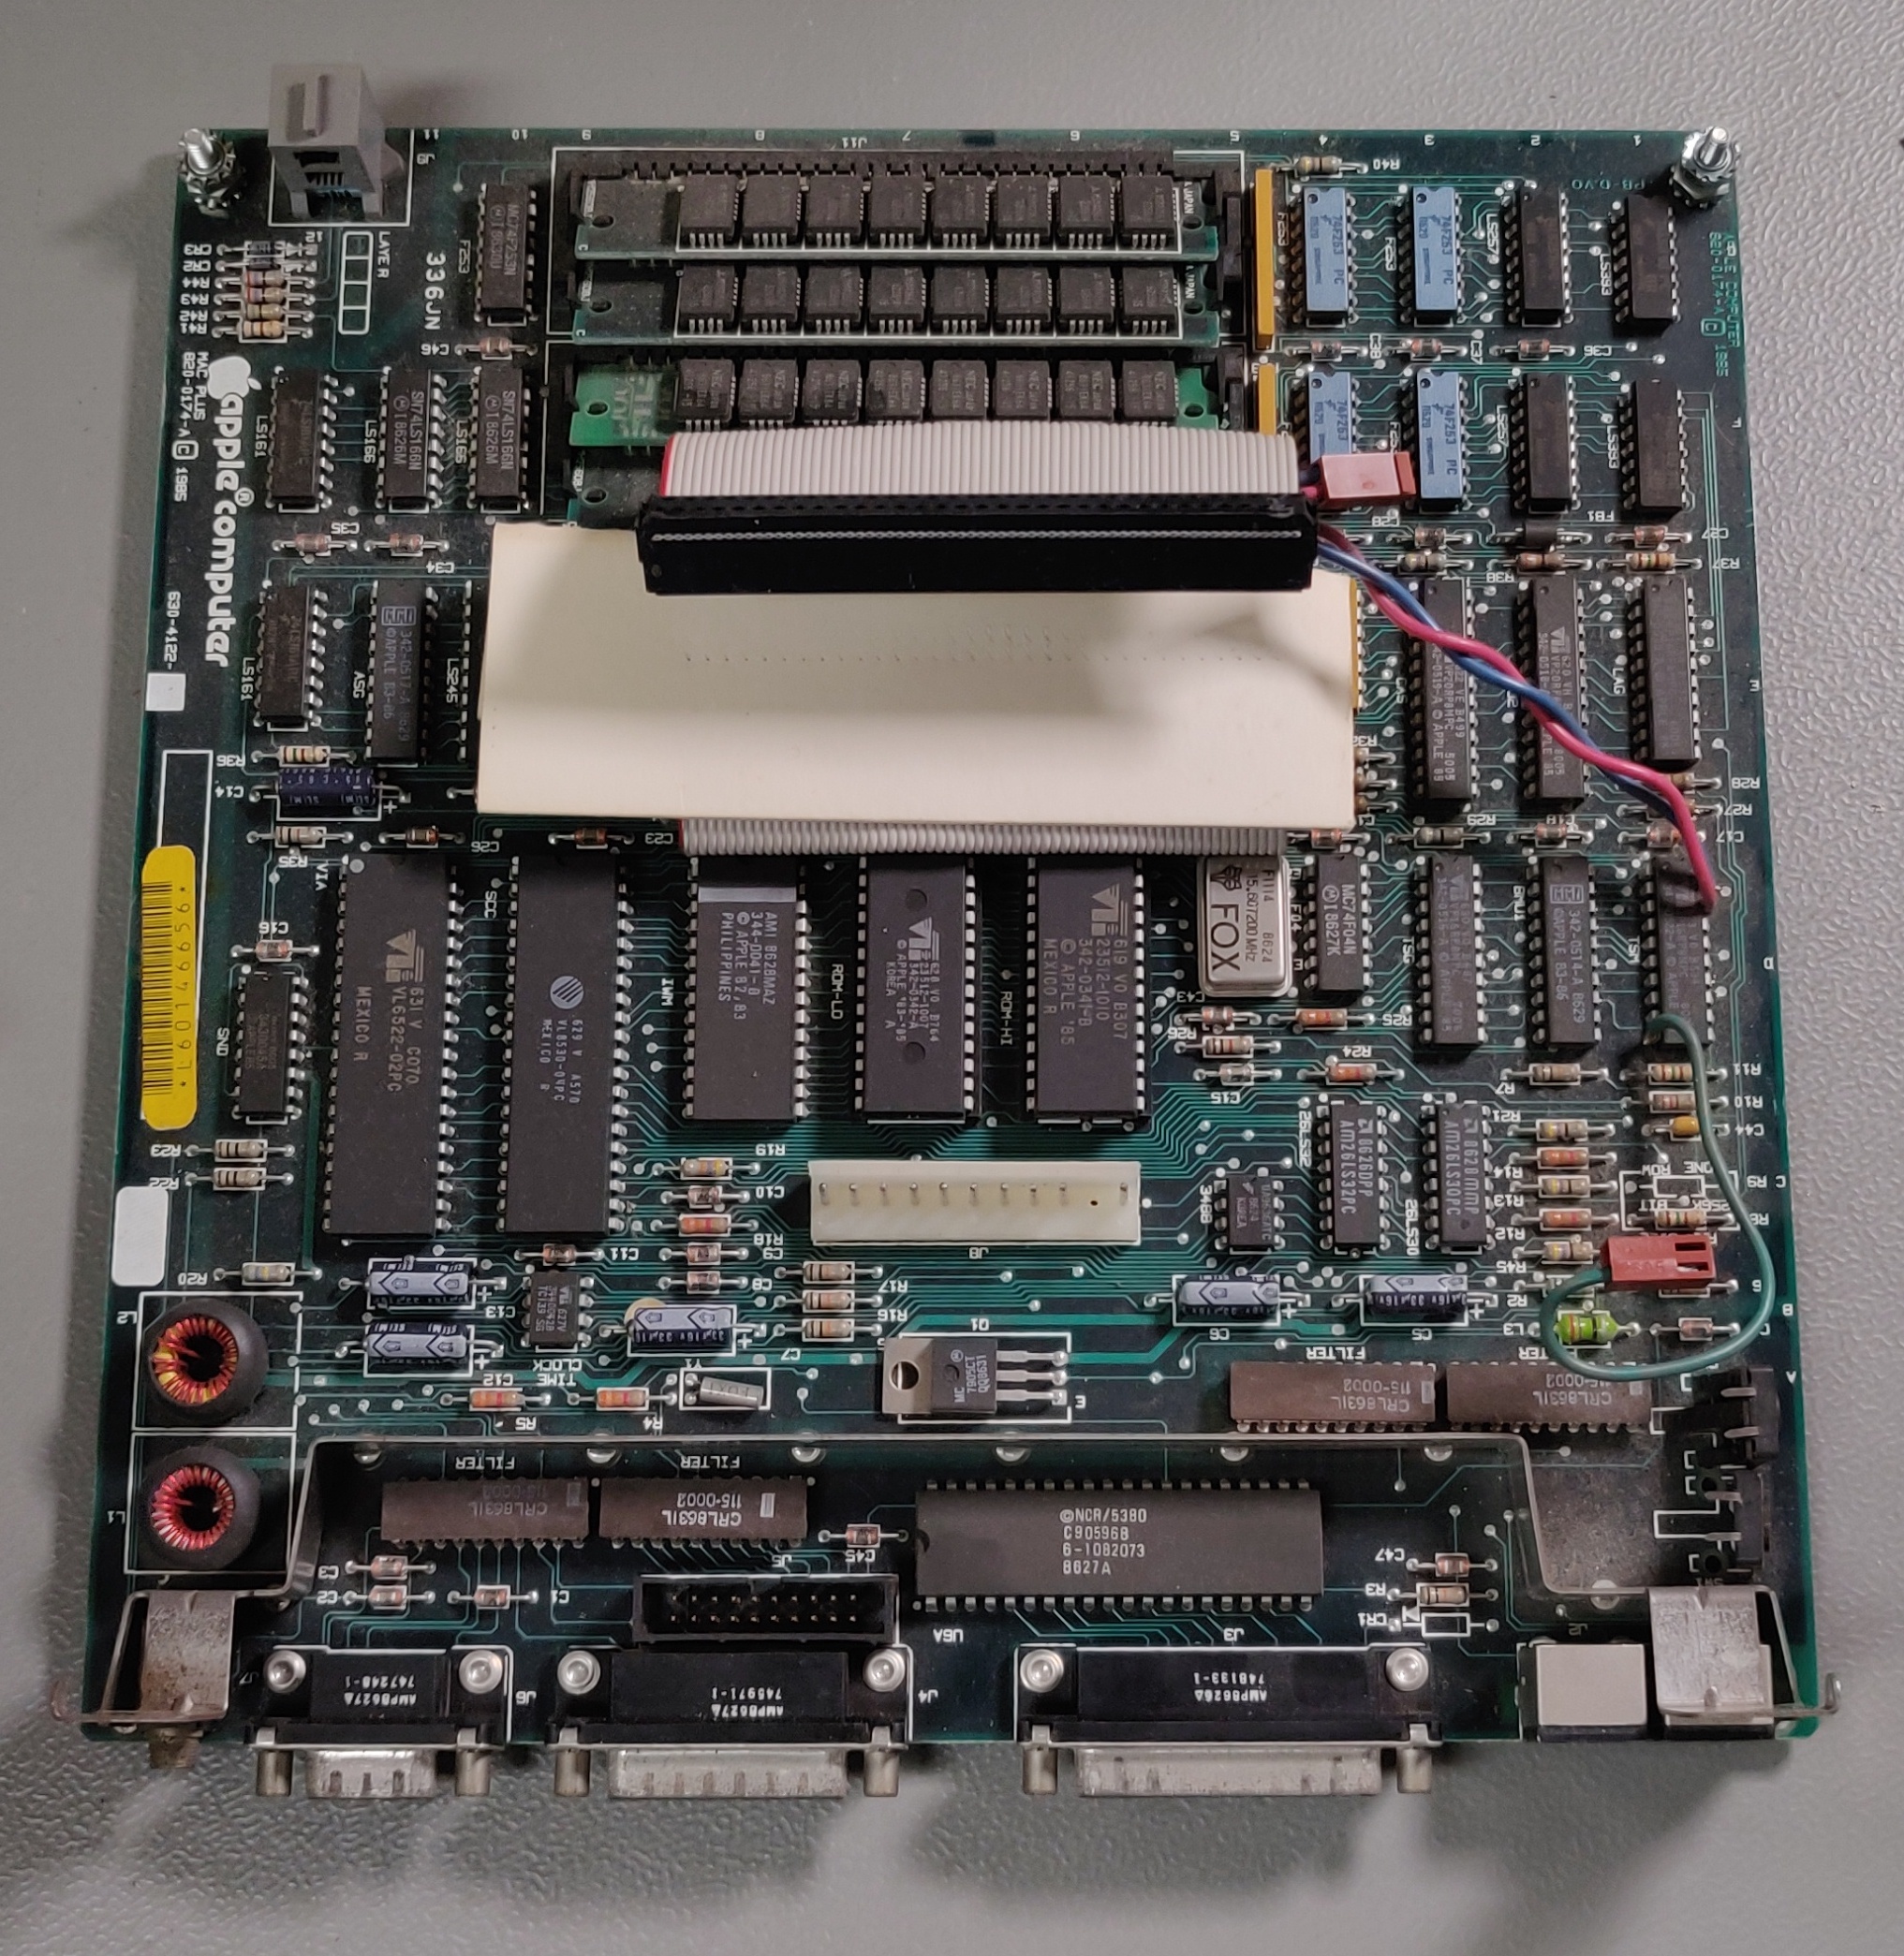
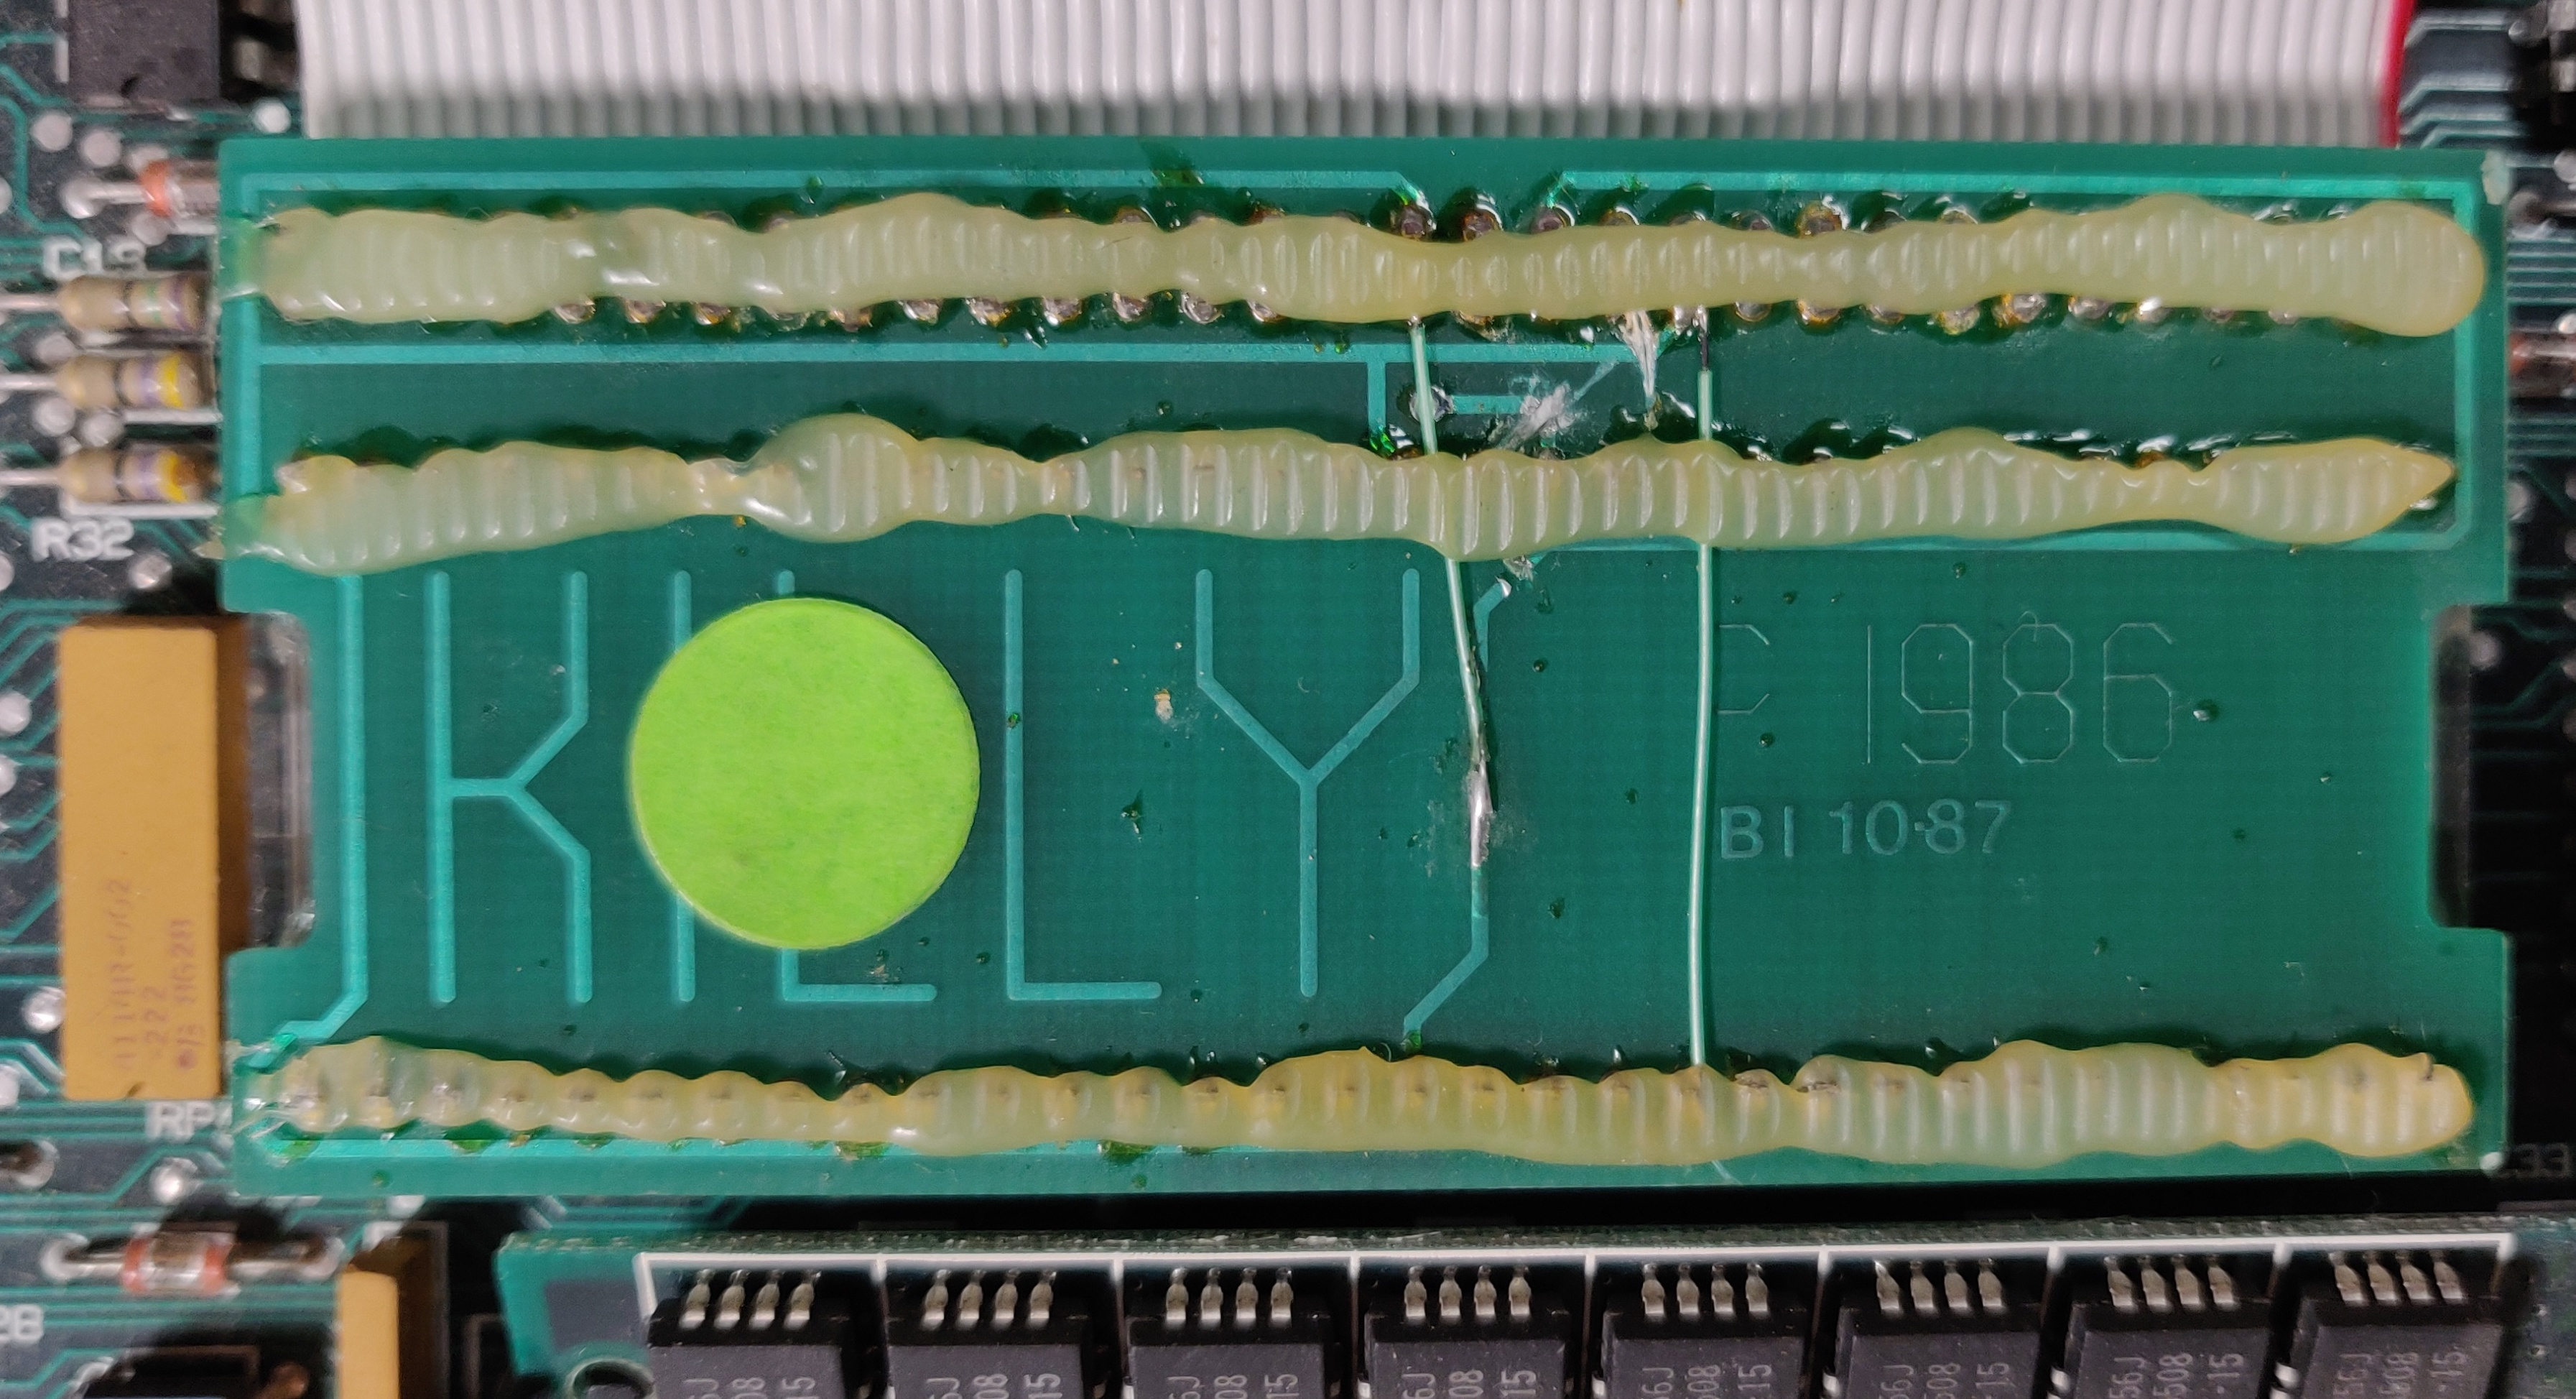
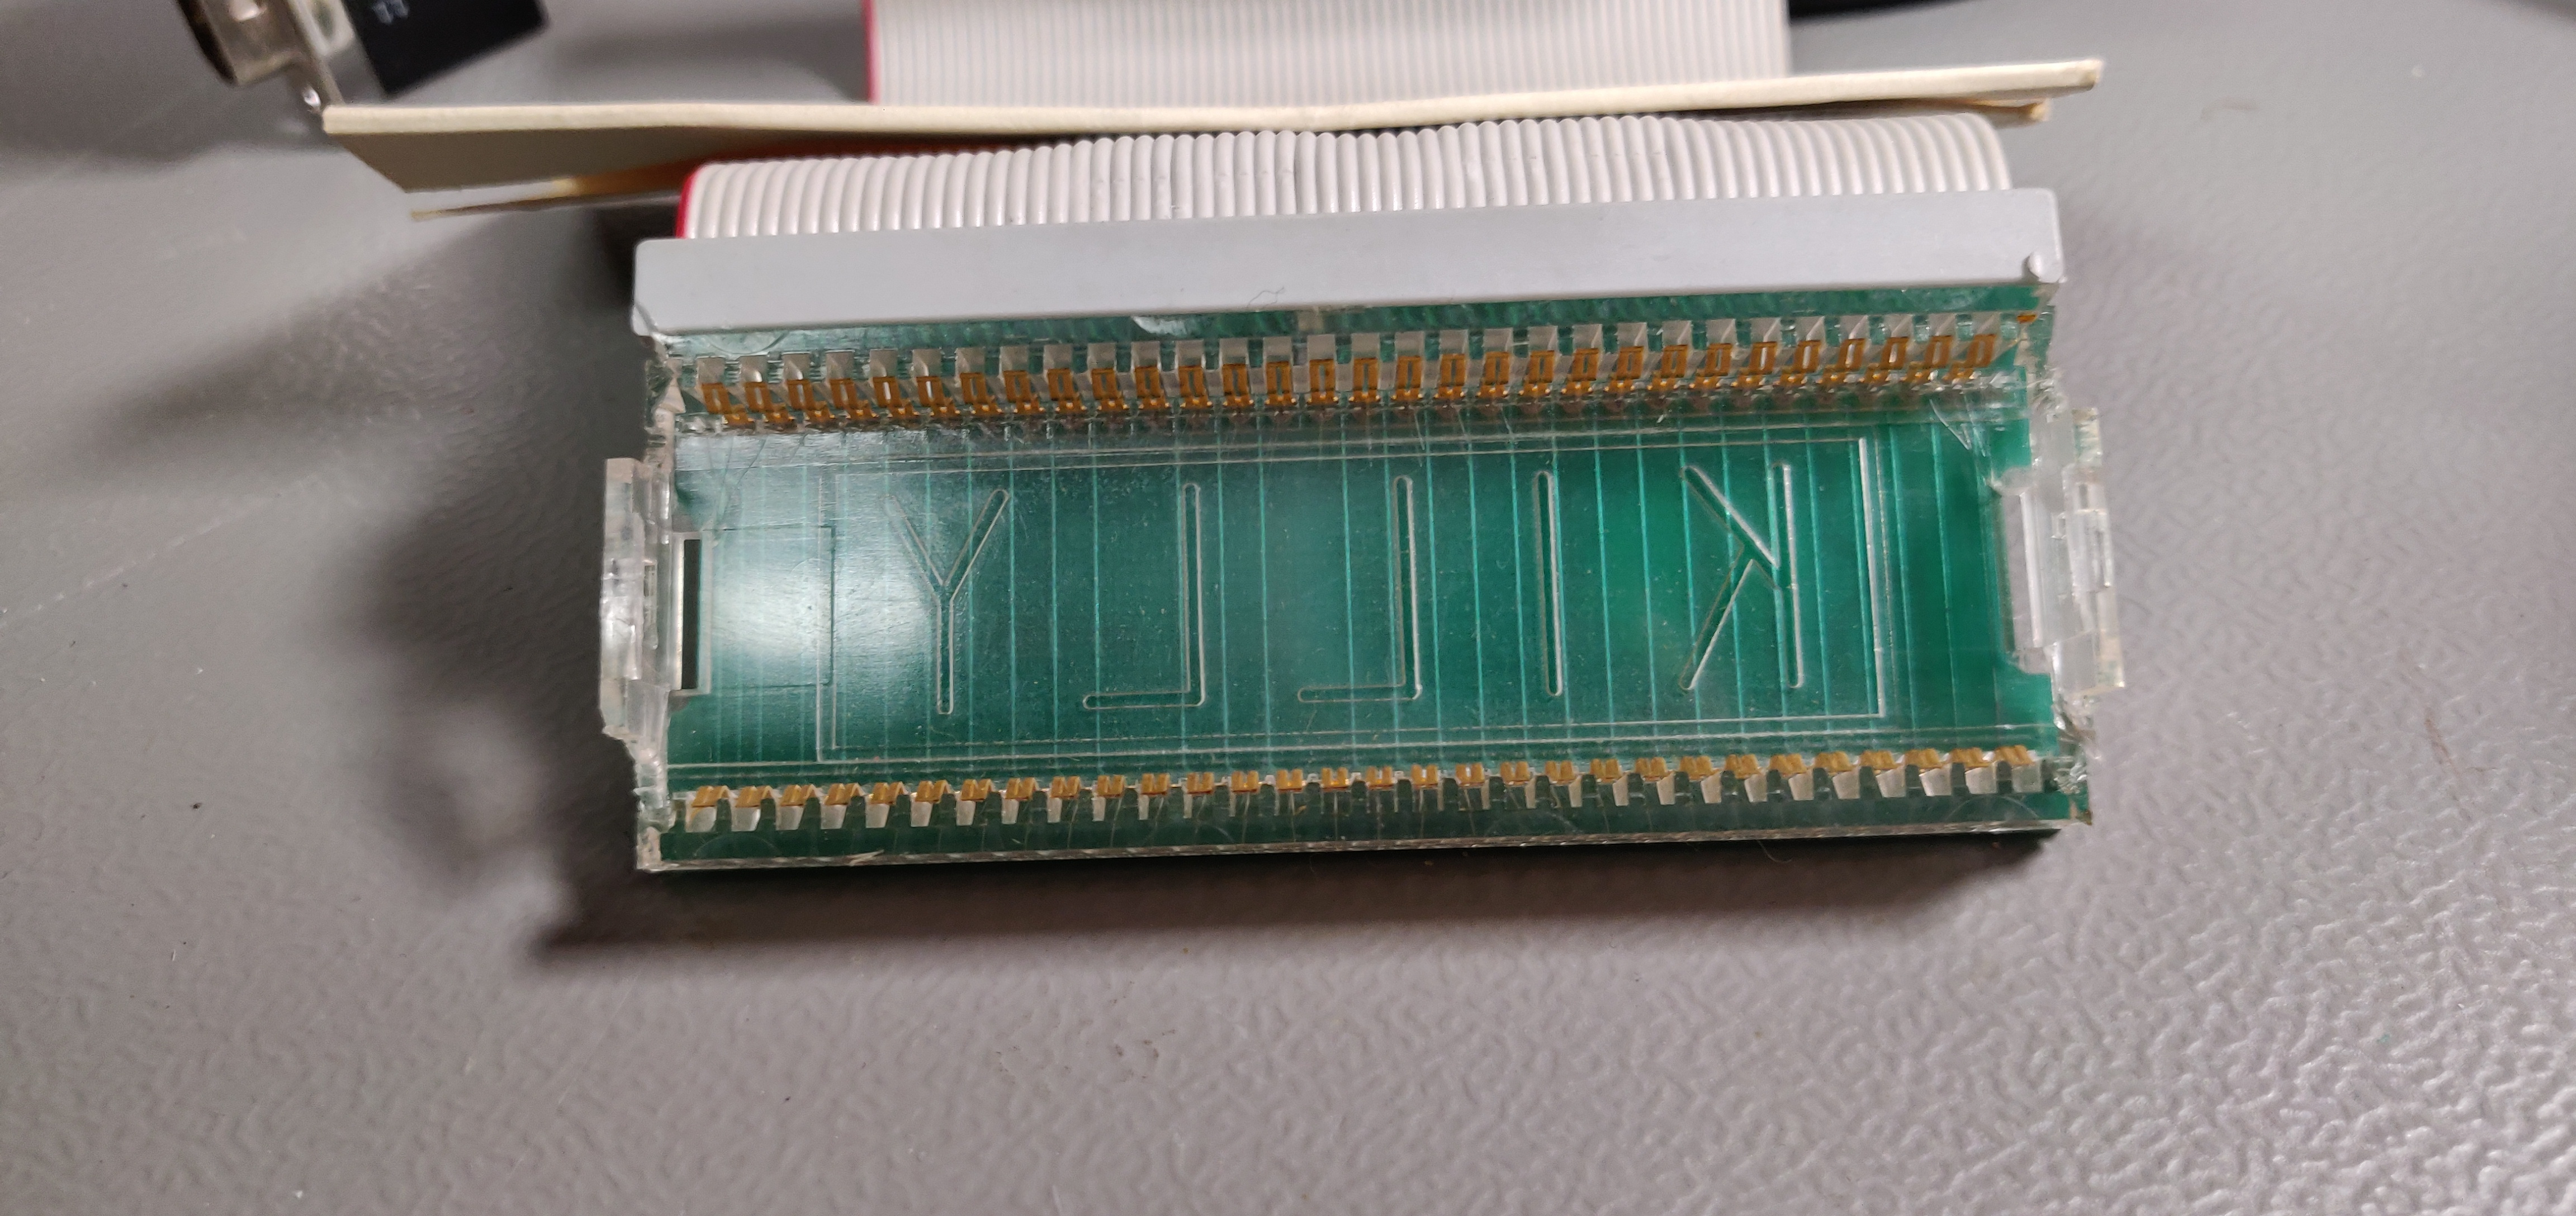
The CPU connector is mounted to a PCB, which itself has several bodge wires installed:
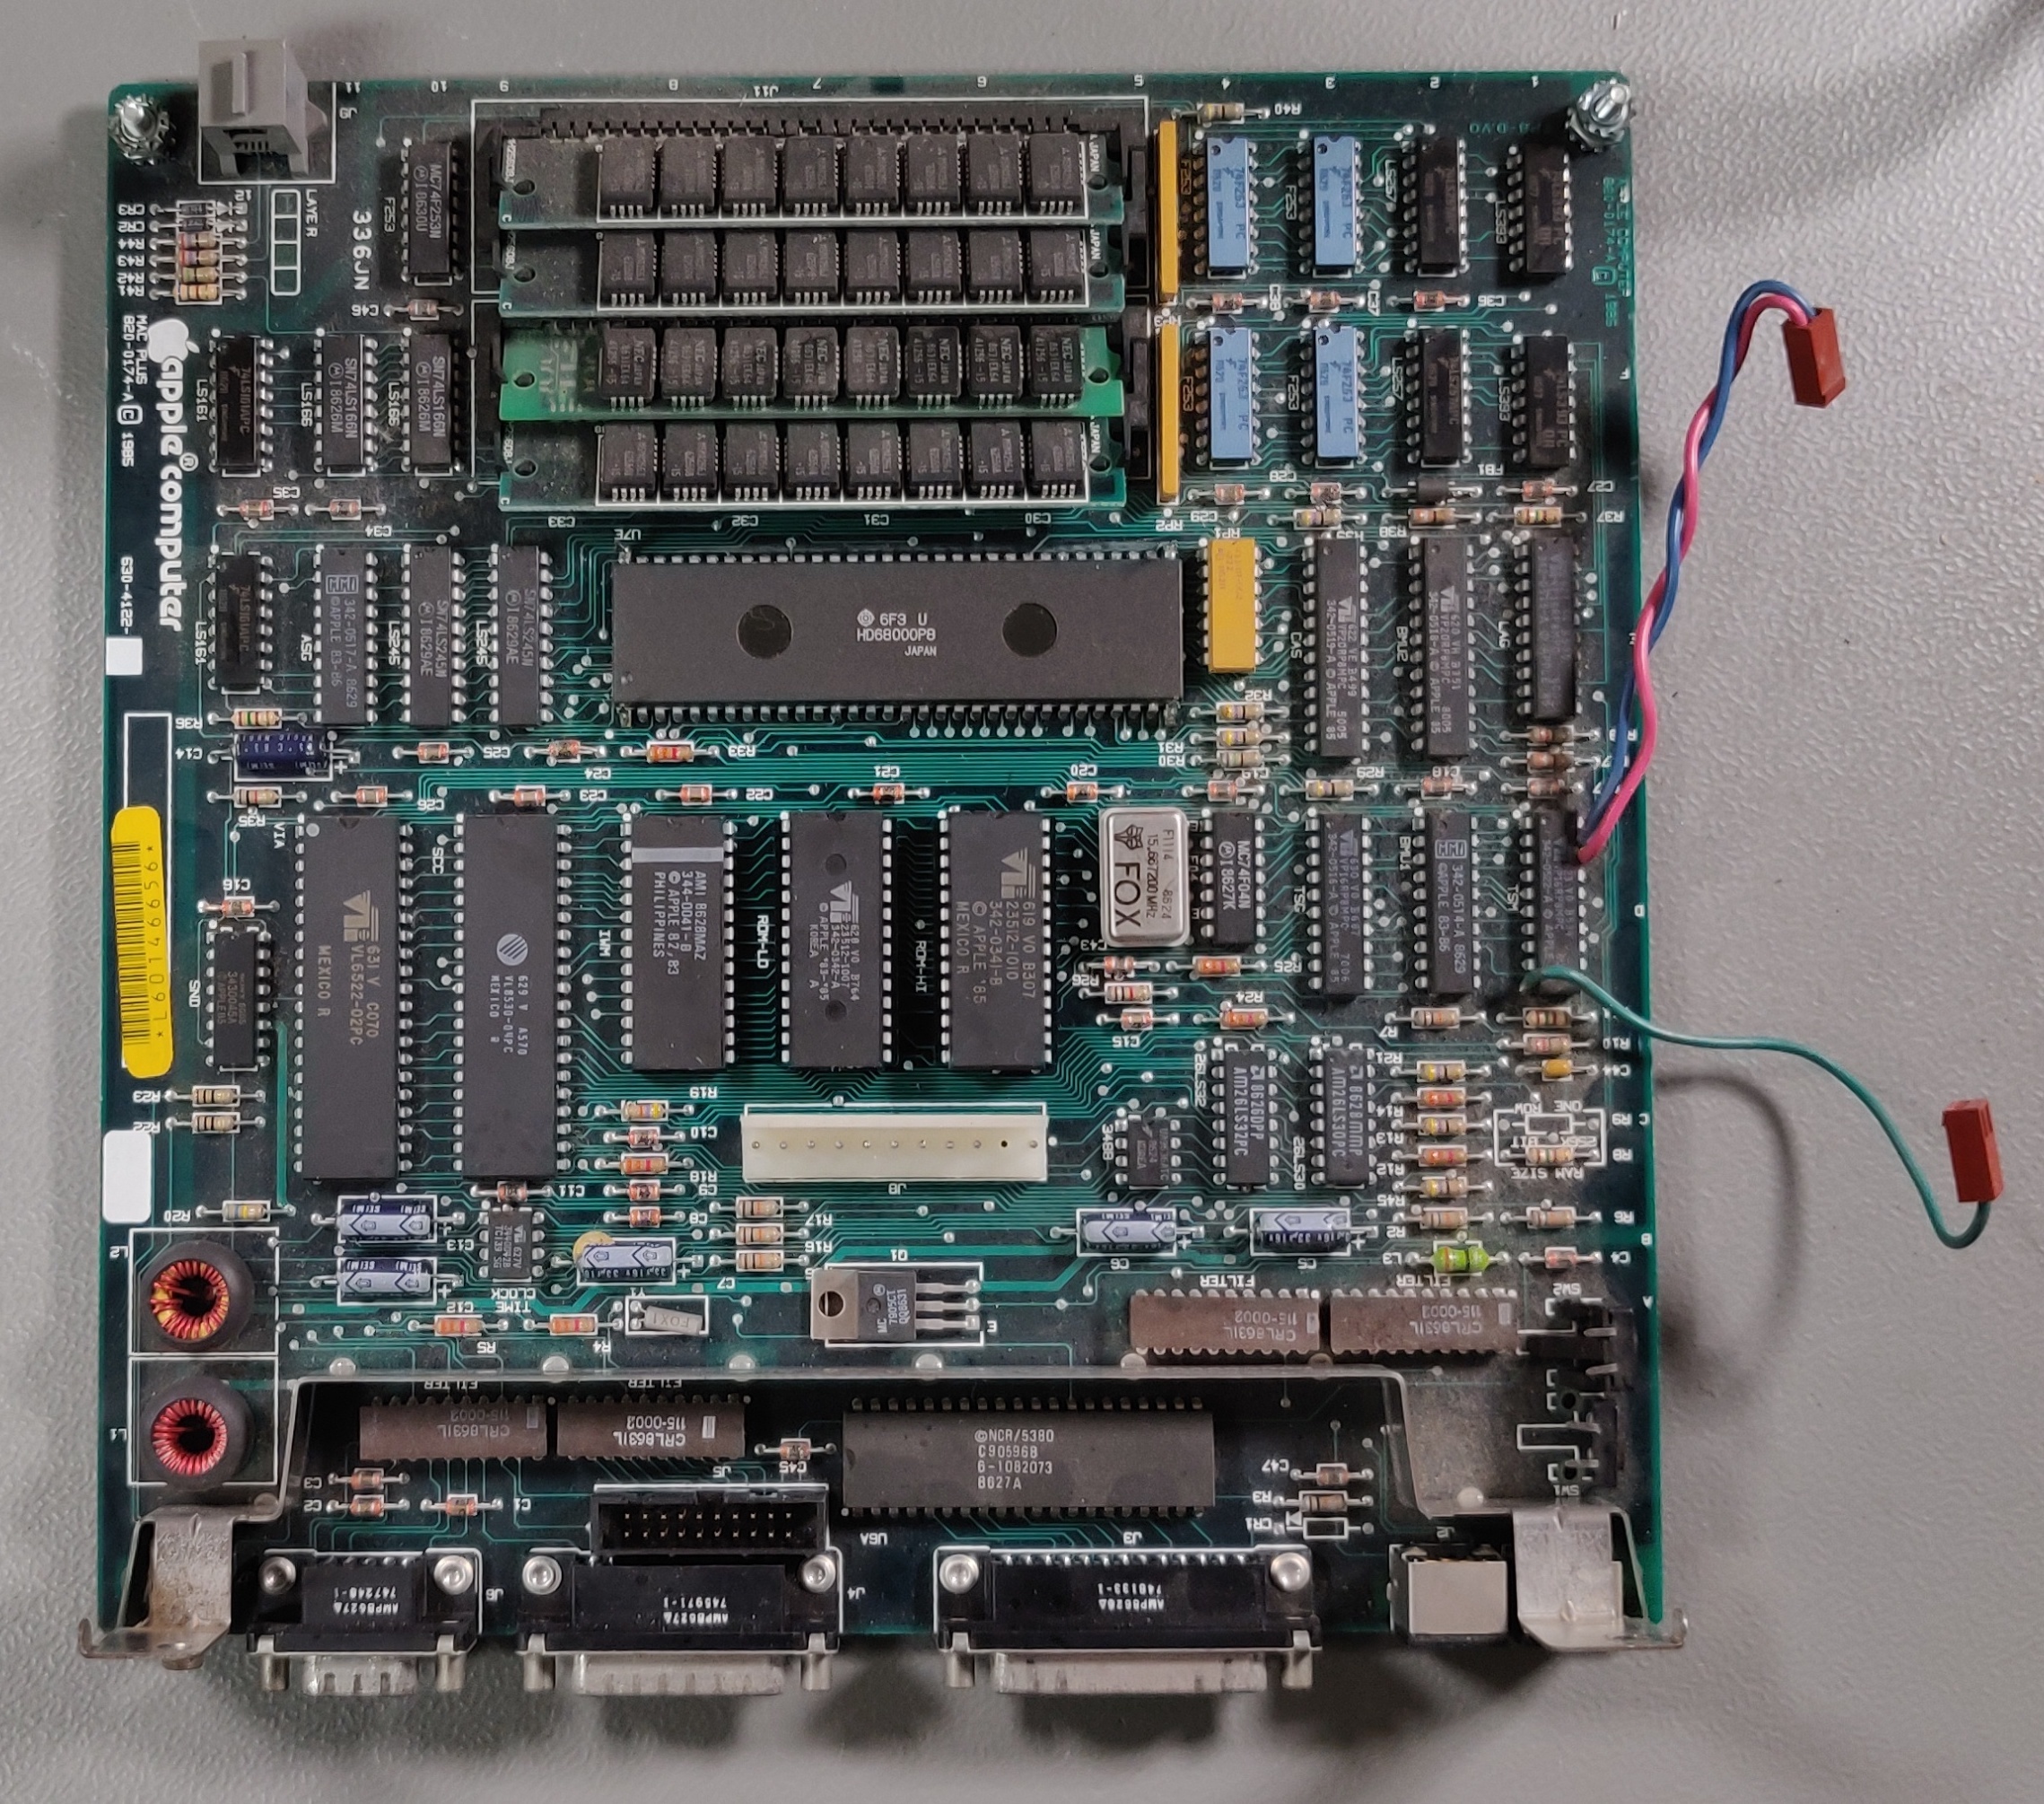
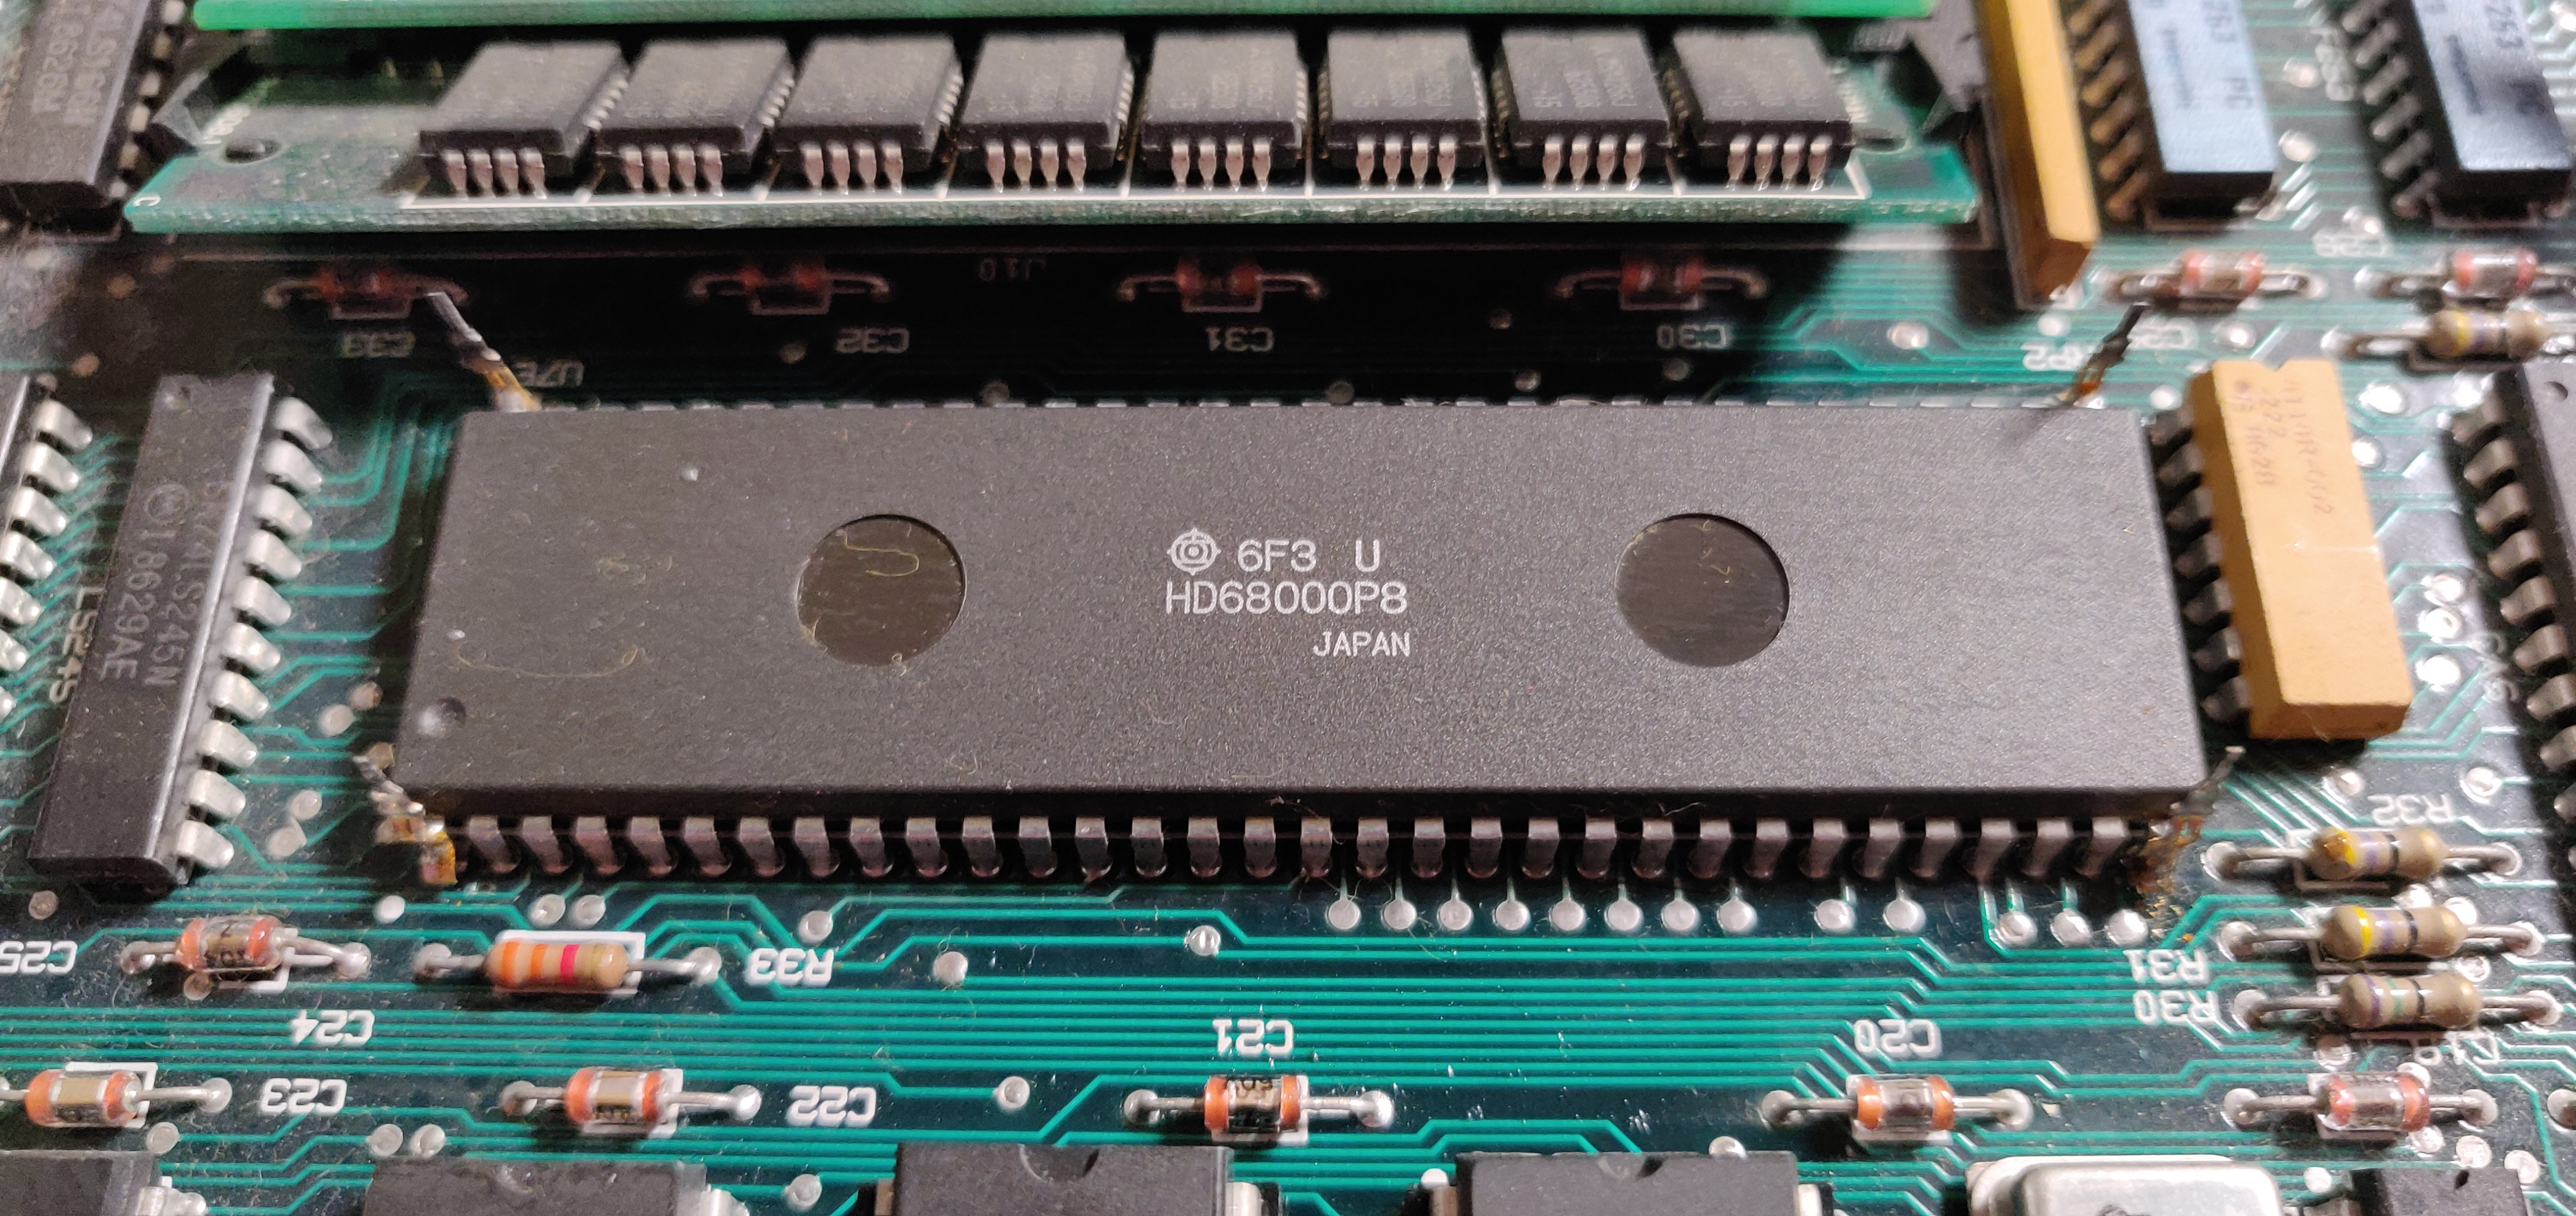
Lastly, here is a picture of the logic board without the CPU connector:
More about this expansion below.
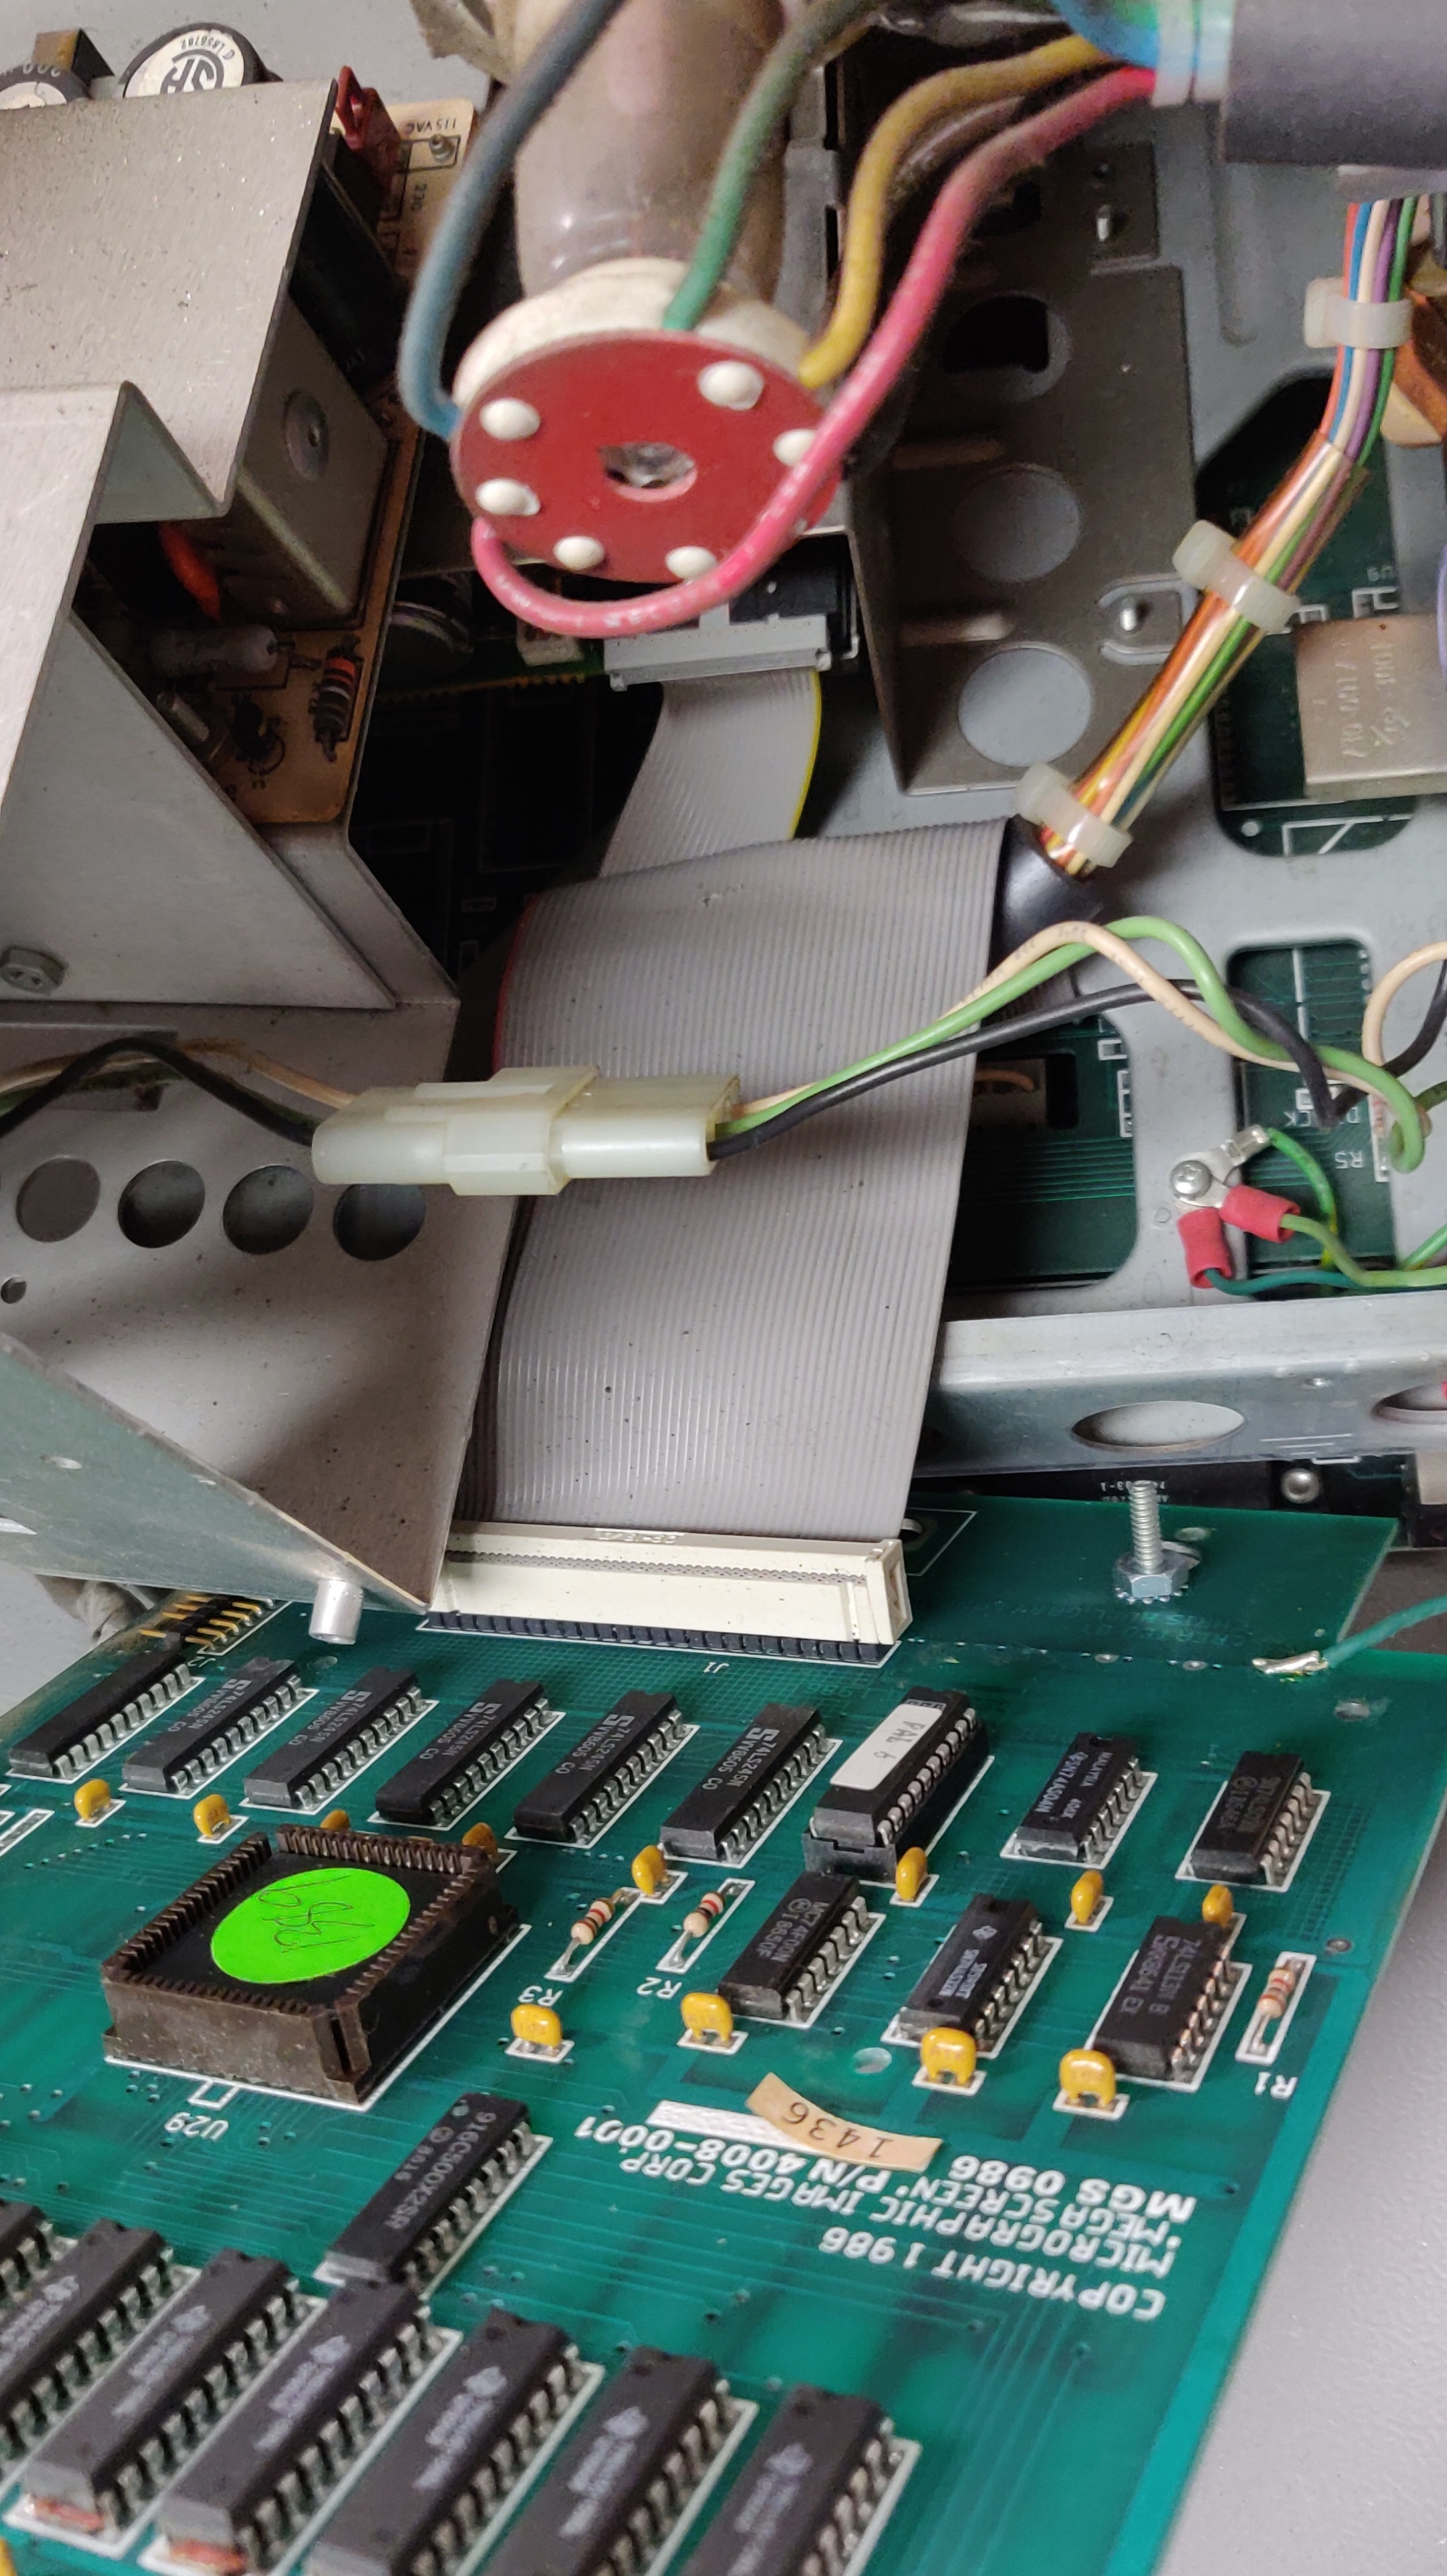
Micrographic Images Megascreen:
The expansion installed in this computer was a Micrographic Images Megascreen, at this point I'm not entirely certain if it's a Megascreen 1 or a Megascreen Plus. I haven't been able to find much information on this expansion yet, including the required software.
Aside from the large connector covering the 68k CPU, there were also several bodge wires installed on the TSM IC (D1). Specifically on pins 2, 3 and 11.
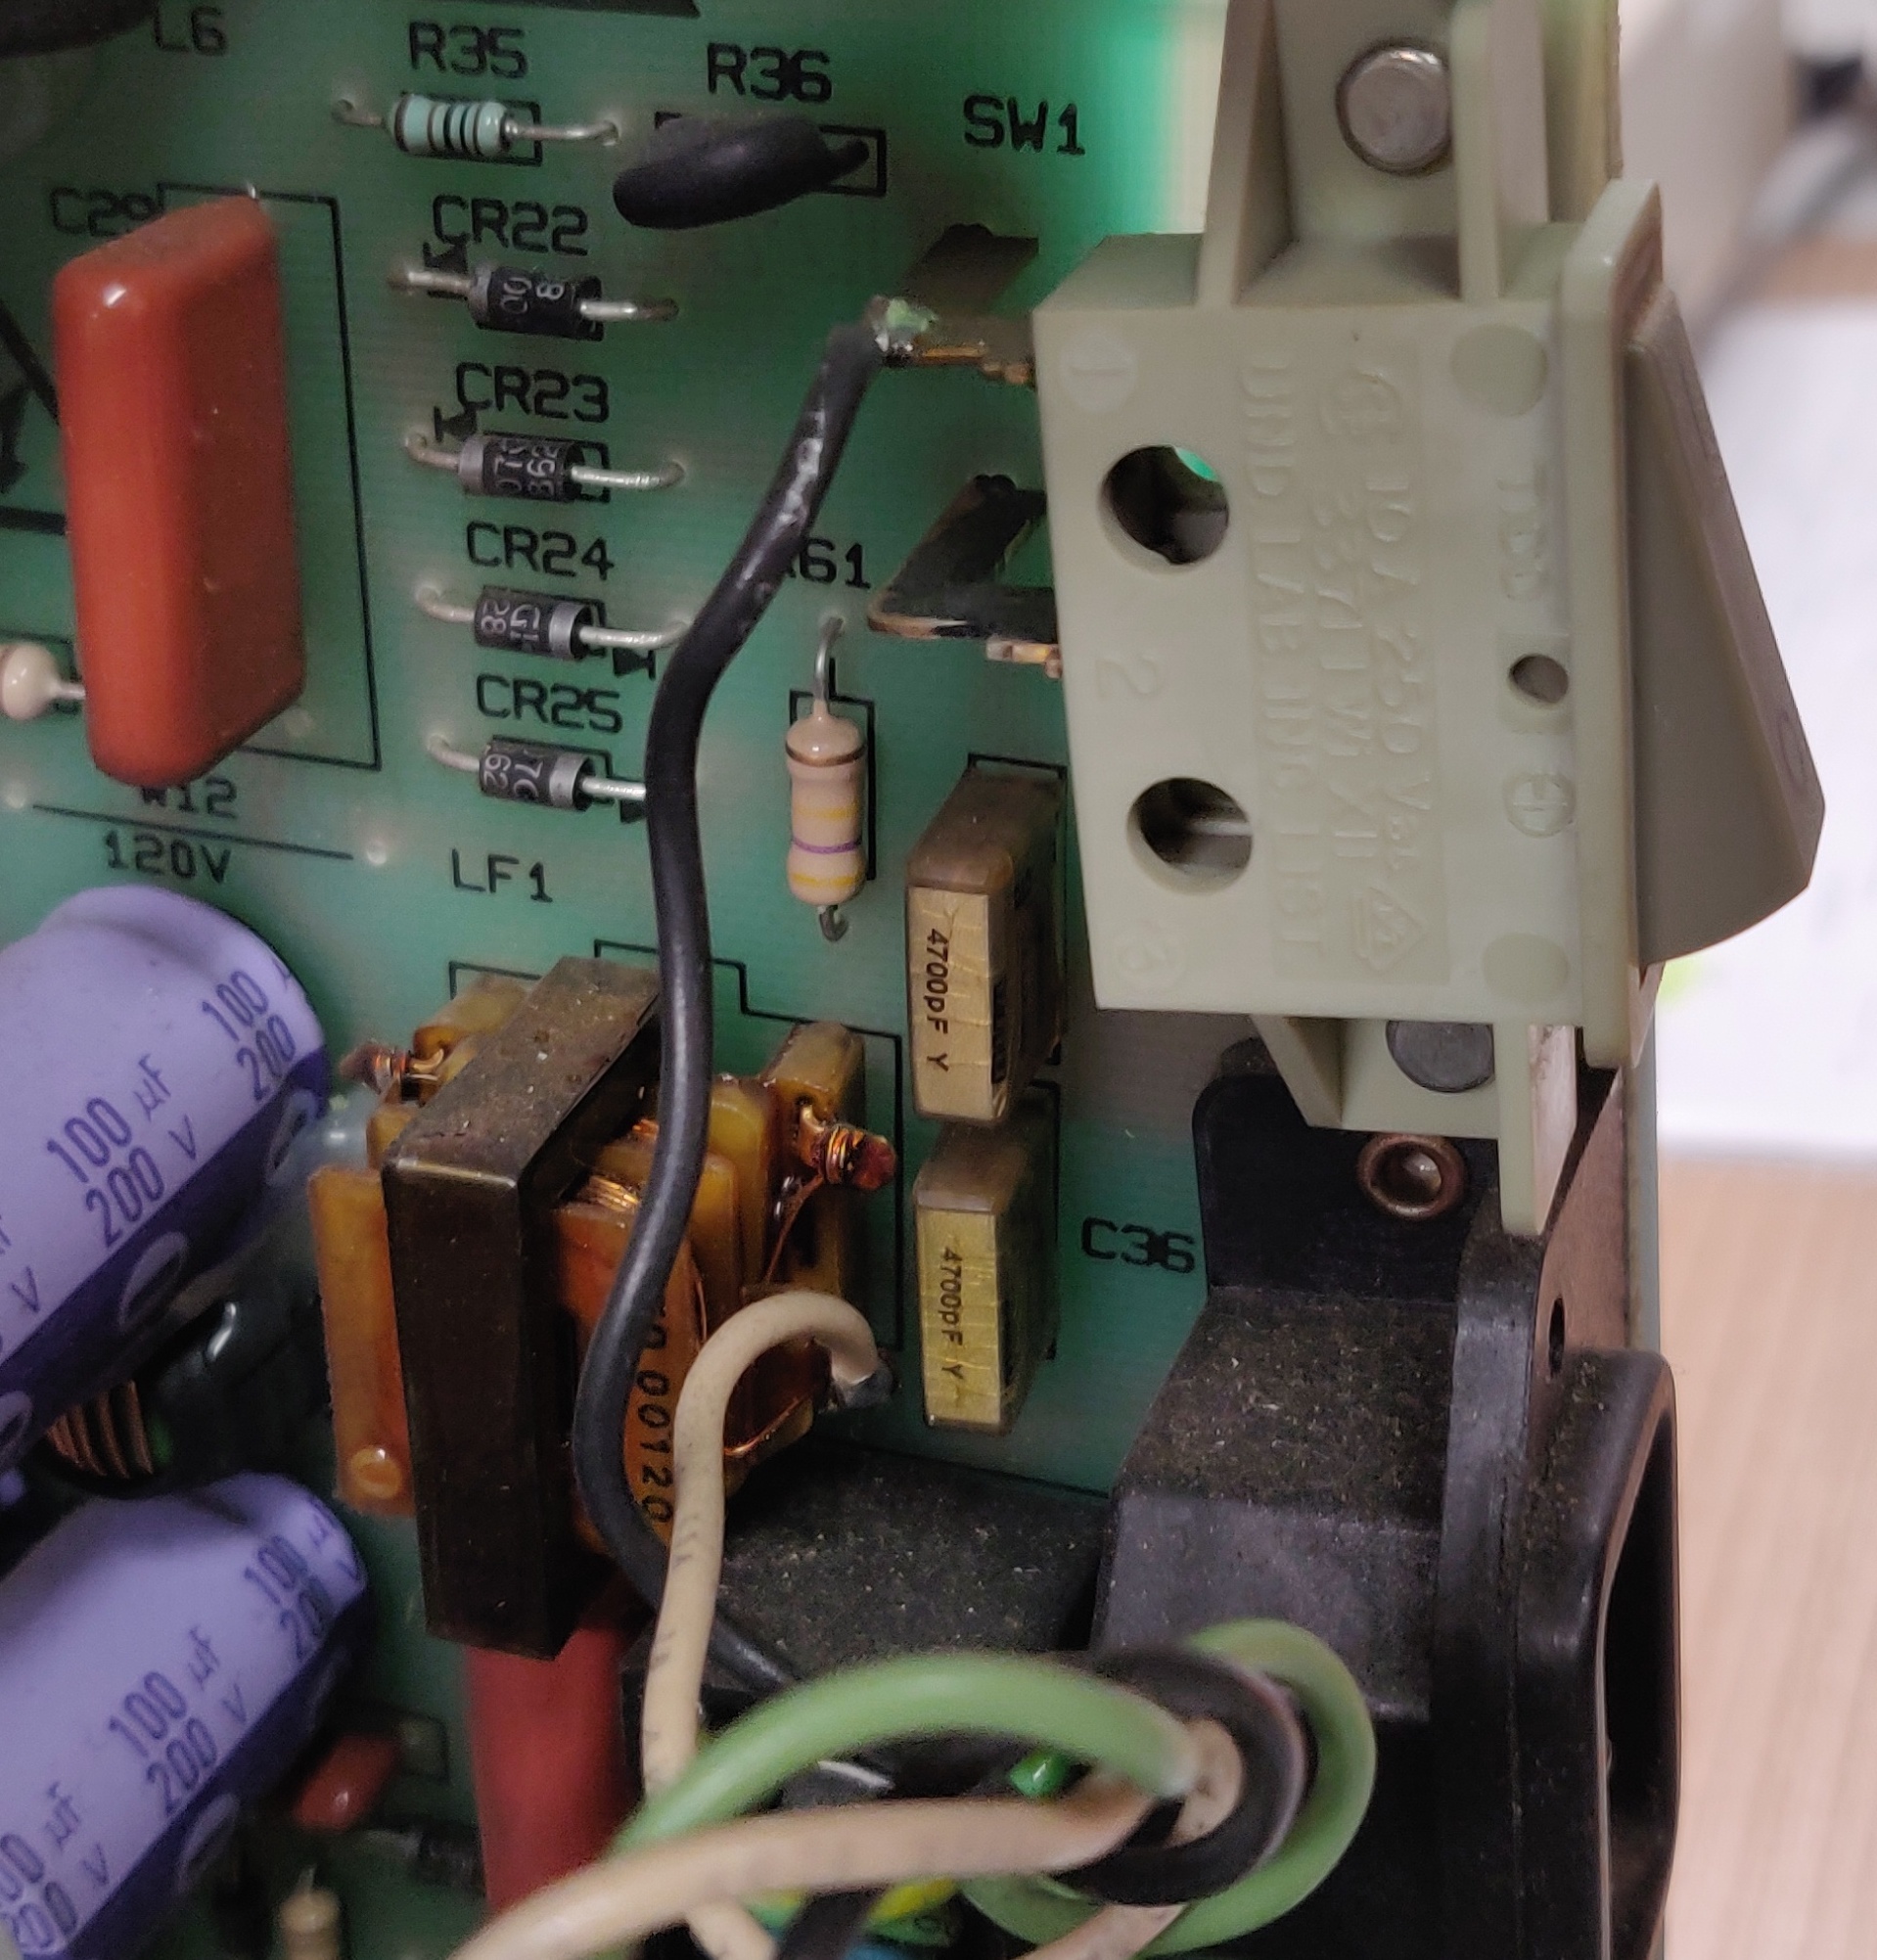
The additional power supply was tied in directly to the power switch:
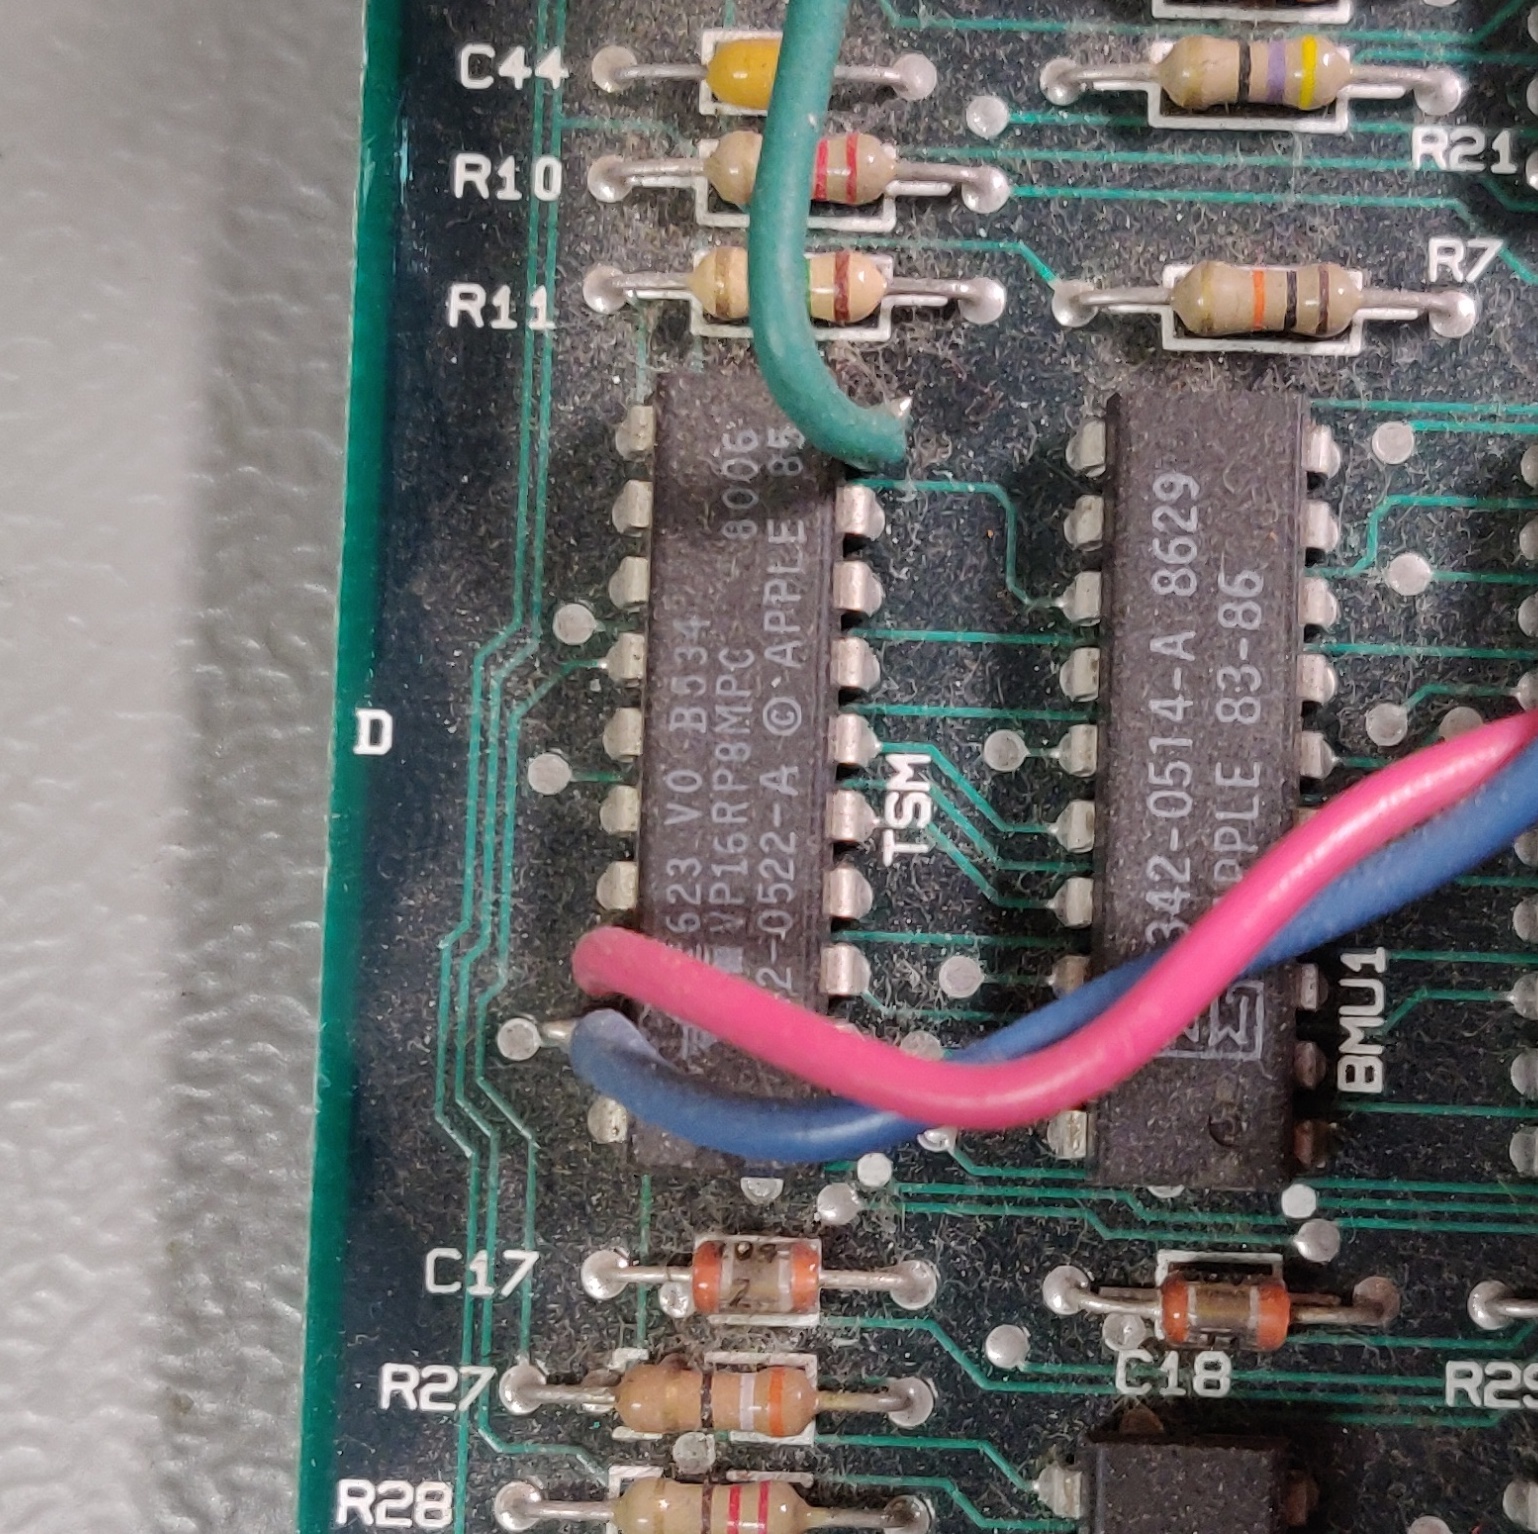
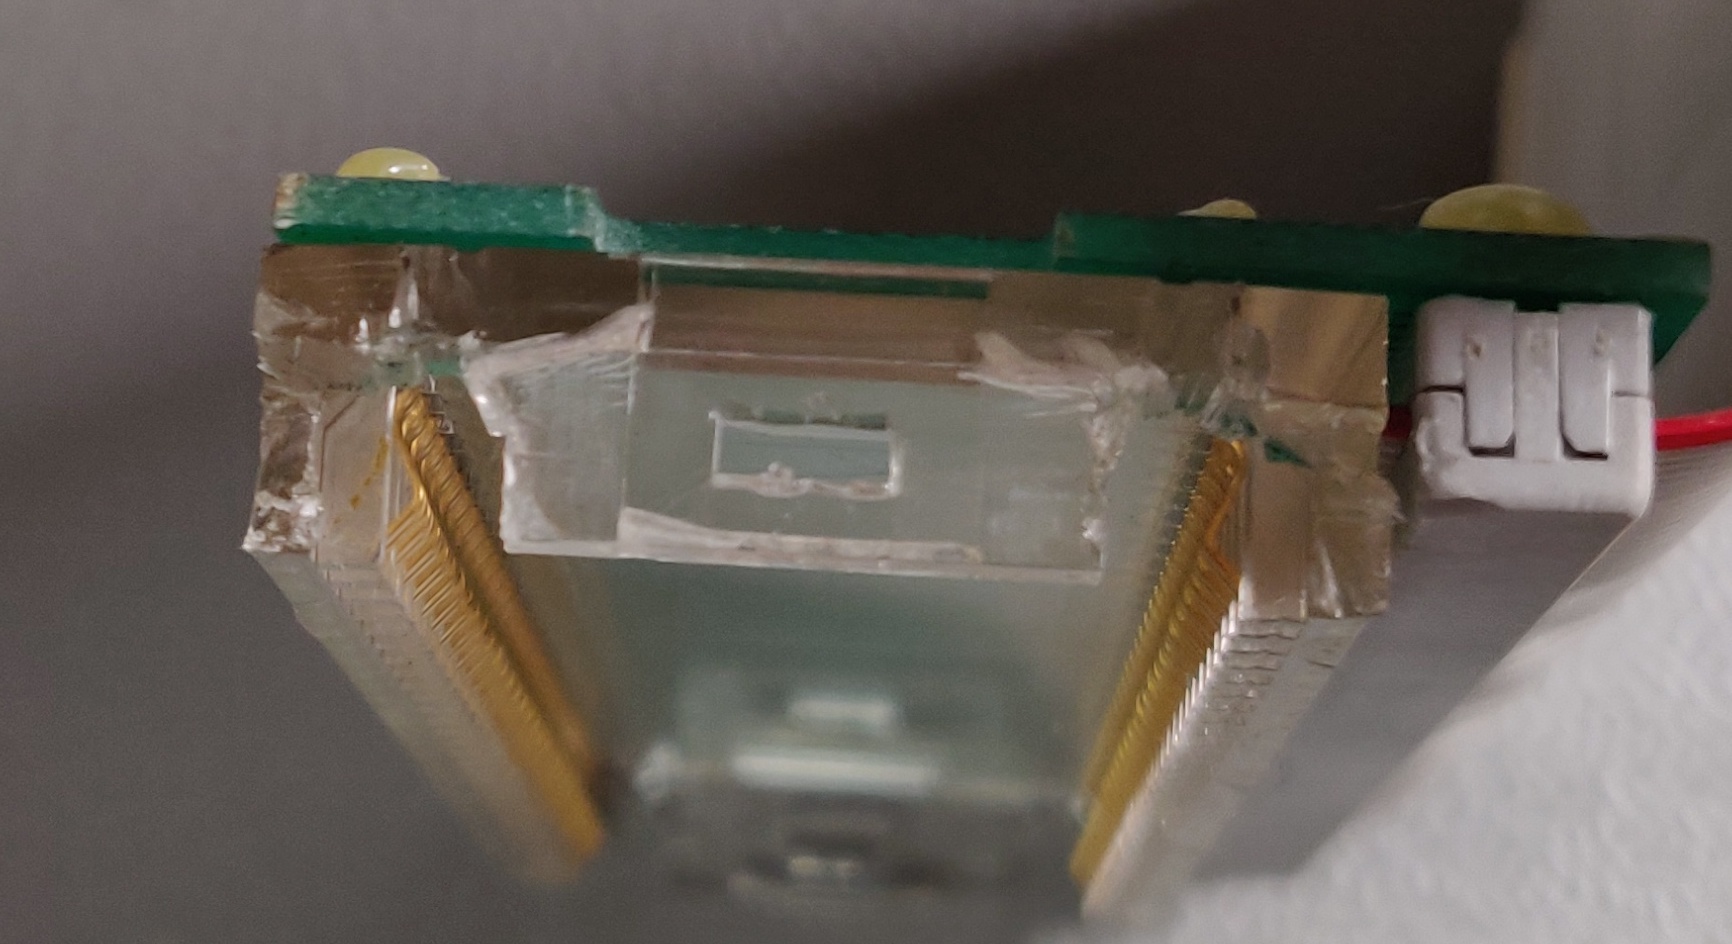
It appears that the CPU connector failed at some point in the past and the previous owner soldered the 4 outermost pins directly to the CPU:
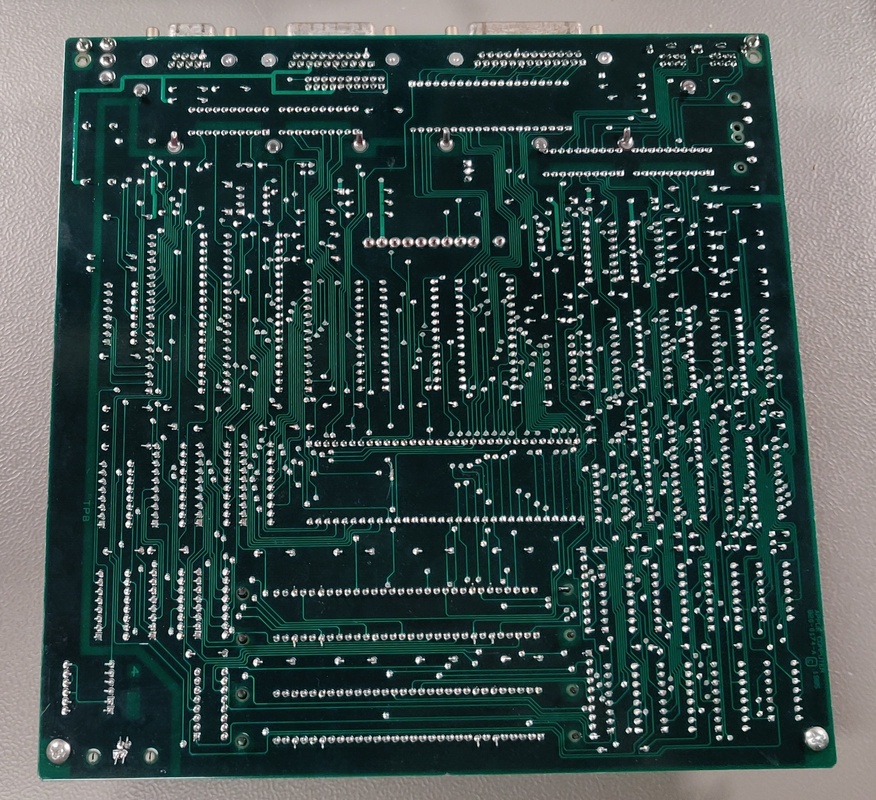
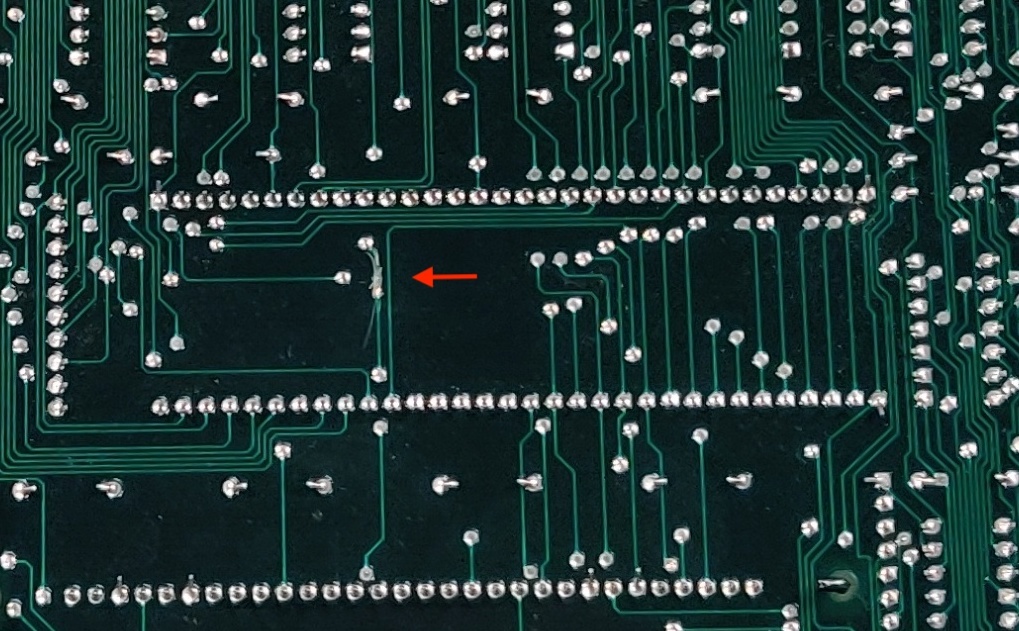
Lastly a trace was cut which connects the DTACK pin of the 68000 to the rest of the board, it's located on the back of the board right under the CPU:
Repairs:
The first and most important step was to replace the two paper capacitors on the back of the
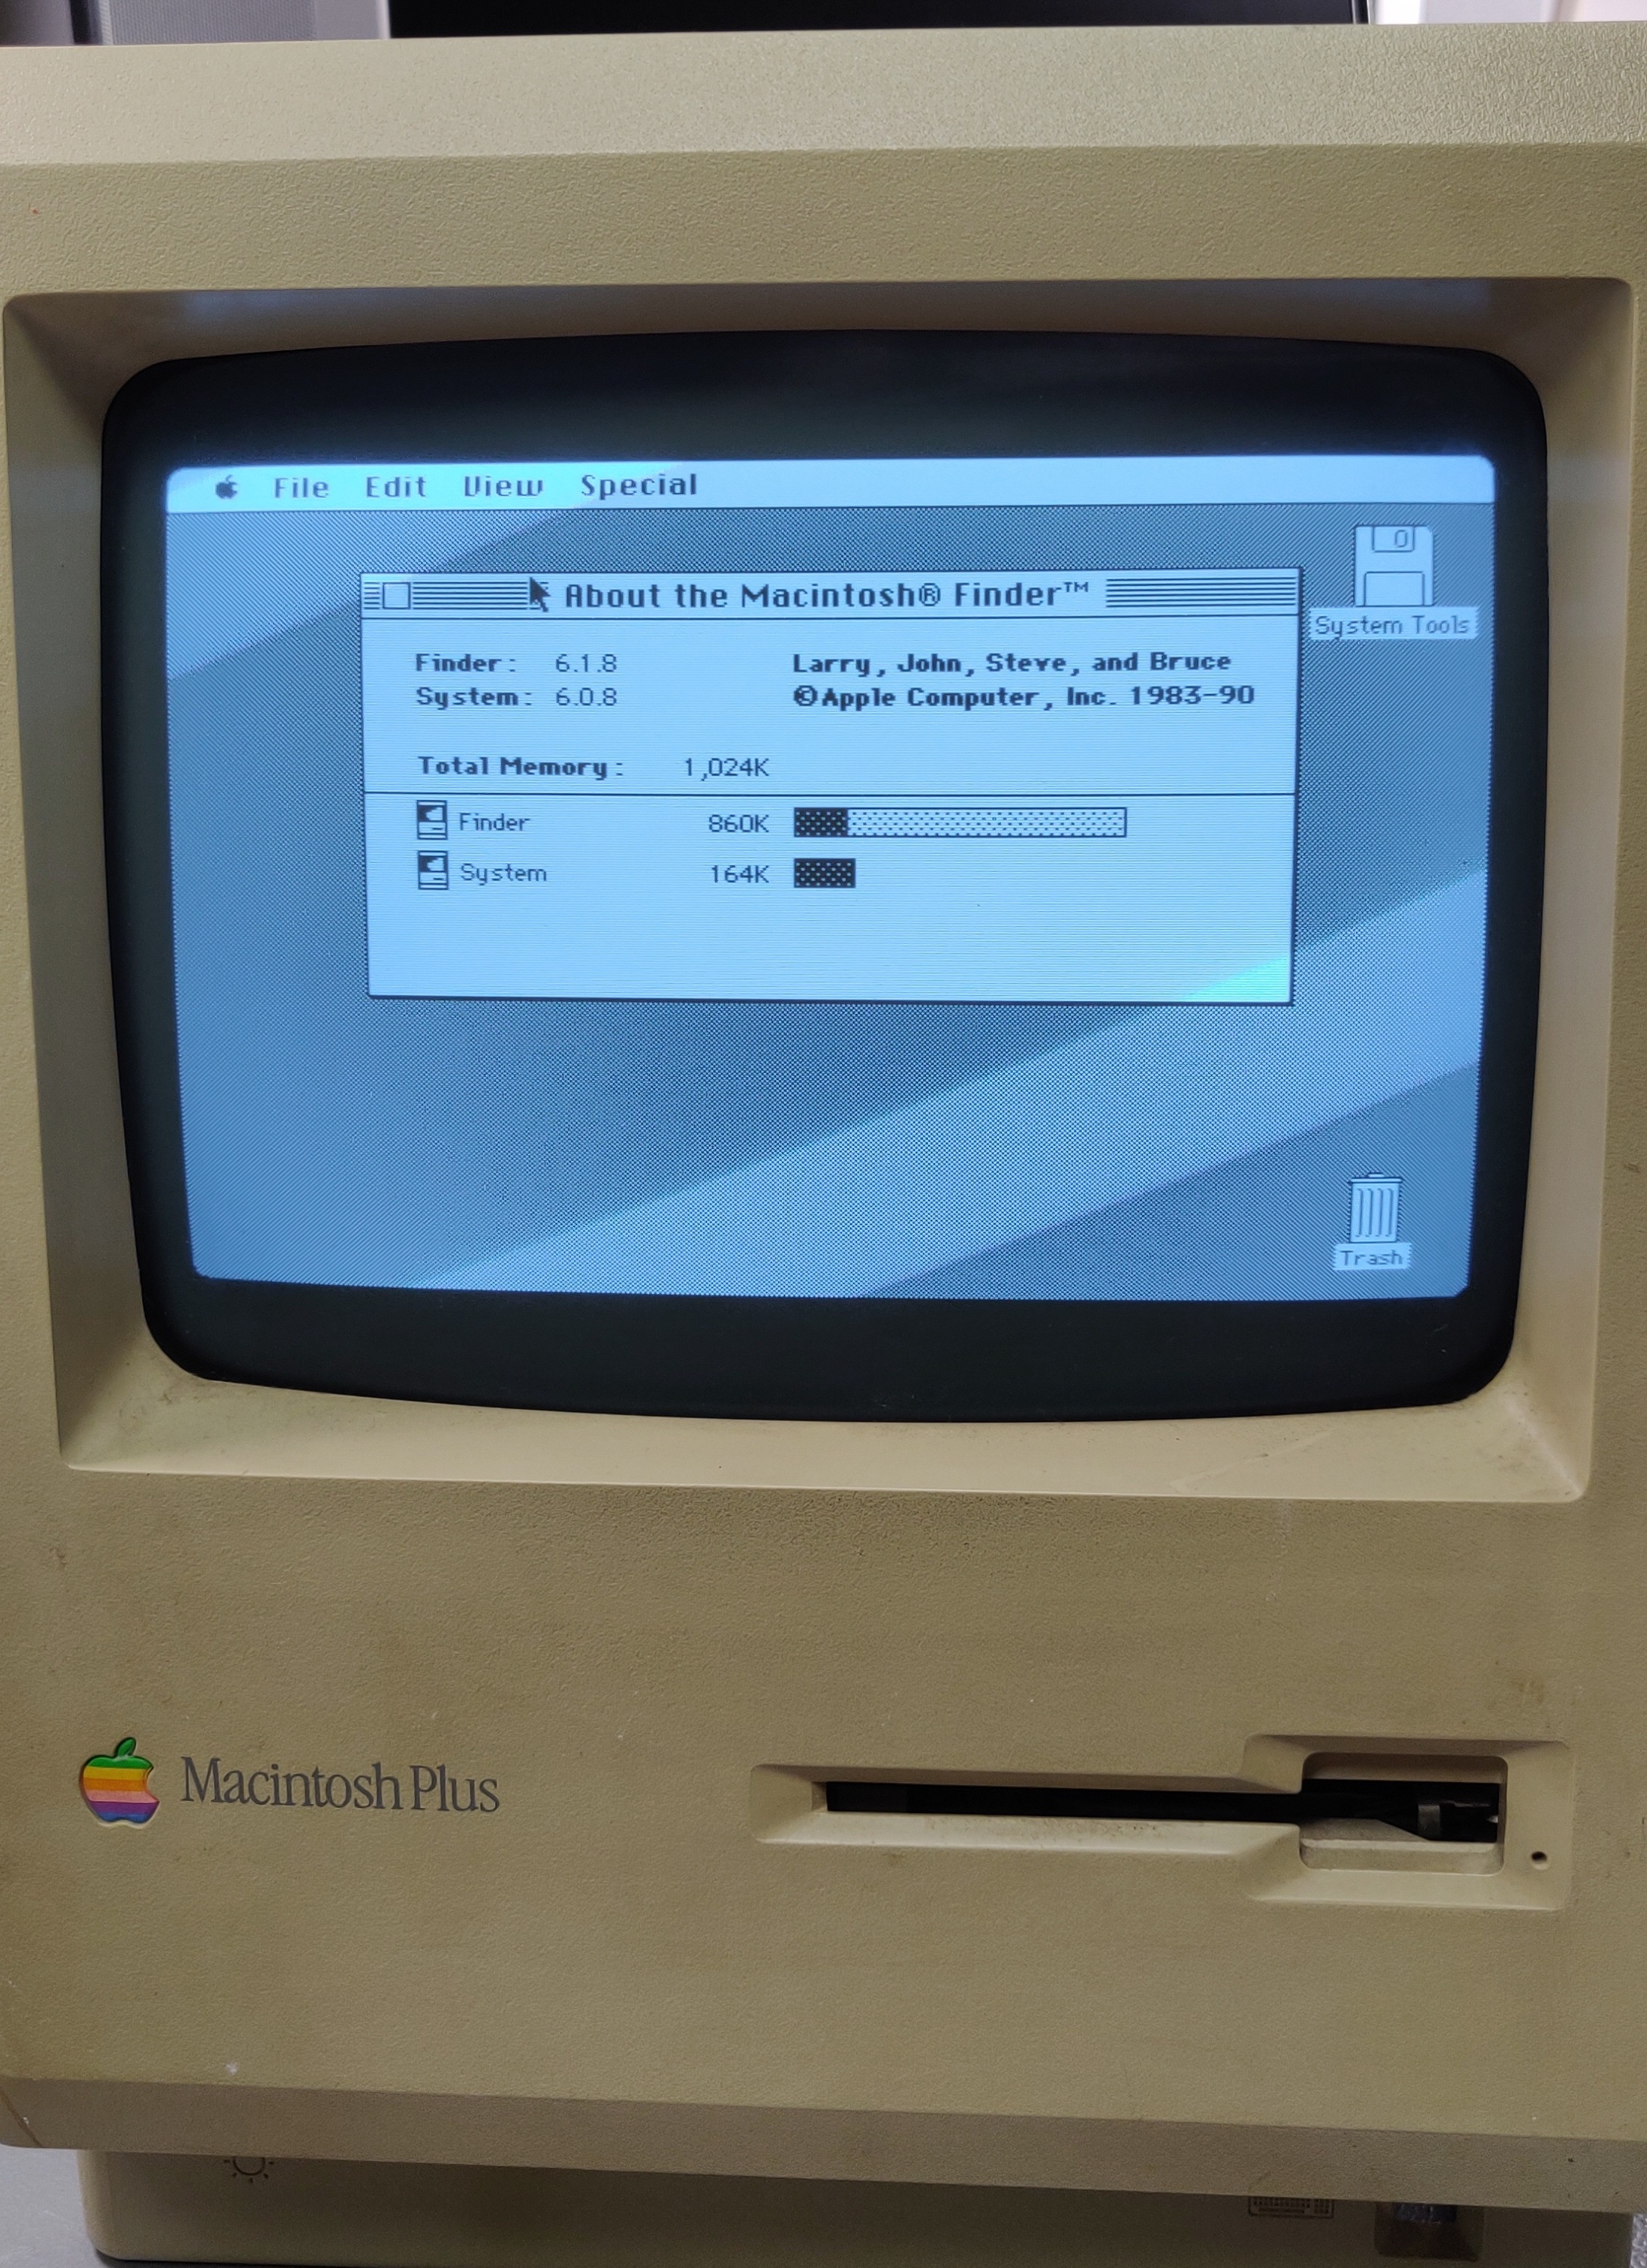
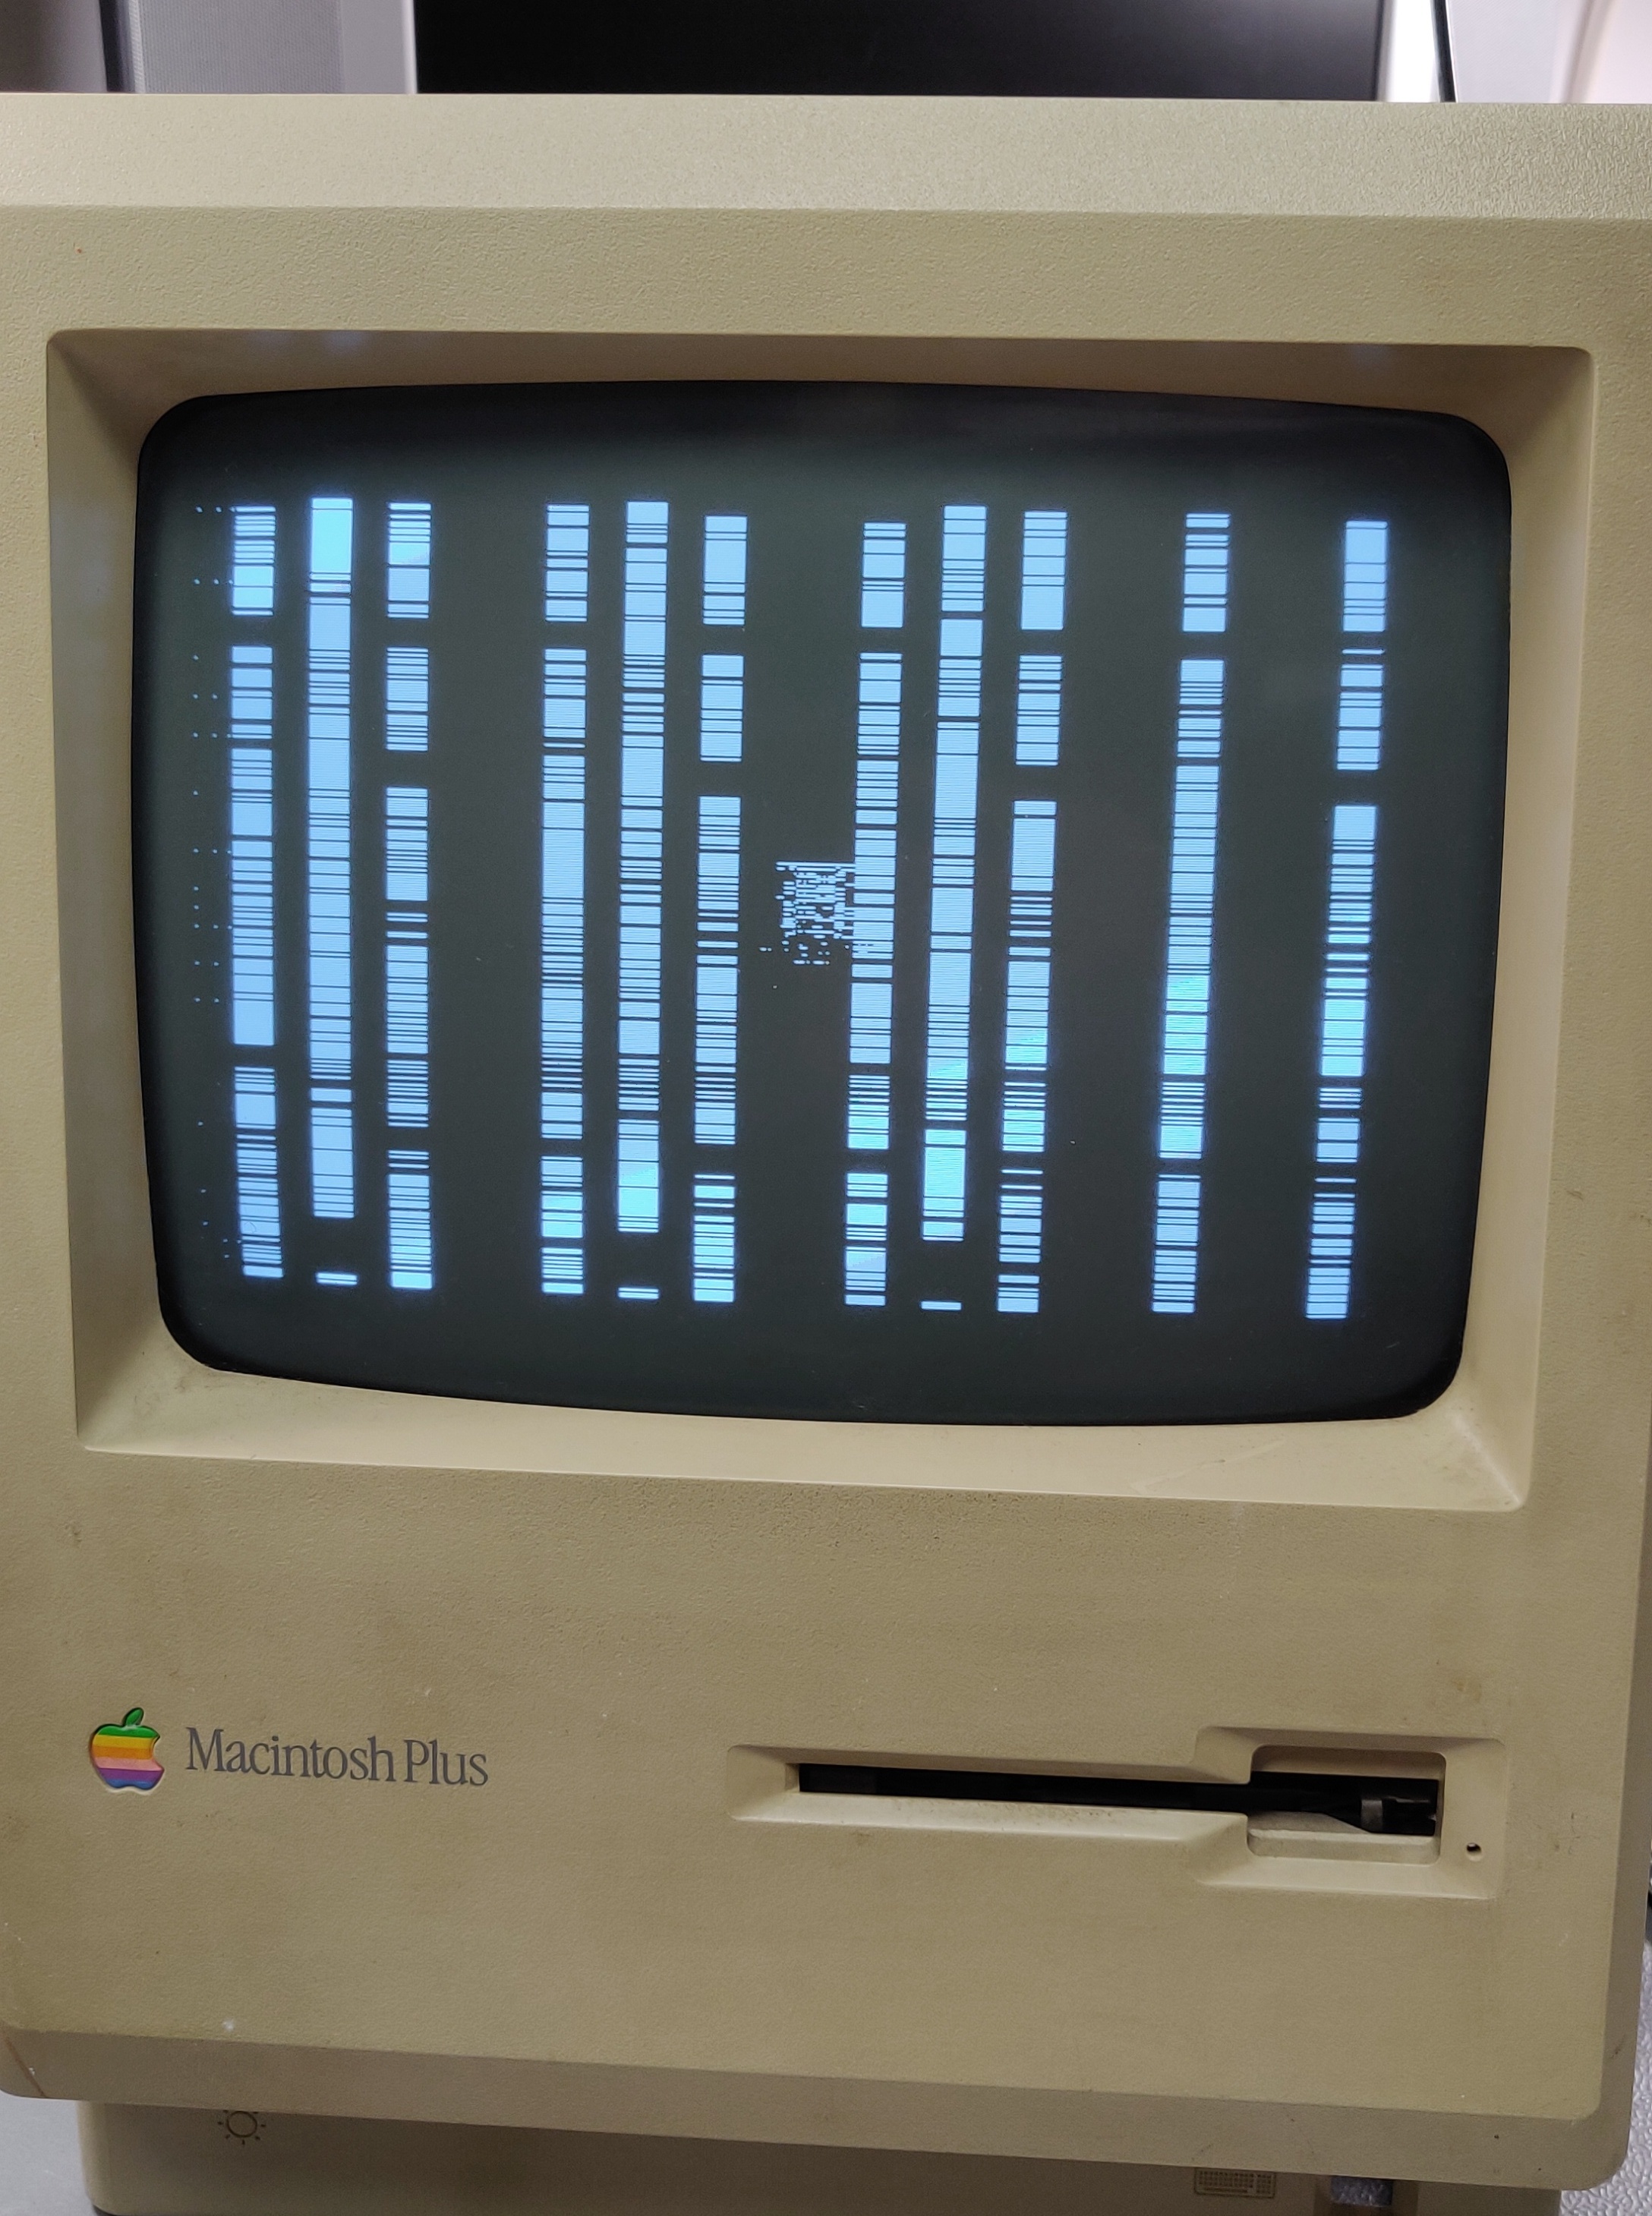
I decided to test the computer first without the expansion installed, but without repairing the trace cut on the back of the PCB, which connects the DTACK pin of the 68000 to the rest of the board the computer would initially display only vertical bars and after about 30 seconds it would make a slow distorted beep and display a lot of garbage.
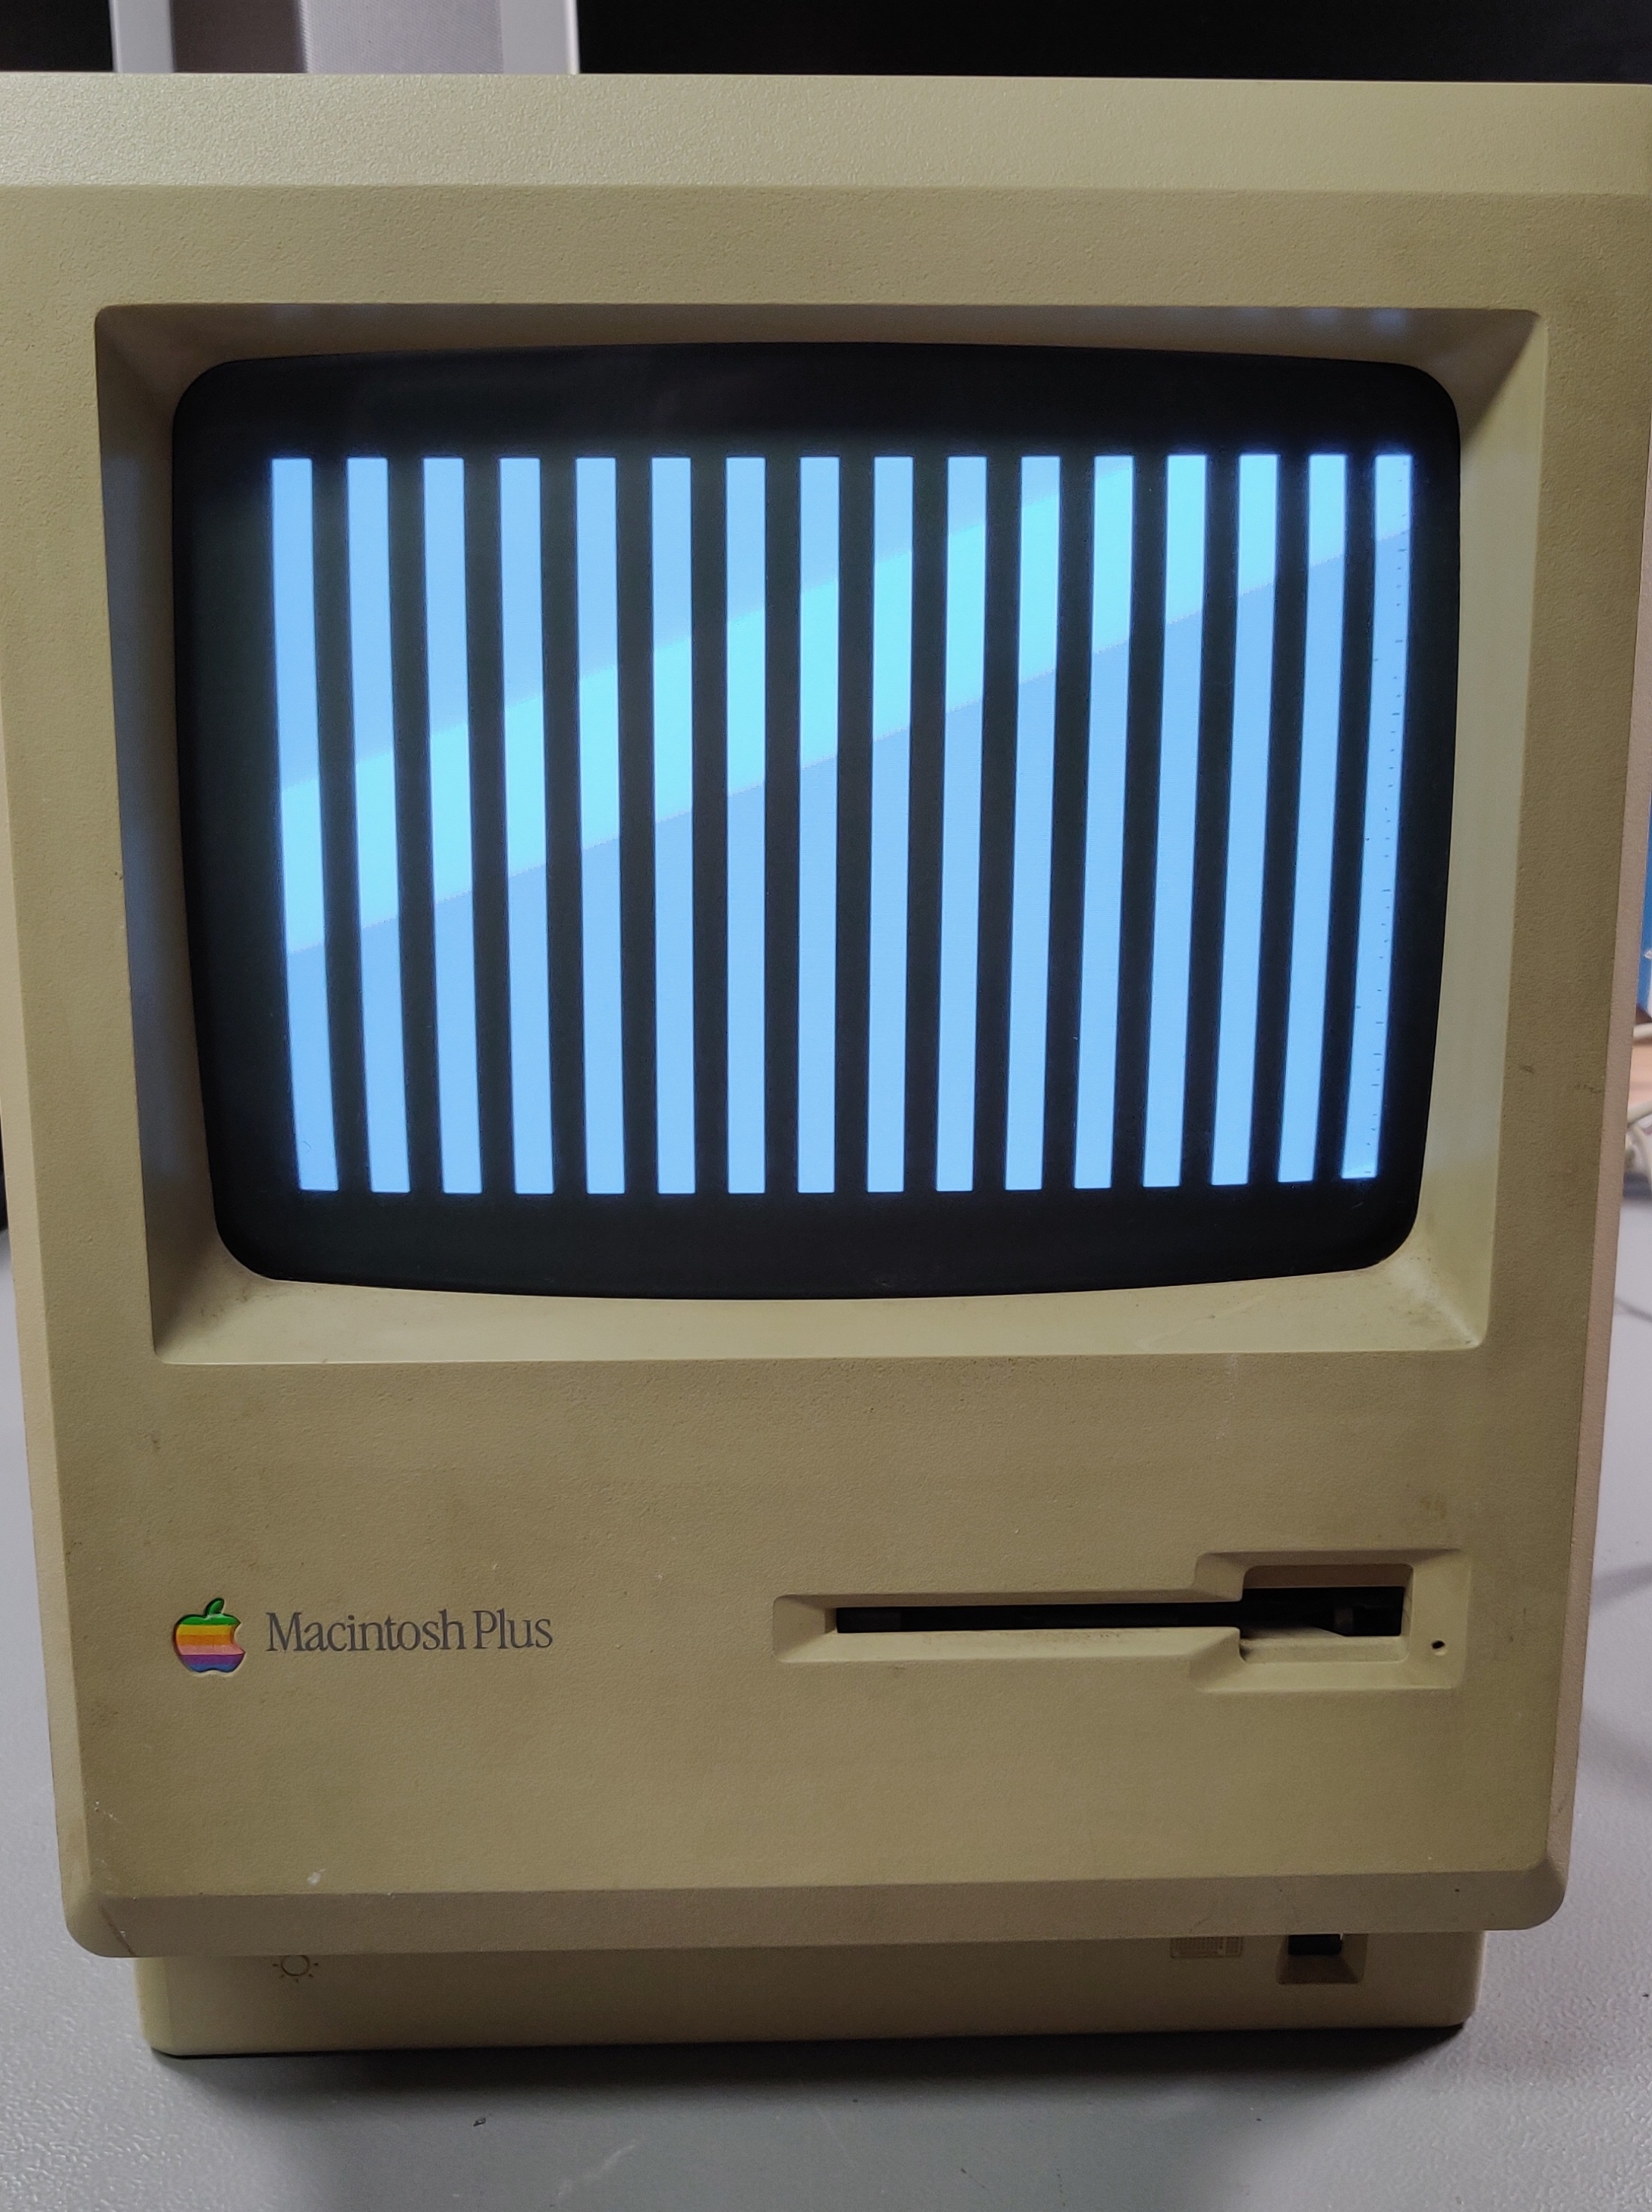
If you look carefully, you can just make out the sad mac face in the centre:
After repairing the trace, the computer booted perfectly: