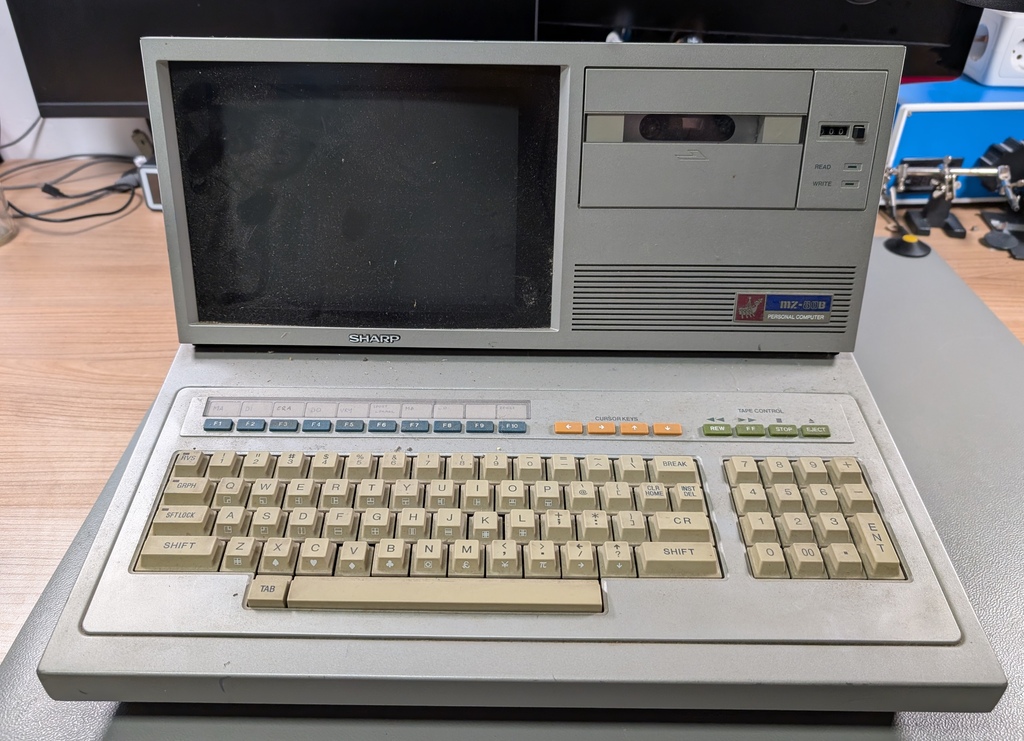
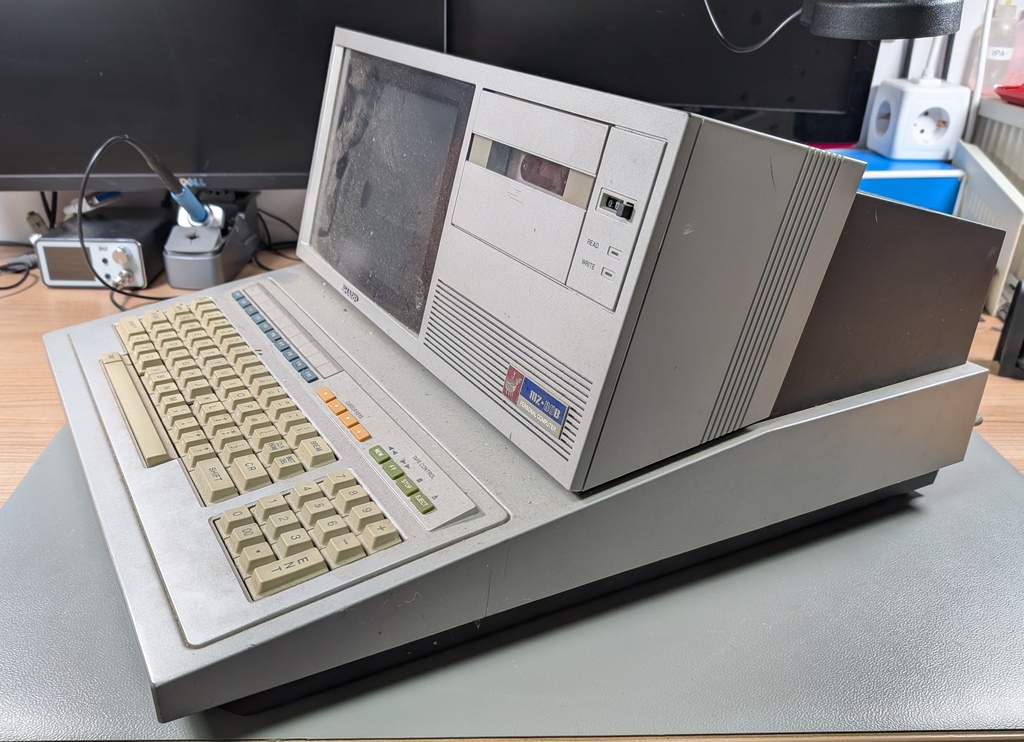
Sharp MZ-80B
I purchased this computer locally as untested, together with the Bull Honeywell TTX 90. Initially I had come only for the Bull, but when I arrived I found that this one was for sale as well, so I happily picked it up together!
This is the third in the line of Sharp MZ-80 machines, and is unfortunately mostly incompatible with it's MZ-80A and MZ-80K predecessors, it was mainly aimed at businesses, rather than home users. It features an upgraded Z80A CPU (4 MHz) and 64 KB of RAM, making it more powerful and better suited for professional use.
Unlike most personal computers of its time, the MZ-80 series lacks a built-in OS or BASIC interpreter in ROM. Users load these from cassette or floppy disk, including options like CP/M. This design allows for flexibility in programming languages (BASIC, FORTRAN, assembler), but it also results in slower start-up times (around 1:40 minutes from cassette) and reduced usable memory.
The MZ-80B's business focus is reflected in its robust build, improved graphics, and compatibility with professional peripherals. It’s a fascinating piece of computing history that I’m excited to explore!
Work done:
- Replace RIFA capacitors
- Replace belt
- Repair display
- Clean everything inside and out
Planned work:
- Add a GOTEK floppy emulator
Exterior inspection:
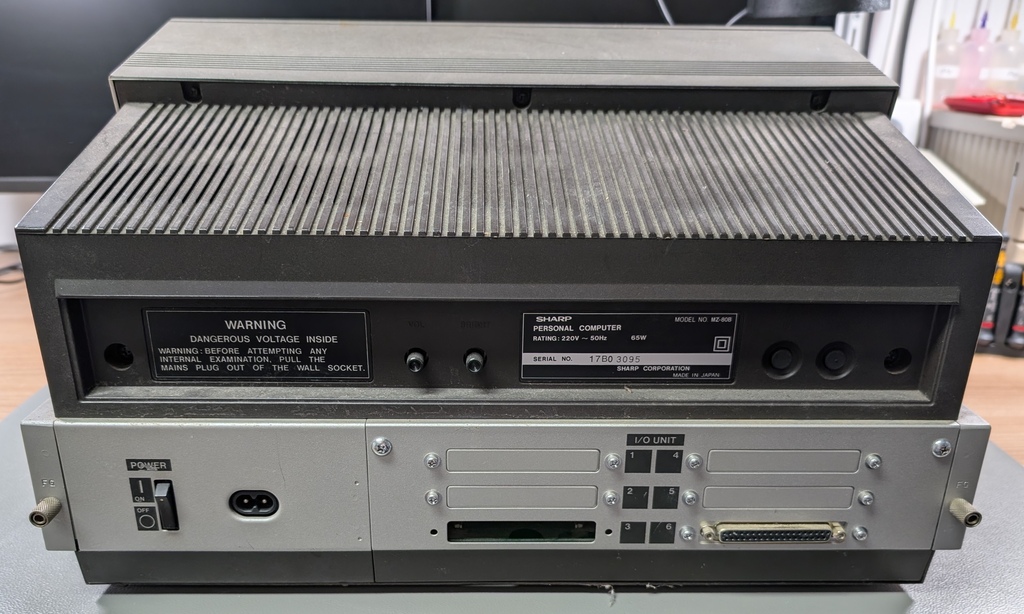
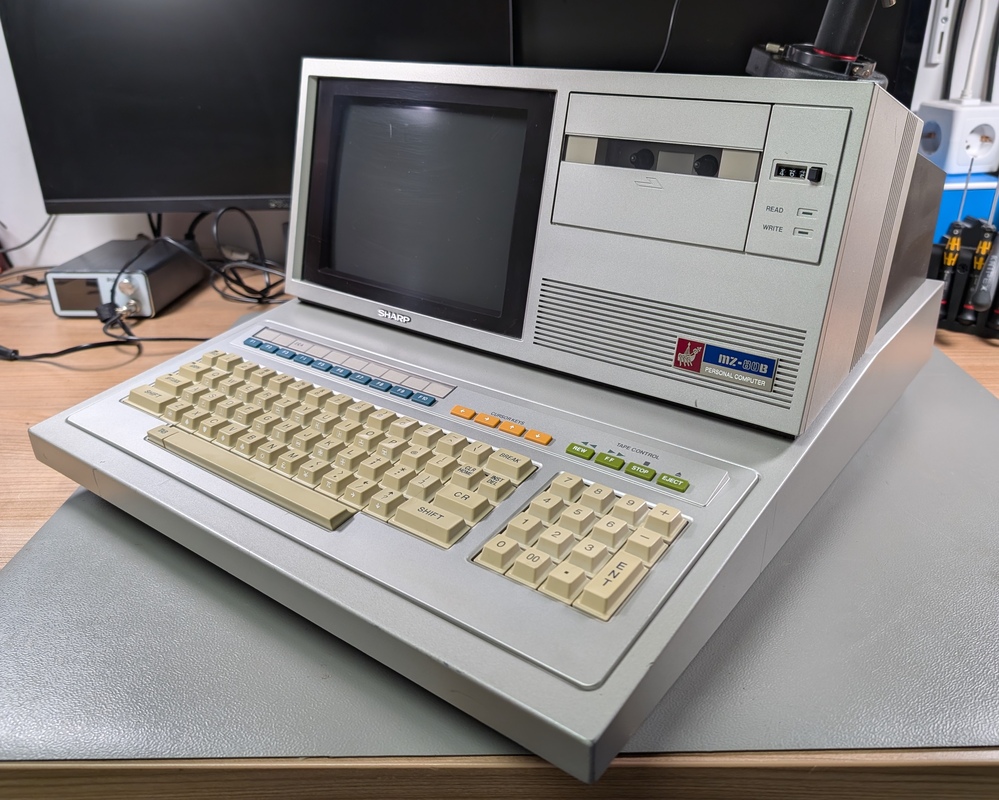
The outside of the computer was quite dirty from years of storage:
Interior inspection:
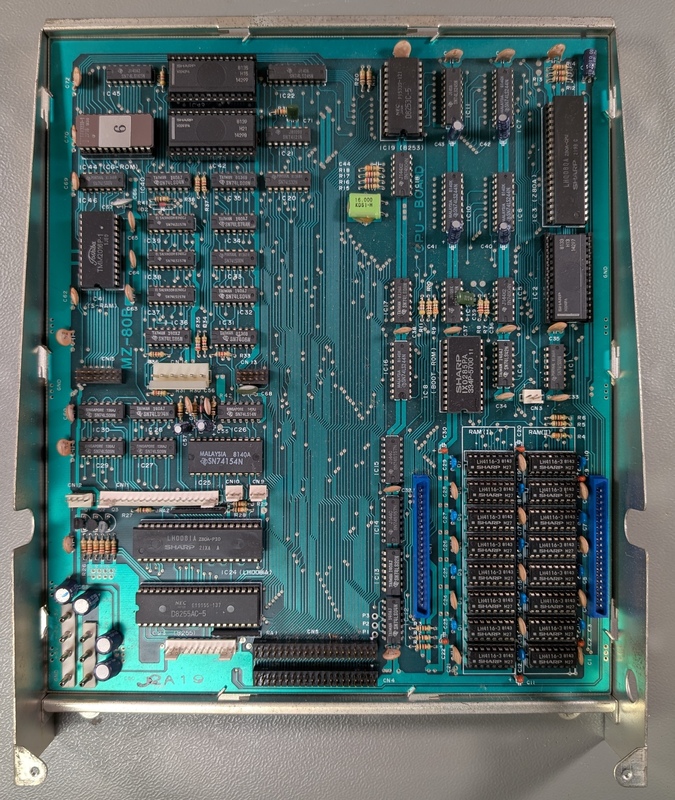
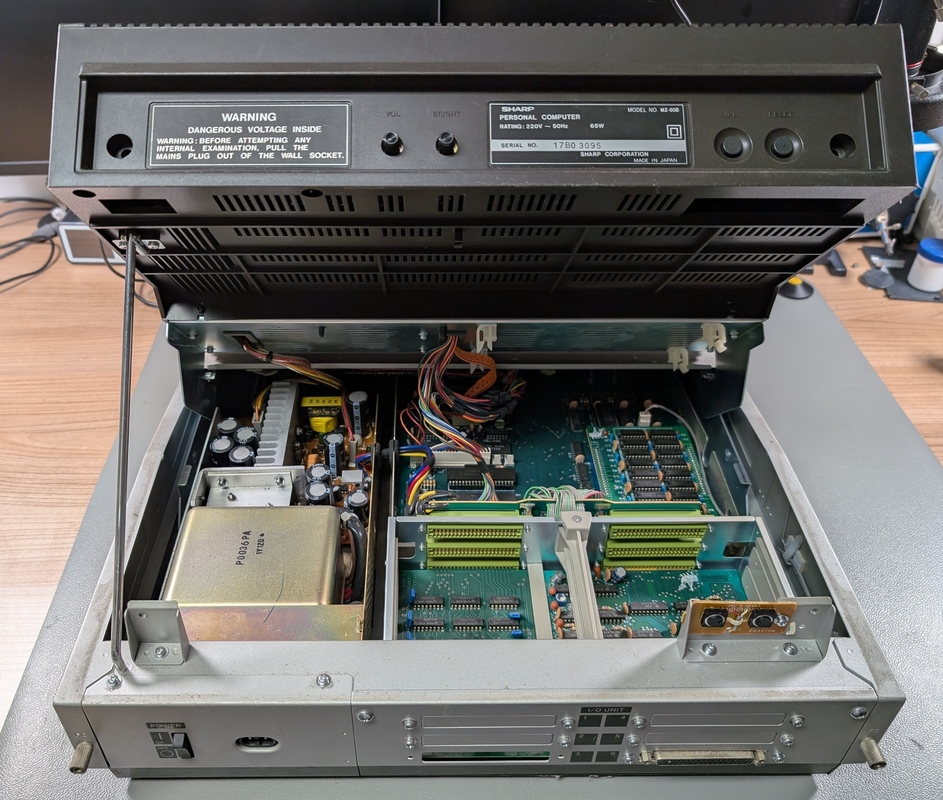
The back of the computer opens up like a car, revealing the power supply, logic board and expansion cage:
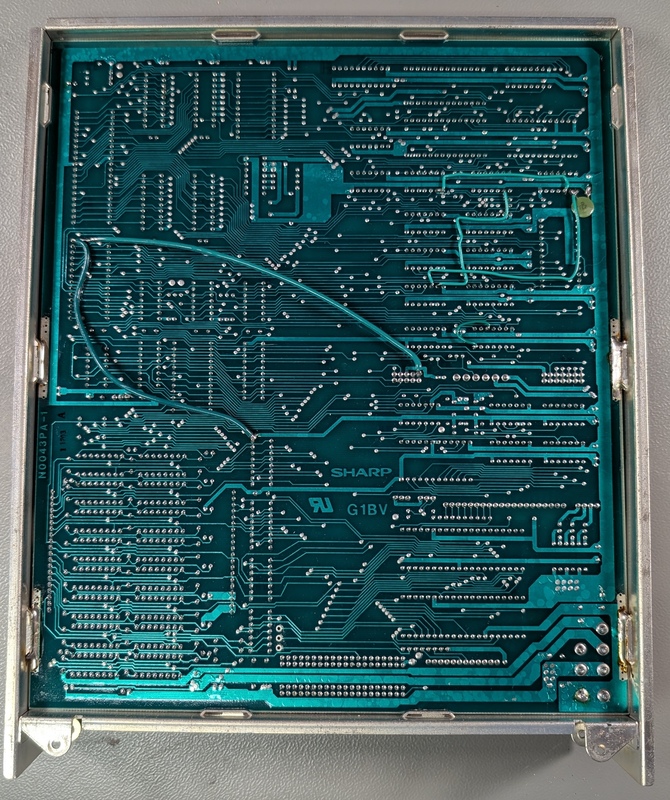
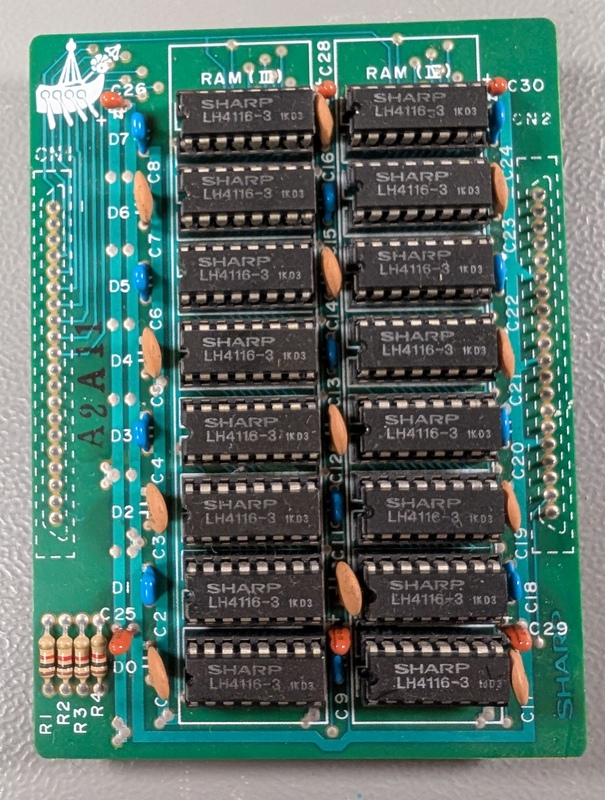
Which has a memory expansion board installed, bringing the total RAM up to 48k from 16K:
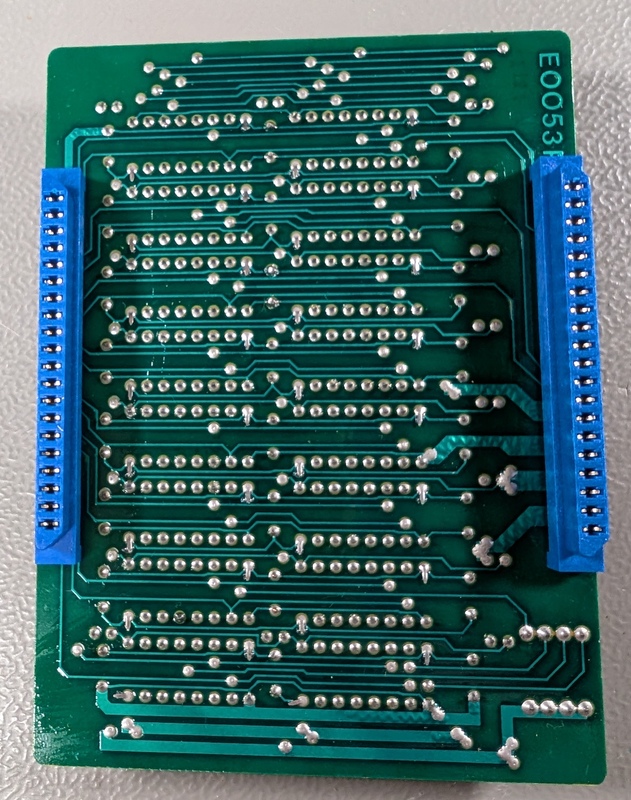
The computer is fitted with two expansion cards, one for a printer and one for a floppy drive. Pictures will be added soon.
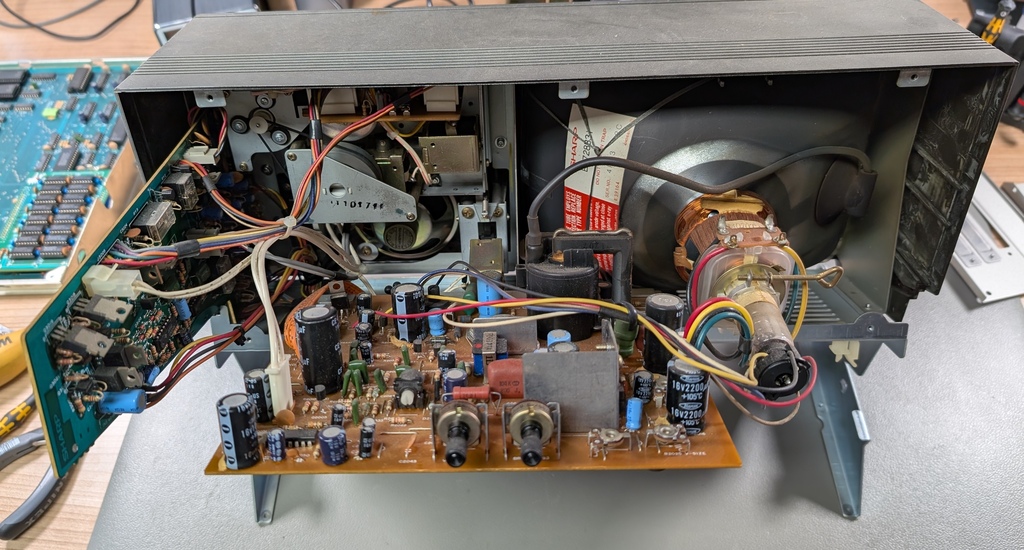
Inside the top housing we can find the CRT driver board, as well as a board that combines the tape controller and audio amplifier:
First power on:
After doing the initial inspection, I checked the voltage rails on the power supply while it was disconnected from the logic board and checked for any RIFA capacitors. Since everything was okay, I powered up the computer for the first time:
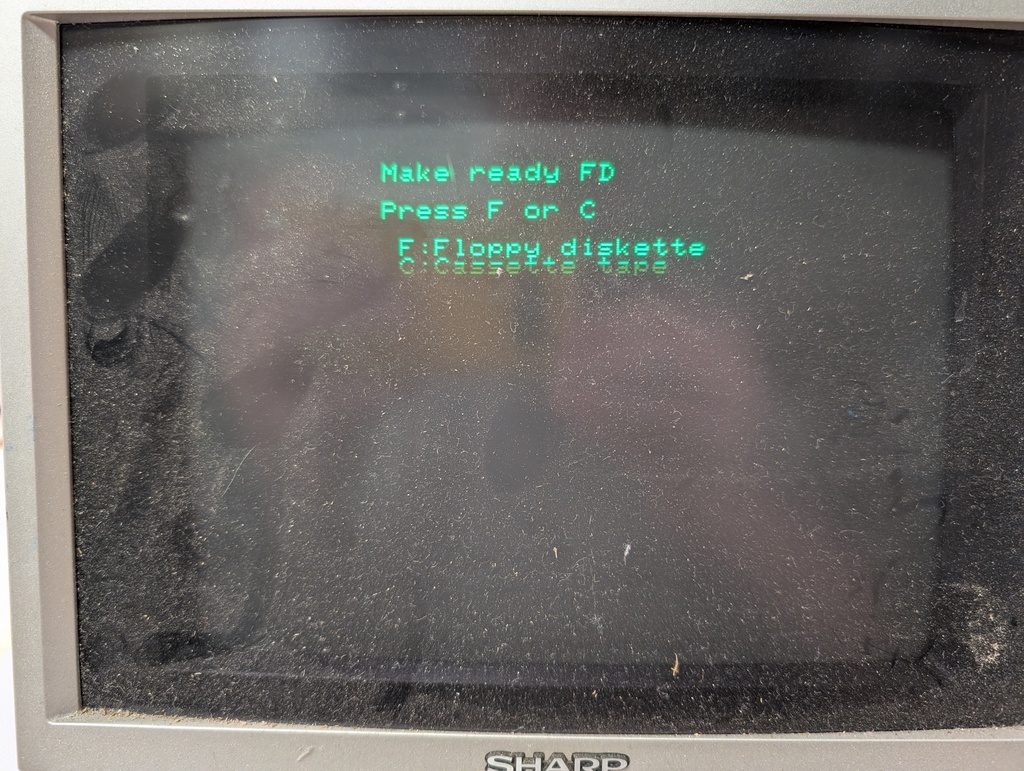
I was happy to see it starting up, but that only lasted for about 10 seconds, after which a RIFA capacitor that I had missed during my initial inspection exploded with a loud bang, filling my office with that special stink that only a RIFA can produce.
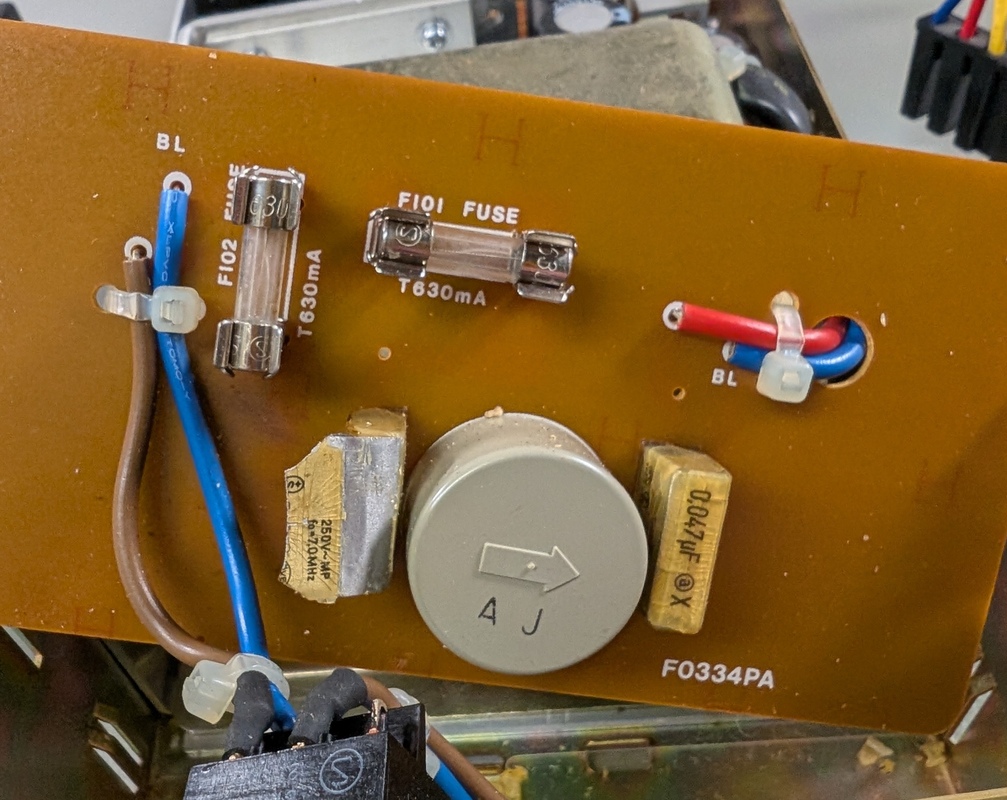
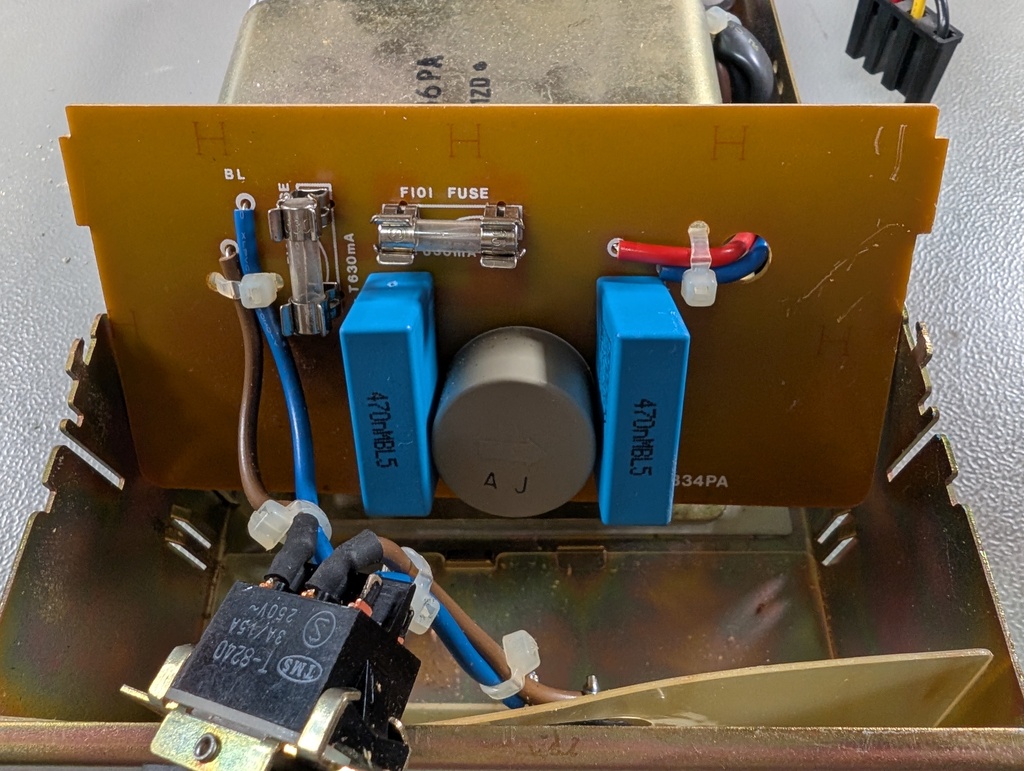
After taking the power supply fully apart, I replaced both RIFA's with modern capacitors:
Cleaning
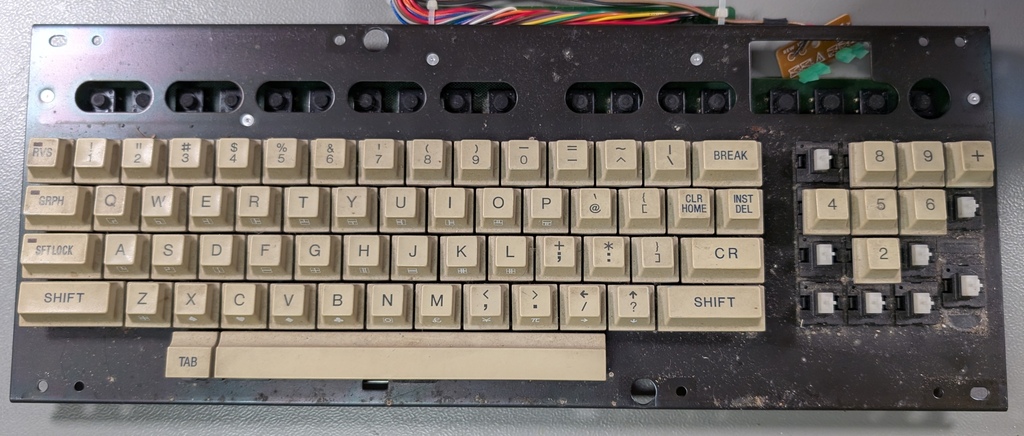
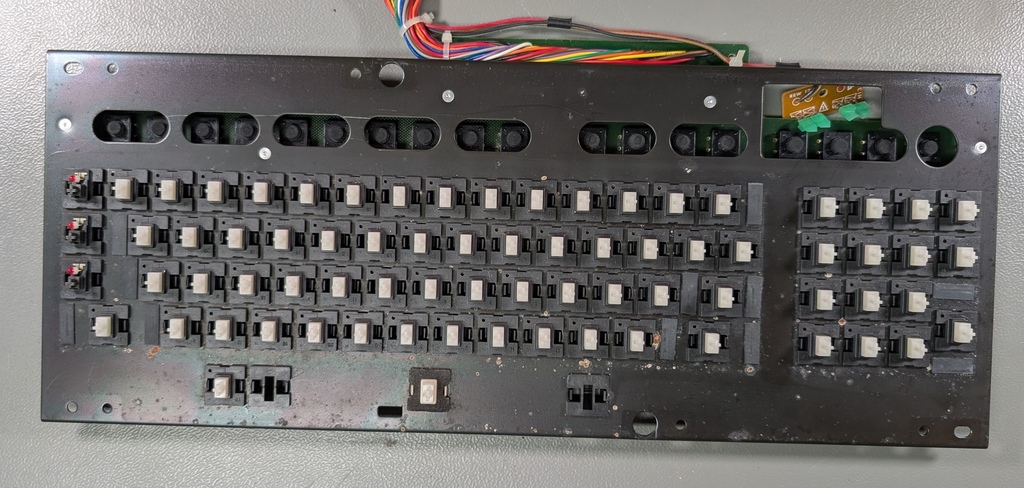
Since I had to take most of the computer apart in order to remove the power supply, it was the perfect opportunity to give everything a thorough cleaning:
Display issues
Once I had everything together again, the computer started once more correctly, but on the second attempt the whole screen was squashed together into a single line:
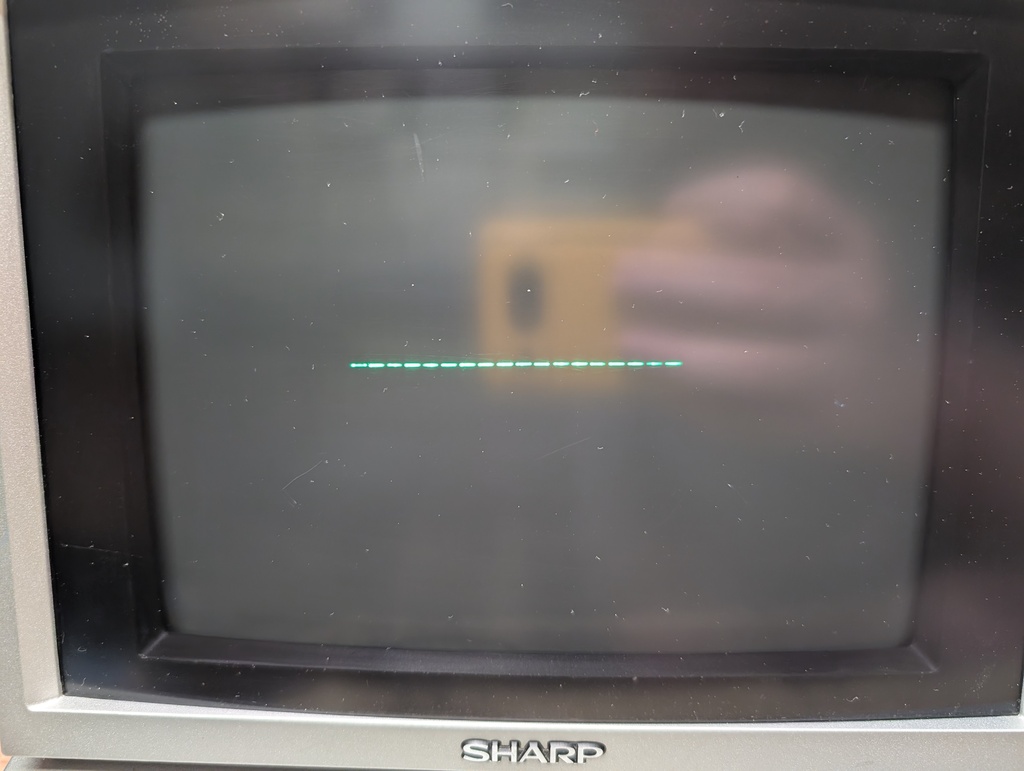
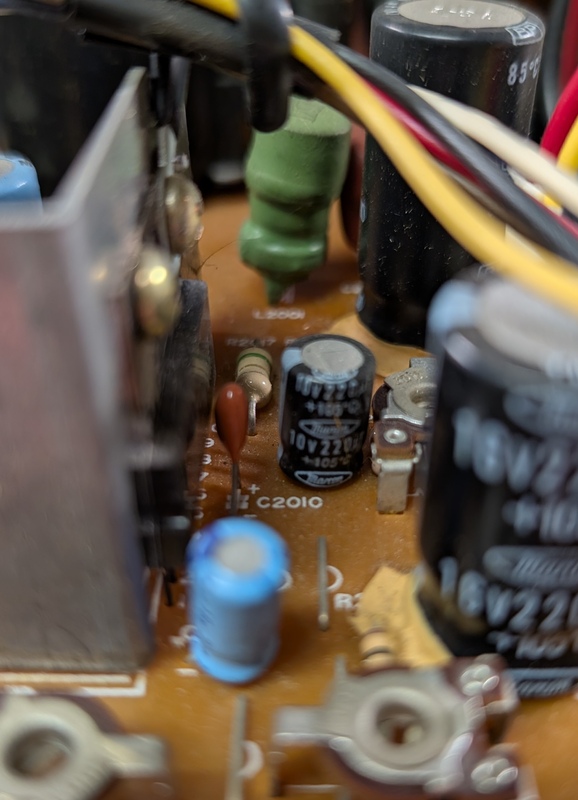
This is an issue called "vertical collapse" and can happen when either the vertical driver or related circuitry goes bad. Luckily the service manual for this computer is readily available, and after going through the various test points, I quickly found an issue at test point 7, which lead me to capacitor C2010, which turned out to be dead short:

Loading BASIC from cassette:
The computer came with a PROGRAM cassette, which I had assumed was capable of booting the computer, so after checking the cassette in an audio player and finding everything in order, I tried booting the computer. Unfortunately this failed, which lead me to quite a bit of troubleshooting, tracing the signal from the heads all the way to the logic board, where everything seemed fine.
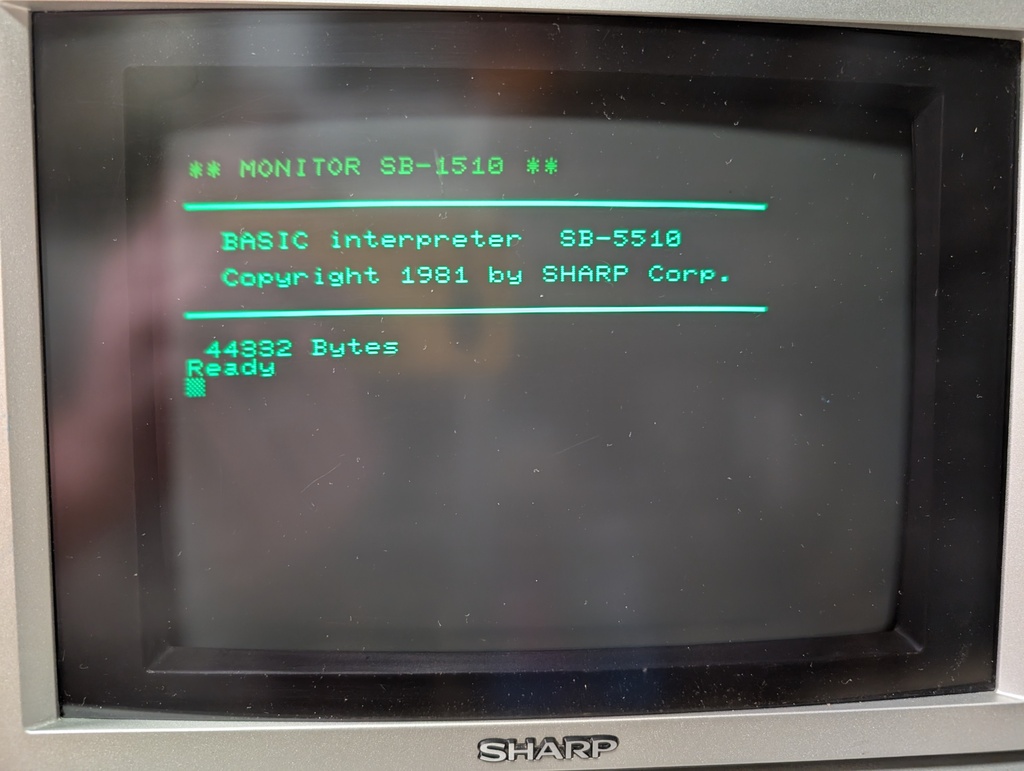
It was at this point that I realized that maybe this cassette was not able to boot the computer at all, so I downloaded SHARP Tape BASIC SB-5510 from sharpmz.org, as well as a copy of mzf2wave, which after compiling it on my Linux PC was able to convert the MZF file to a WAV file, which I could then record onto a blank cassette tape.
And here is the computer, finally fully booted into BASIC:
GOTEK floppy emulator
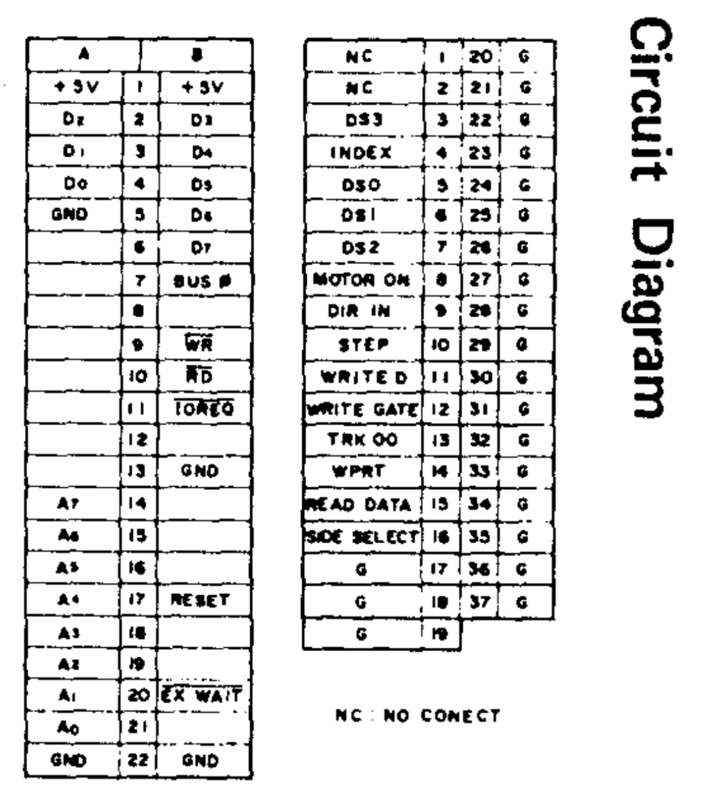
Although this computer comes with a floppy controller, it didn't come with any floppy drives, and the floppy controller uses a non-standard DB-37 external connector.
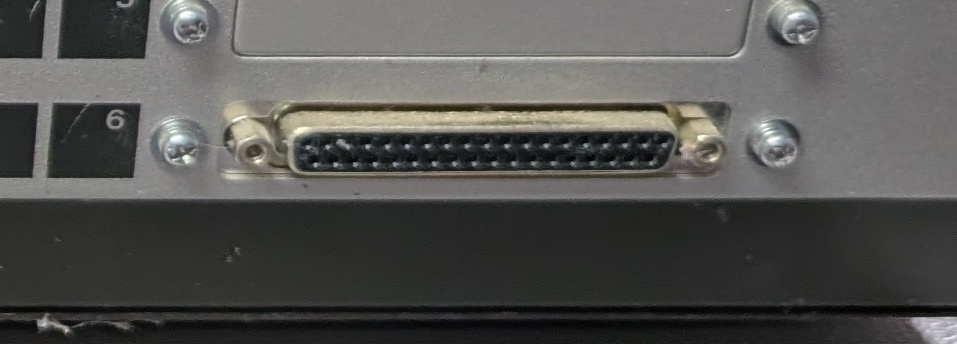
Luckily the interface itself appears to follow the Shugart standard, just with an unusual pin-out, so I've ordered a 37 pin connector, and I'll adapt a floppy cable to it, so that I can connect either a real floppy drive, or a GOTEK floppy emulator and try out CP/M, as well as some other more advanced software for this computer.
